Translating to surfaces and textures.
Here are my first thoughts/brainstorming list, as well as the papers chosen and the result of manipulating them.
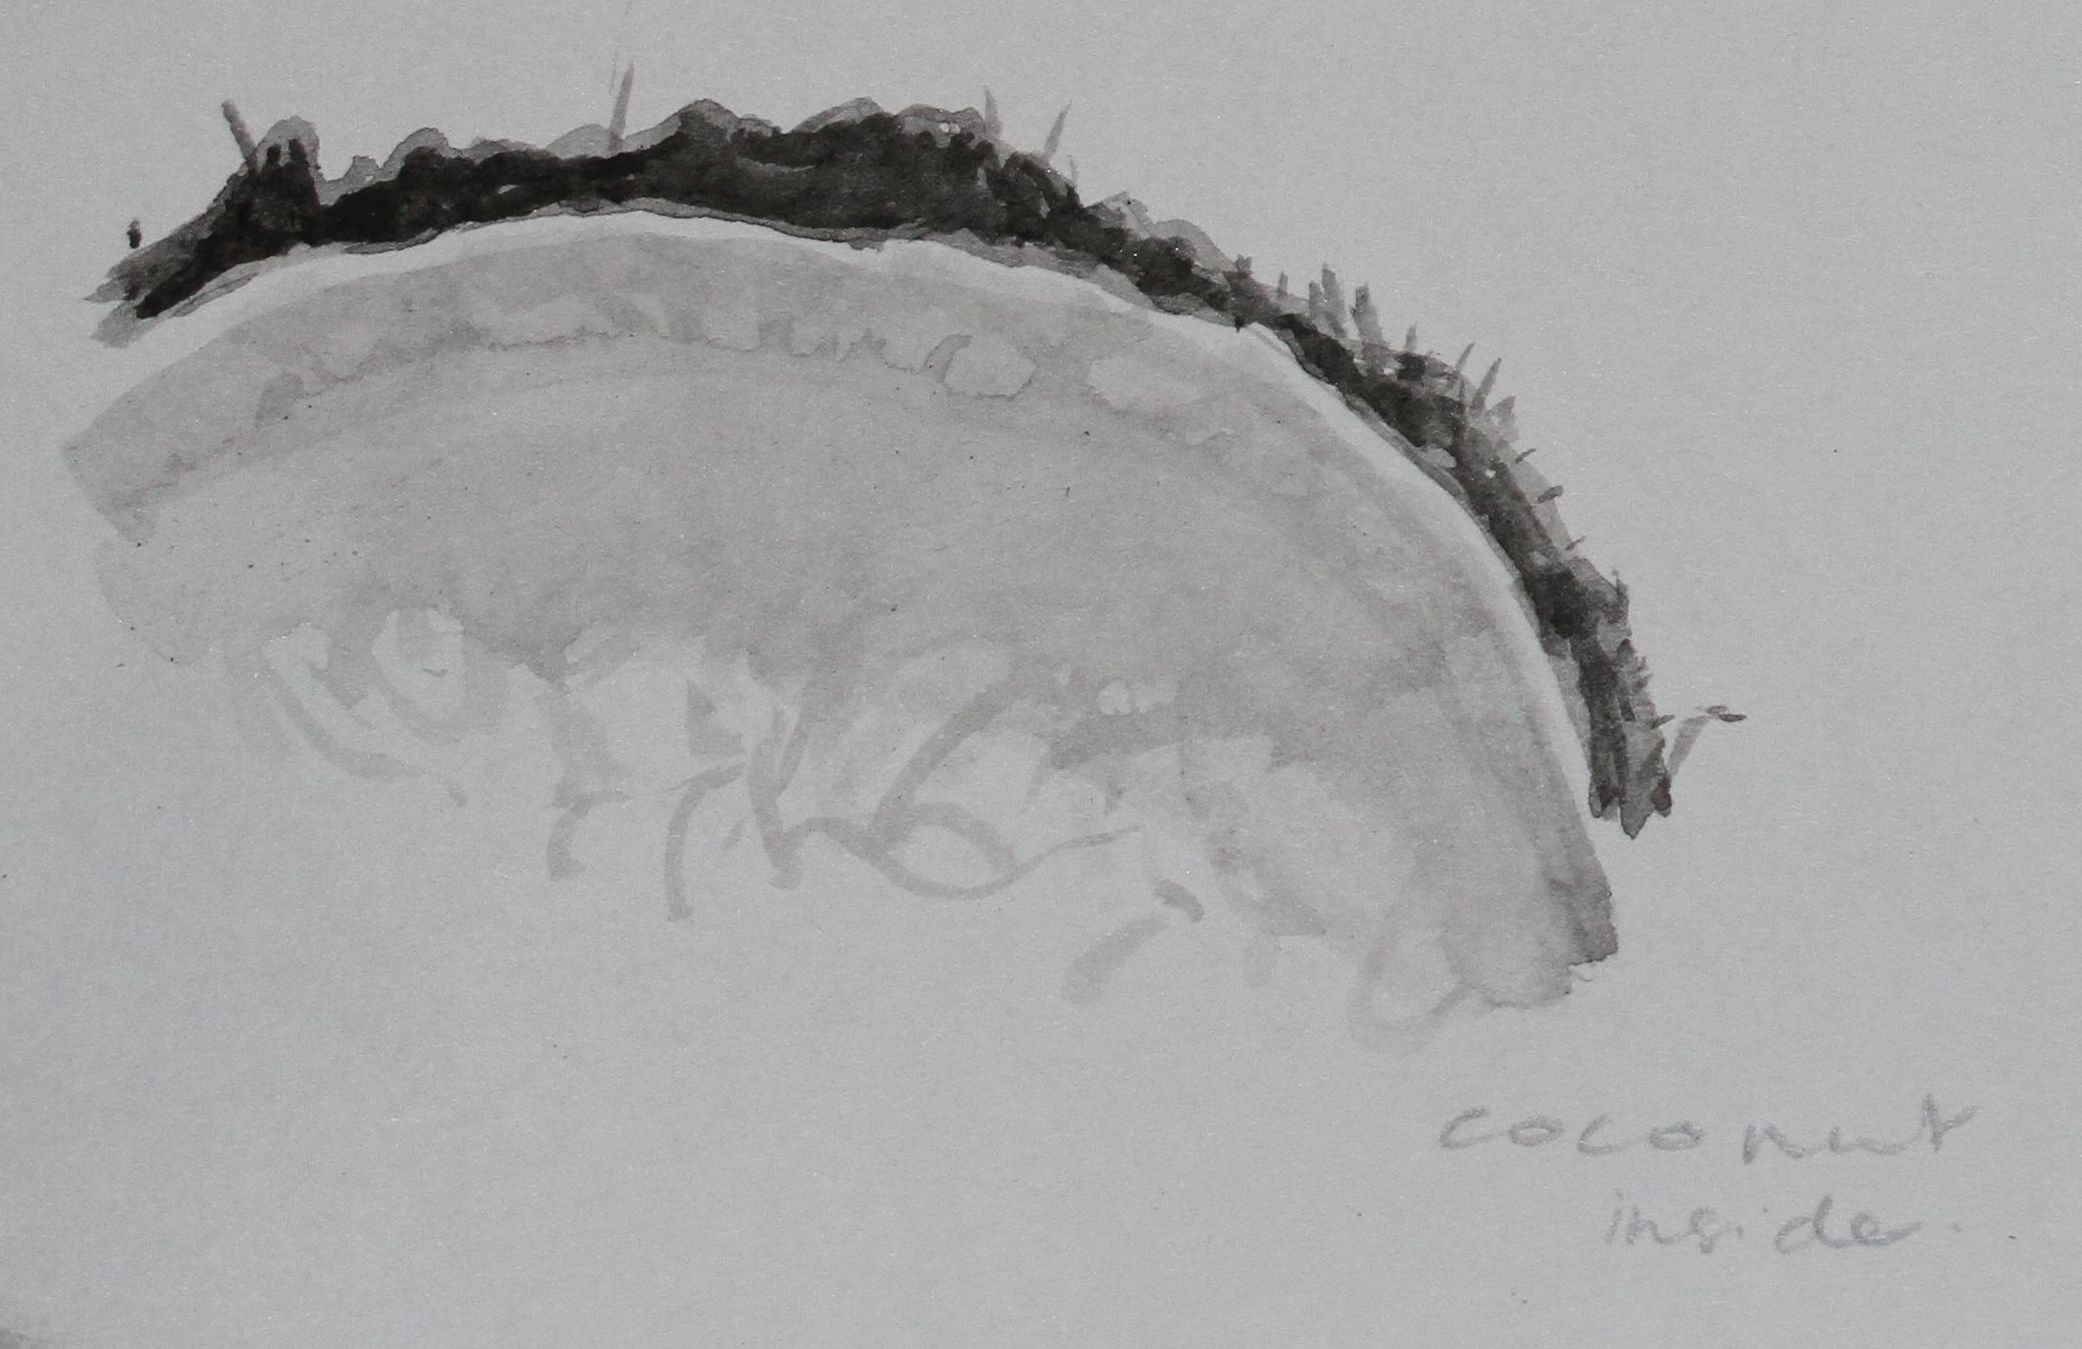
Drawing 1 – Edges and Seams (Coconut Inside)
| Paper Options | Potential Treatments |
|---|---|
|
Translucent – Tracing Paper |
Layering |
Results
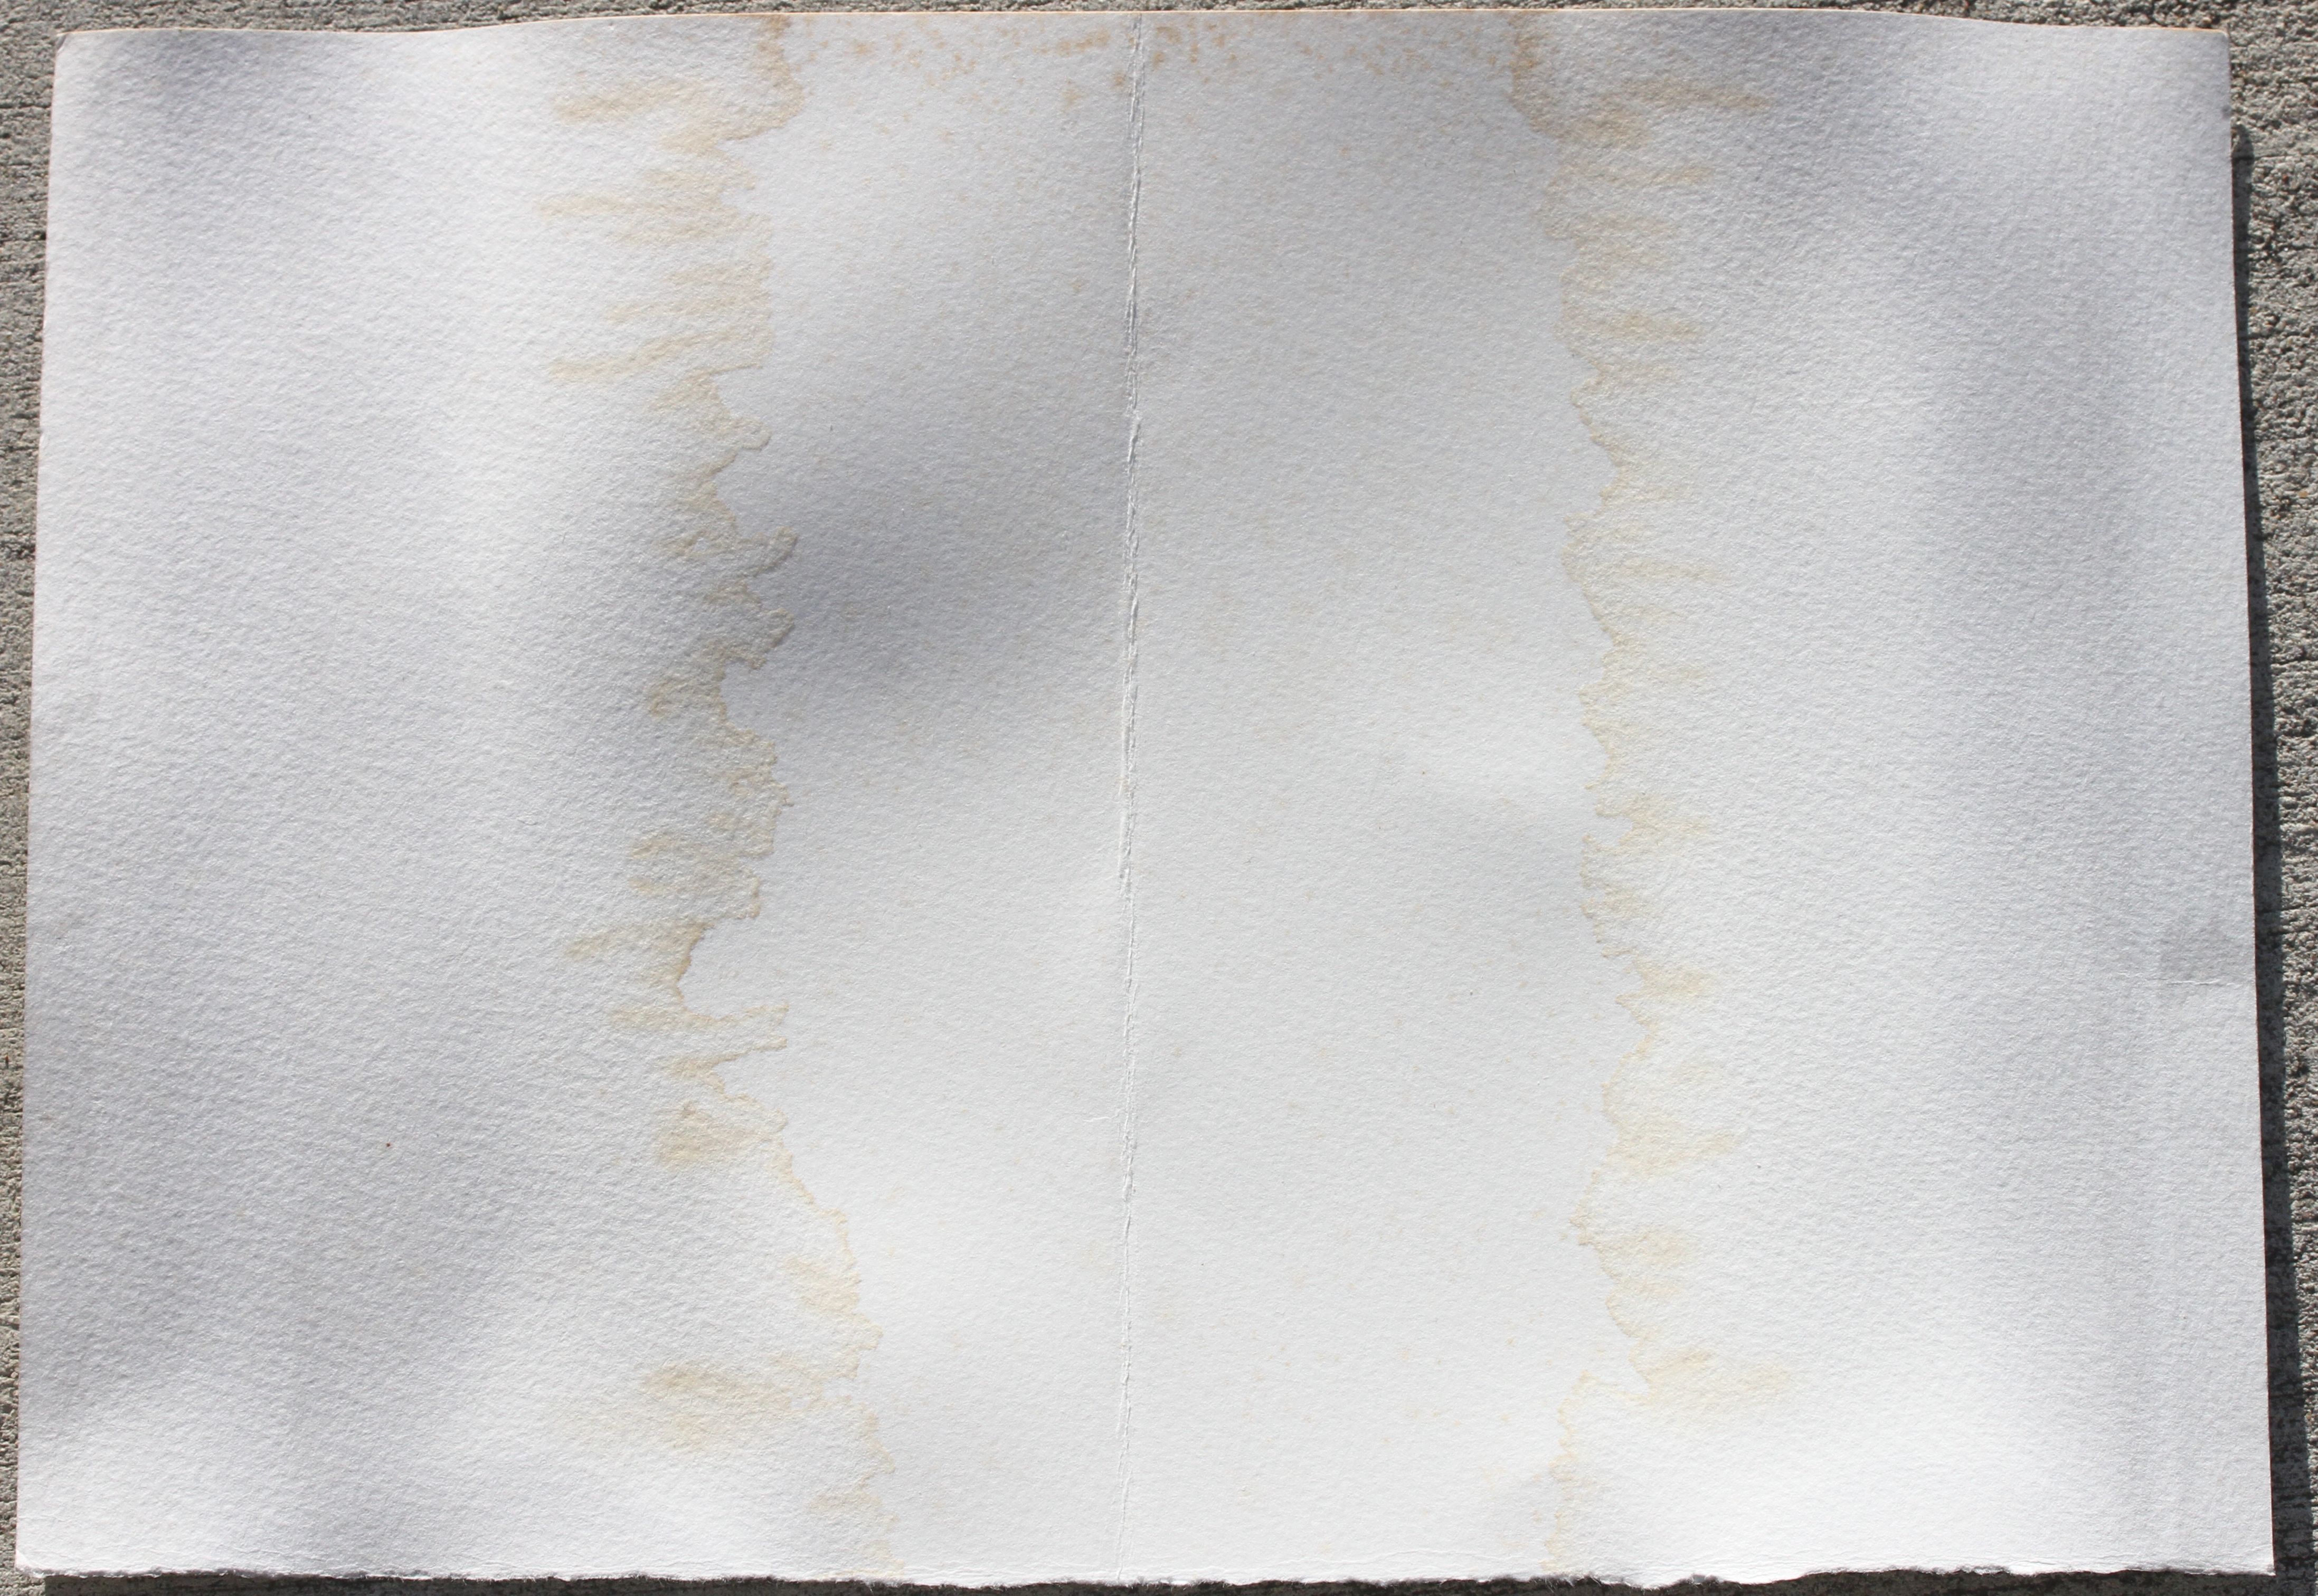
Both ends of 300gsm drawing paper dipped in a bath of dilute black acrylic paint (hung over a stick). The wonderful light brown marks seem to come from the age spots on the paper itself. The black paint appears as pale grey.
Two prior trials using watercolour paper did not produce the capillary motion upwards in the paper; so, resulted in black paint ‘tide’ marks isolated in the first inch of paper.
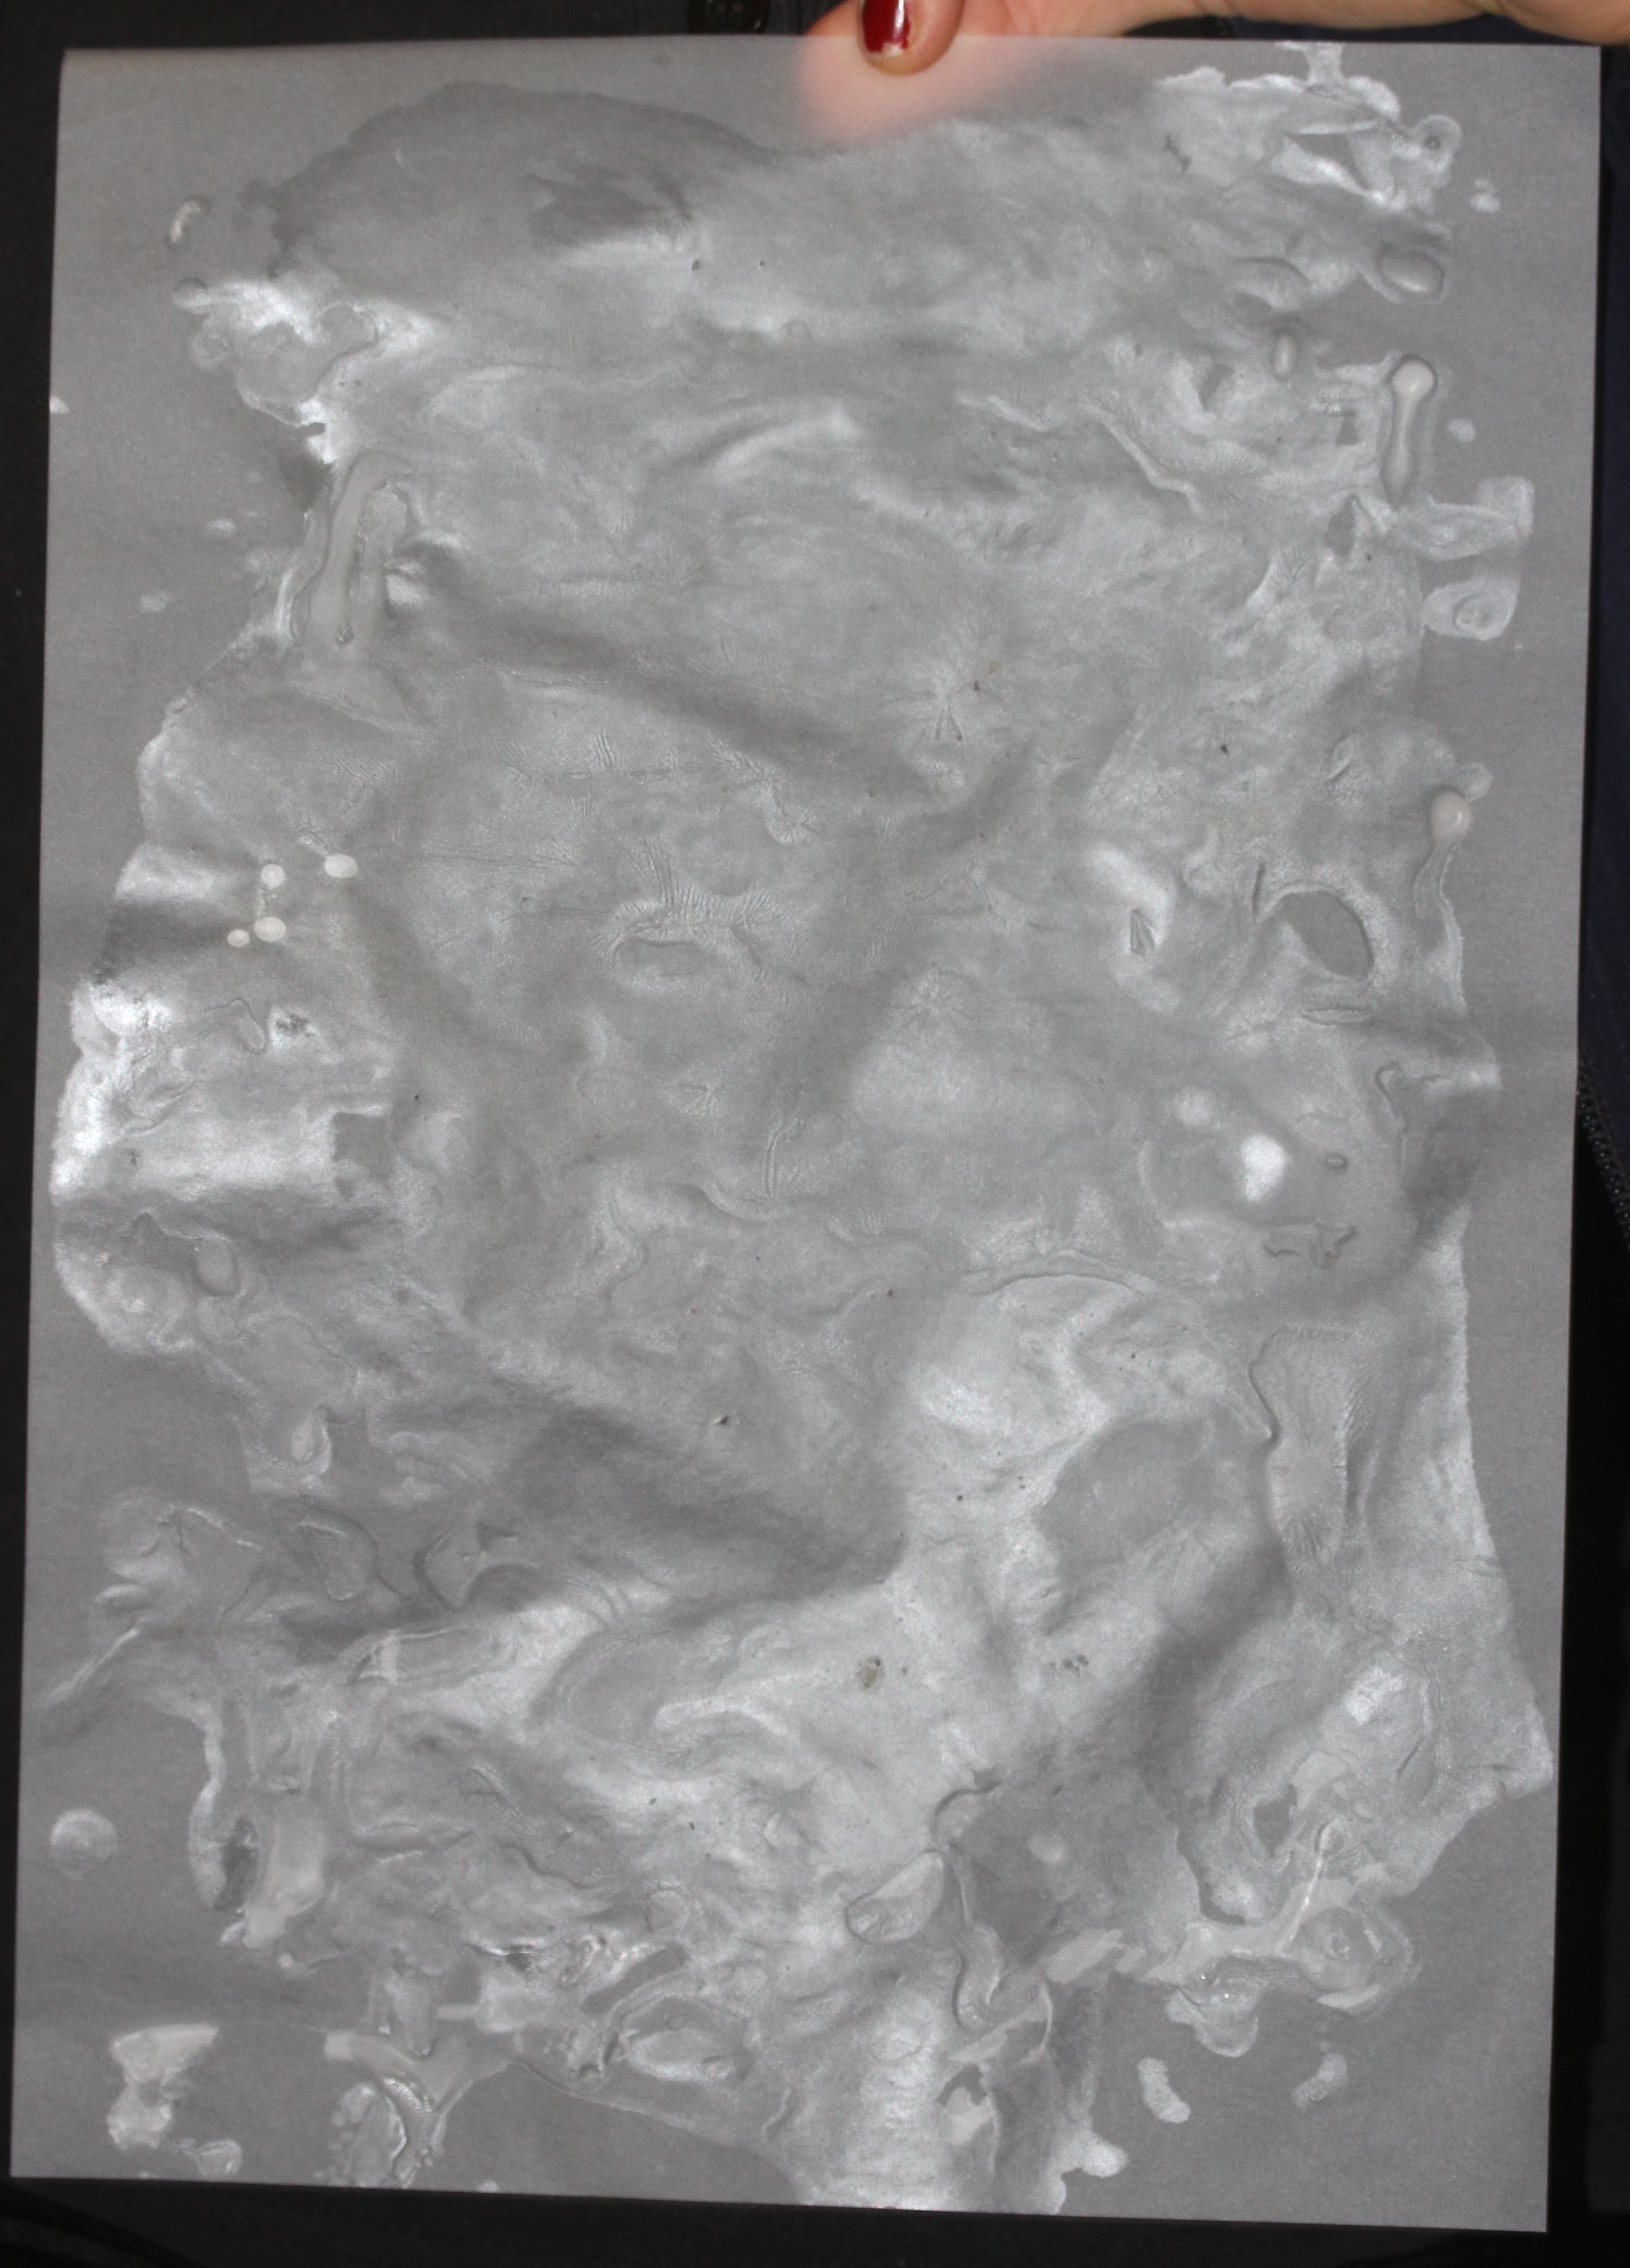
Wax melted onto tracing paper gives a translucent, layered finish. The wax wax re-melted and blown around the page with a heat gun to enhance the ‘drippy’ appearance. Very difficult to capture in a photograph; but interesting iridescence.
When I come to add thread, I will consider whether to score the subtle patterns from the original drawing into the wax.
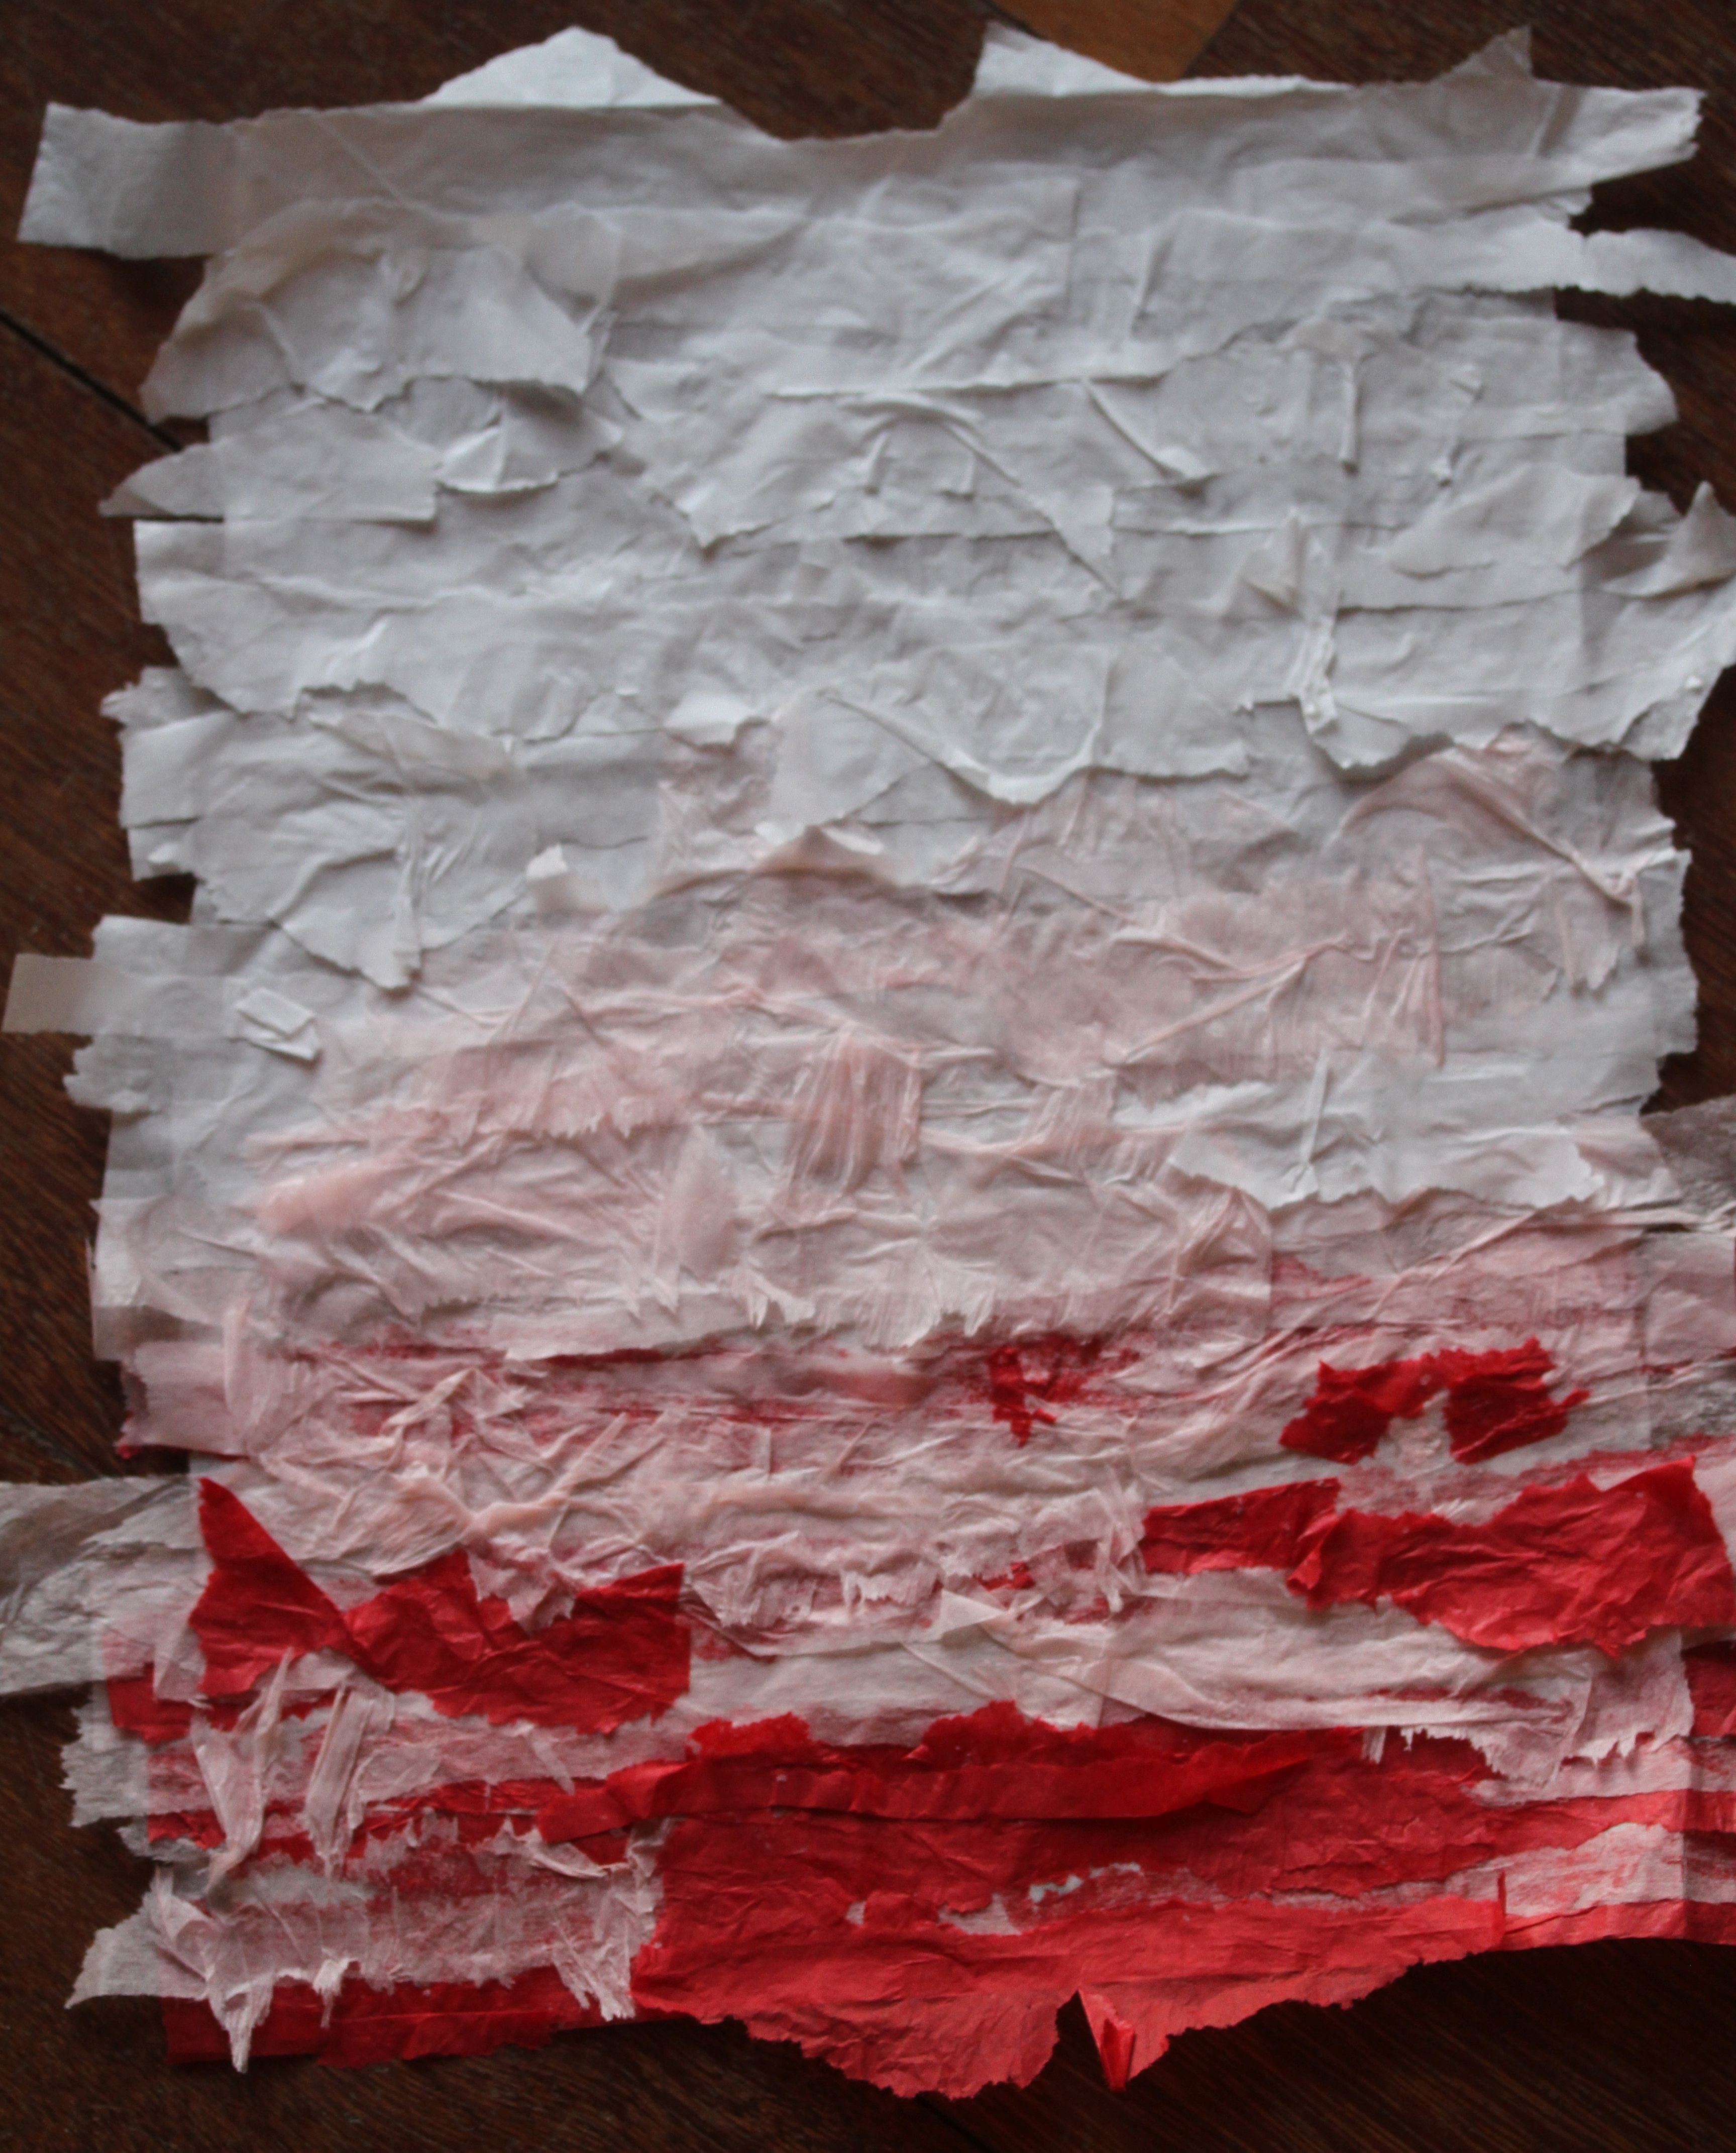
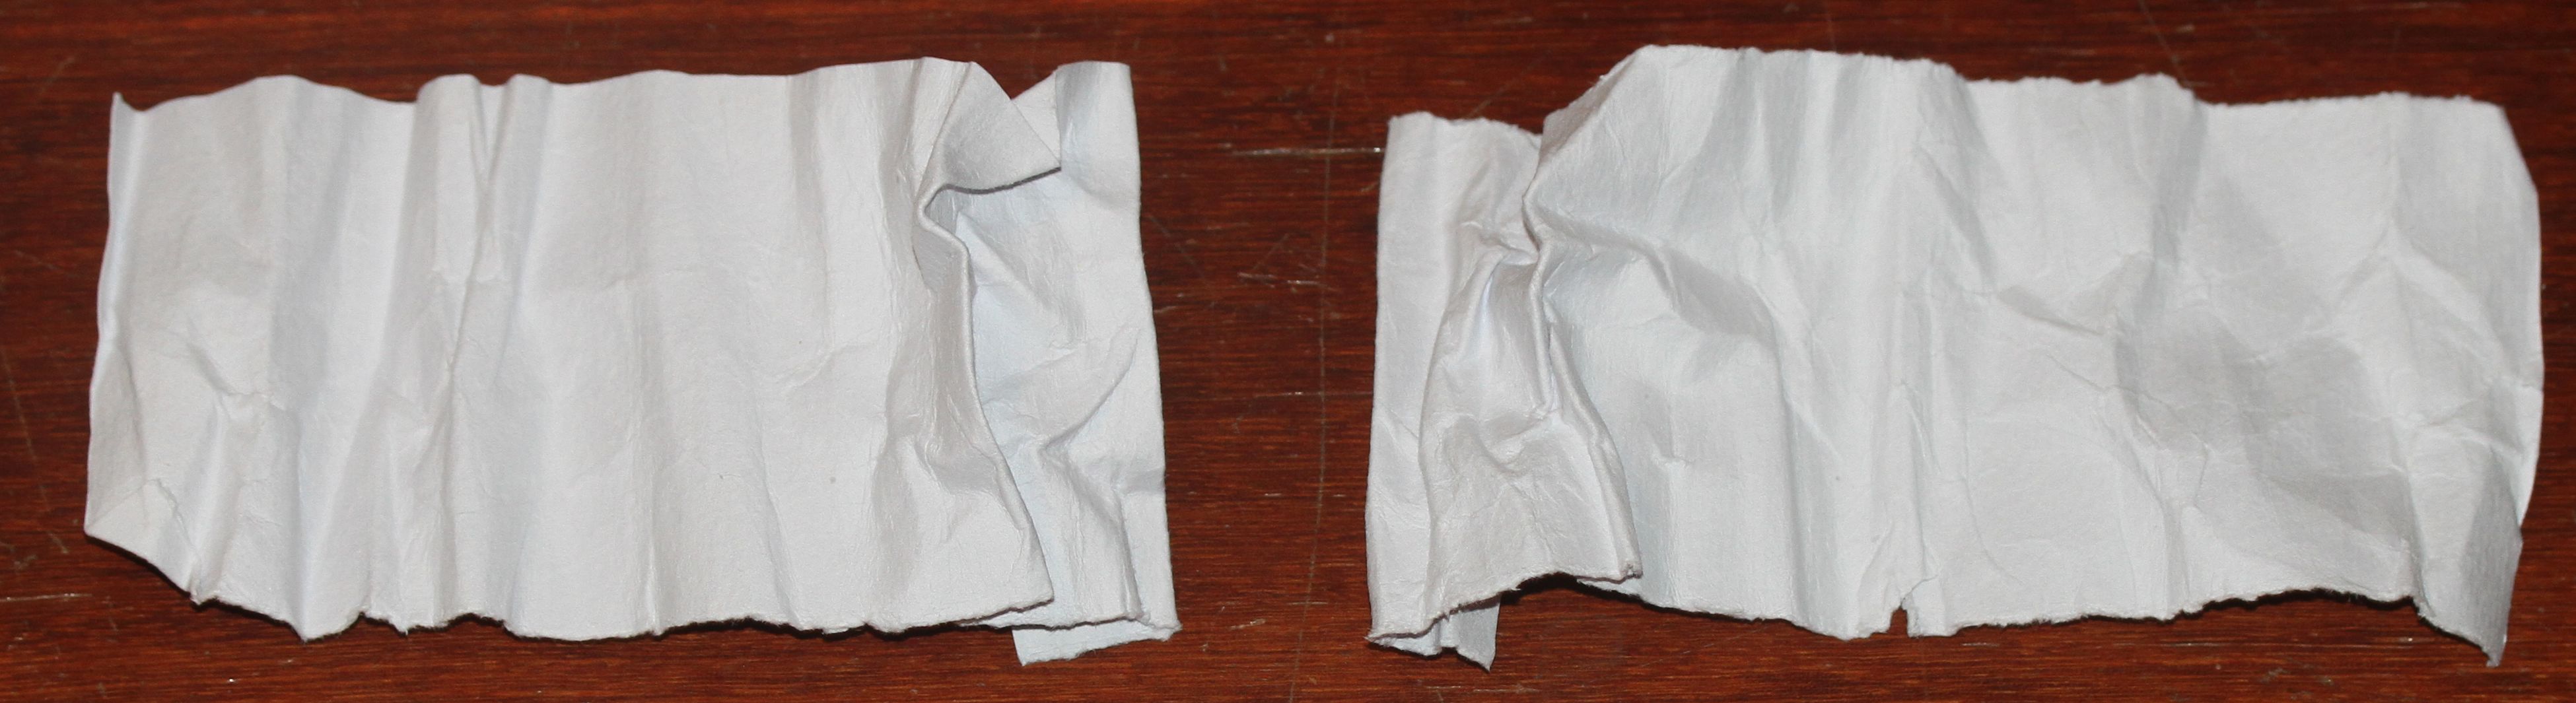
Layers of torn tissue paper.
If I choose to use this for my samples, I can use a white section or coloured section. I don’t really like this result, it seems very ‘stock standard’, and not at all innovative. It may work in a smaller section.
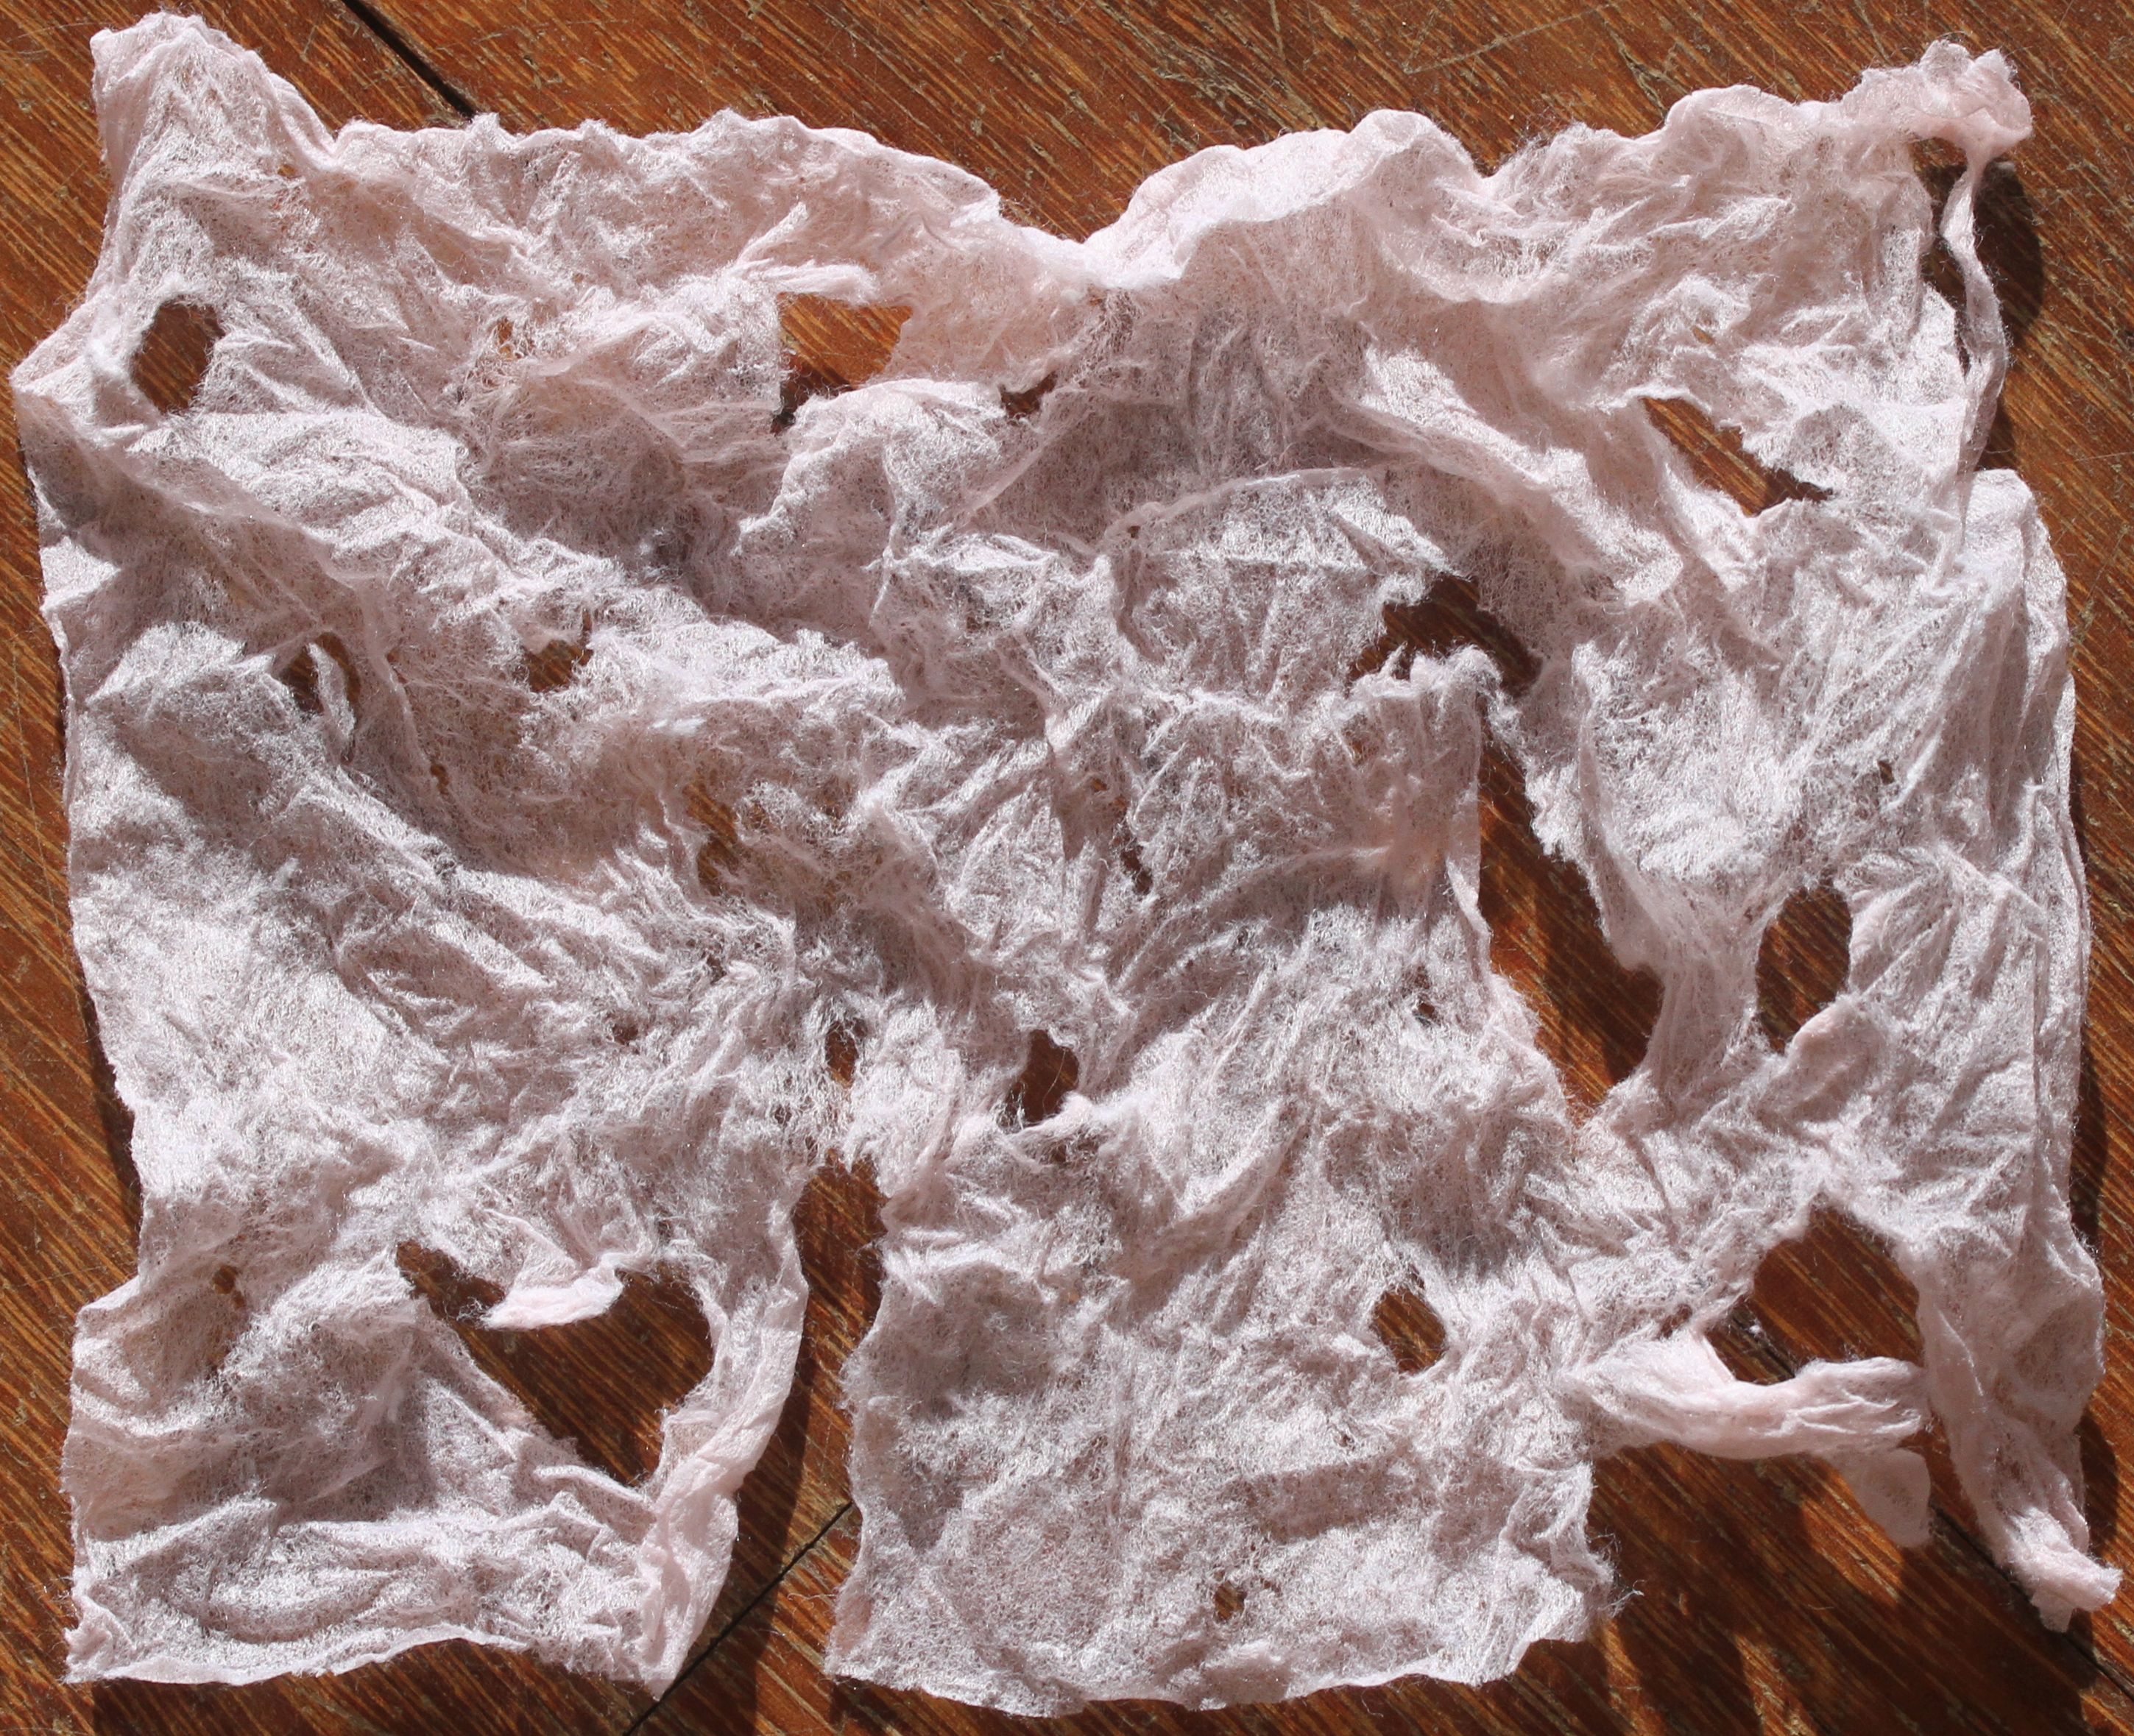
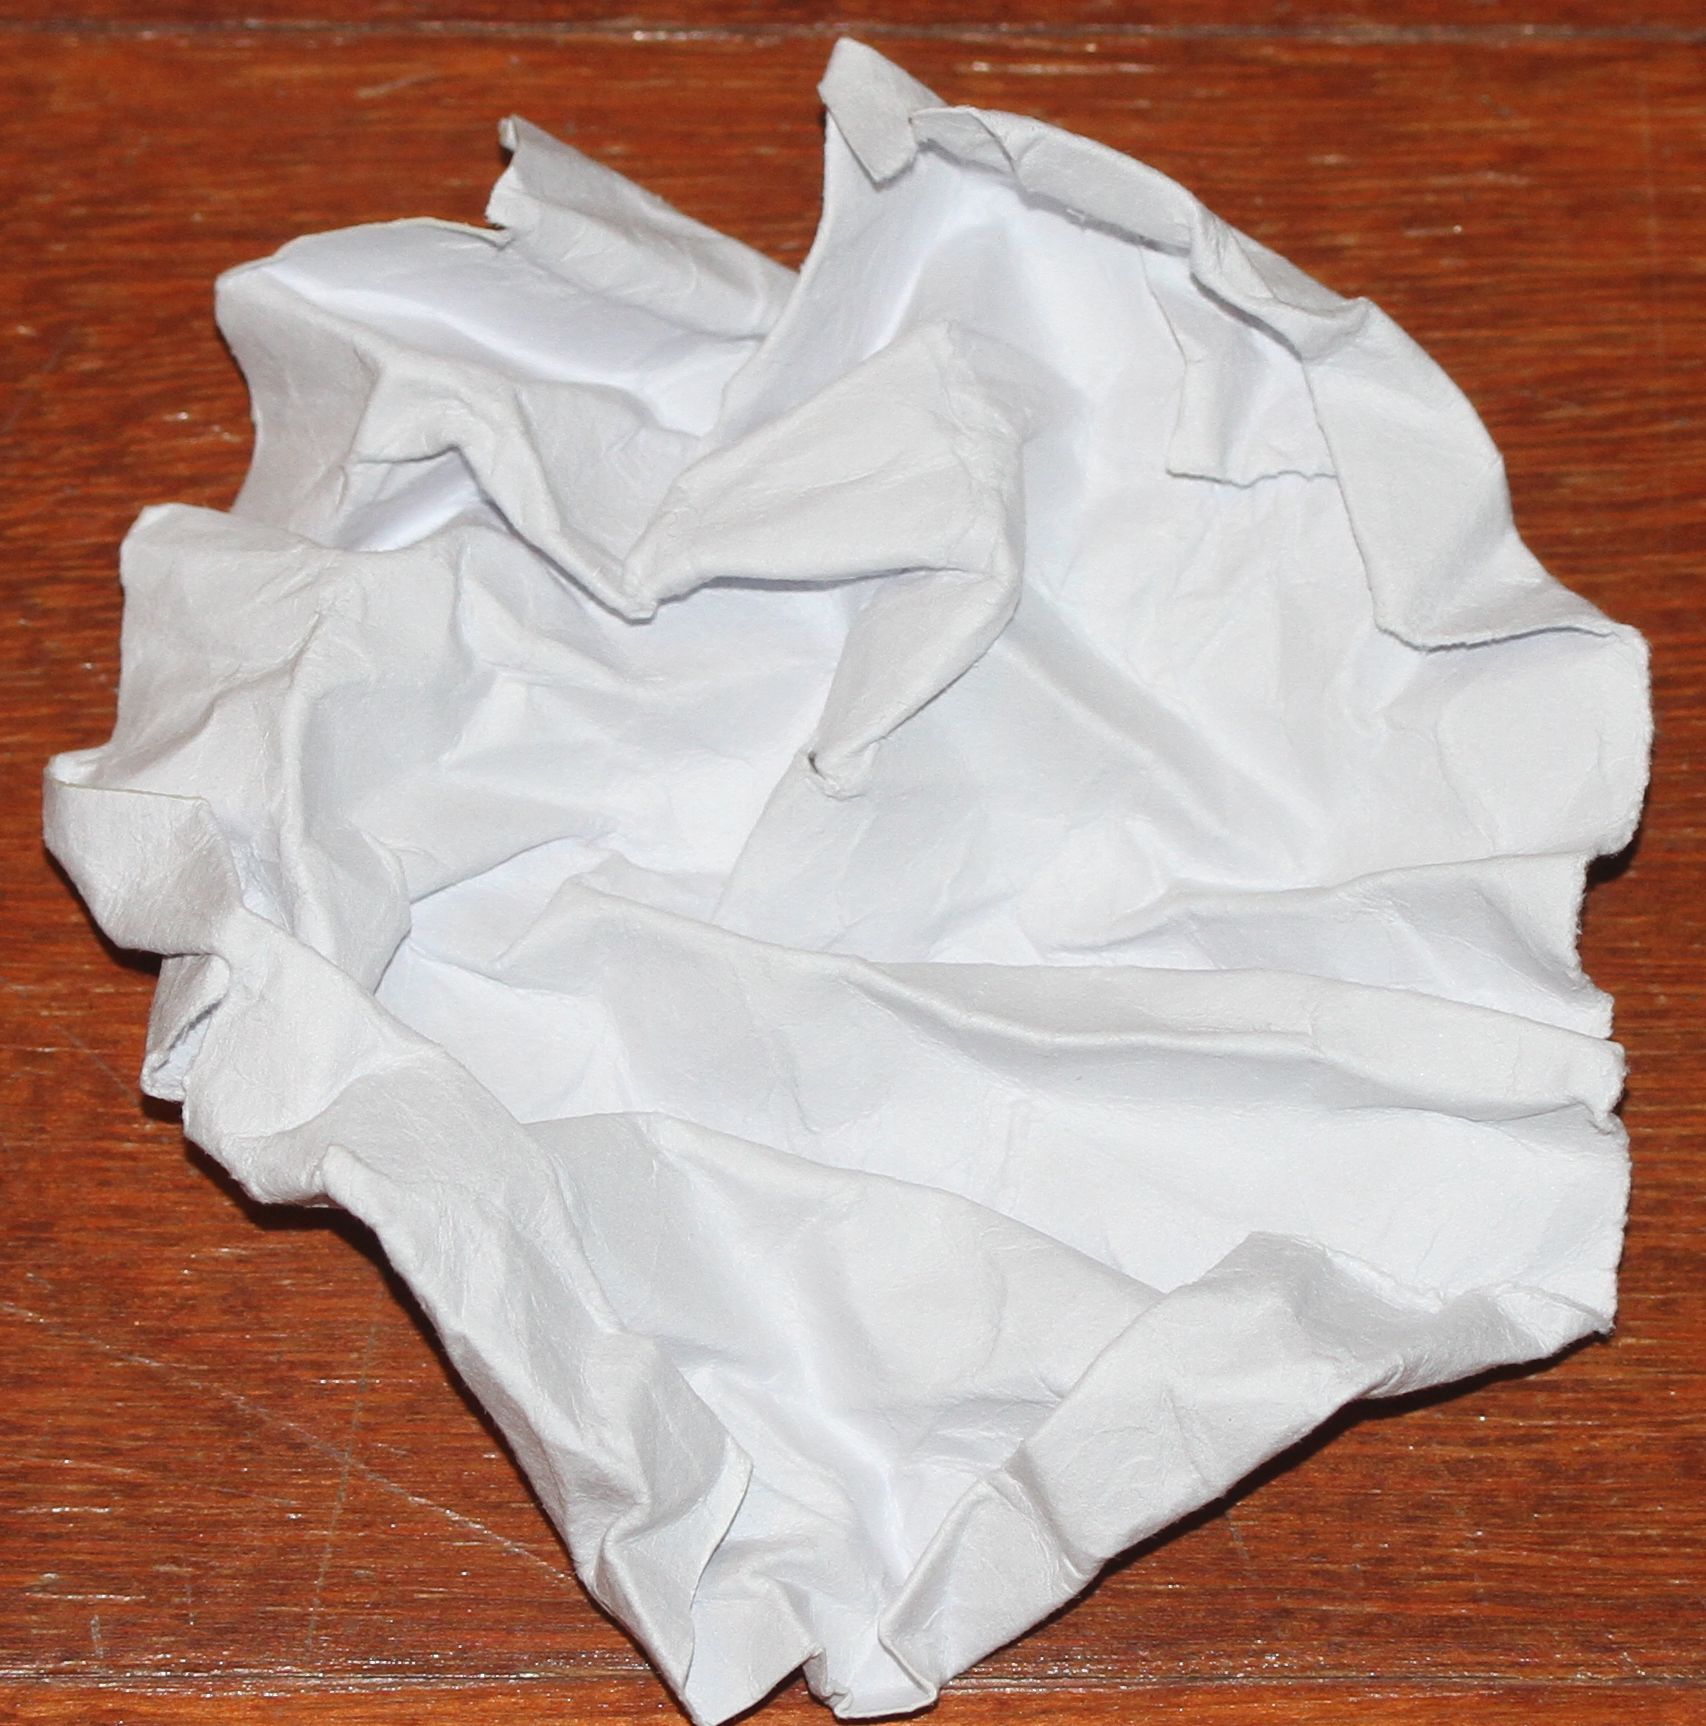
Non-woven tissue (wrapping from a bunch of flowers), torn and scuffed.
This looks a bit like a used tissue! Scuffing and kneading it has enhanced its softness. I nearly didn’t include this in my list, as it seems like a useless piece; but, it is no good discarding at this stage.
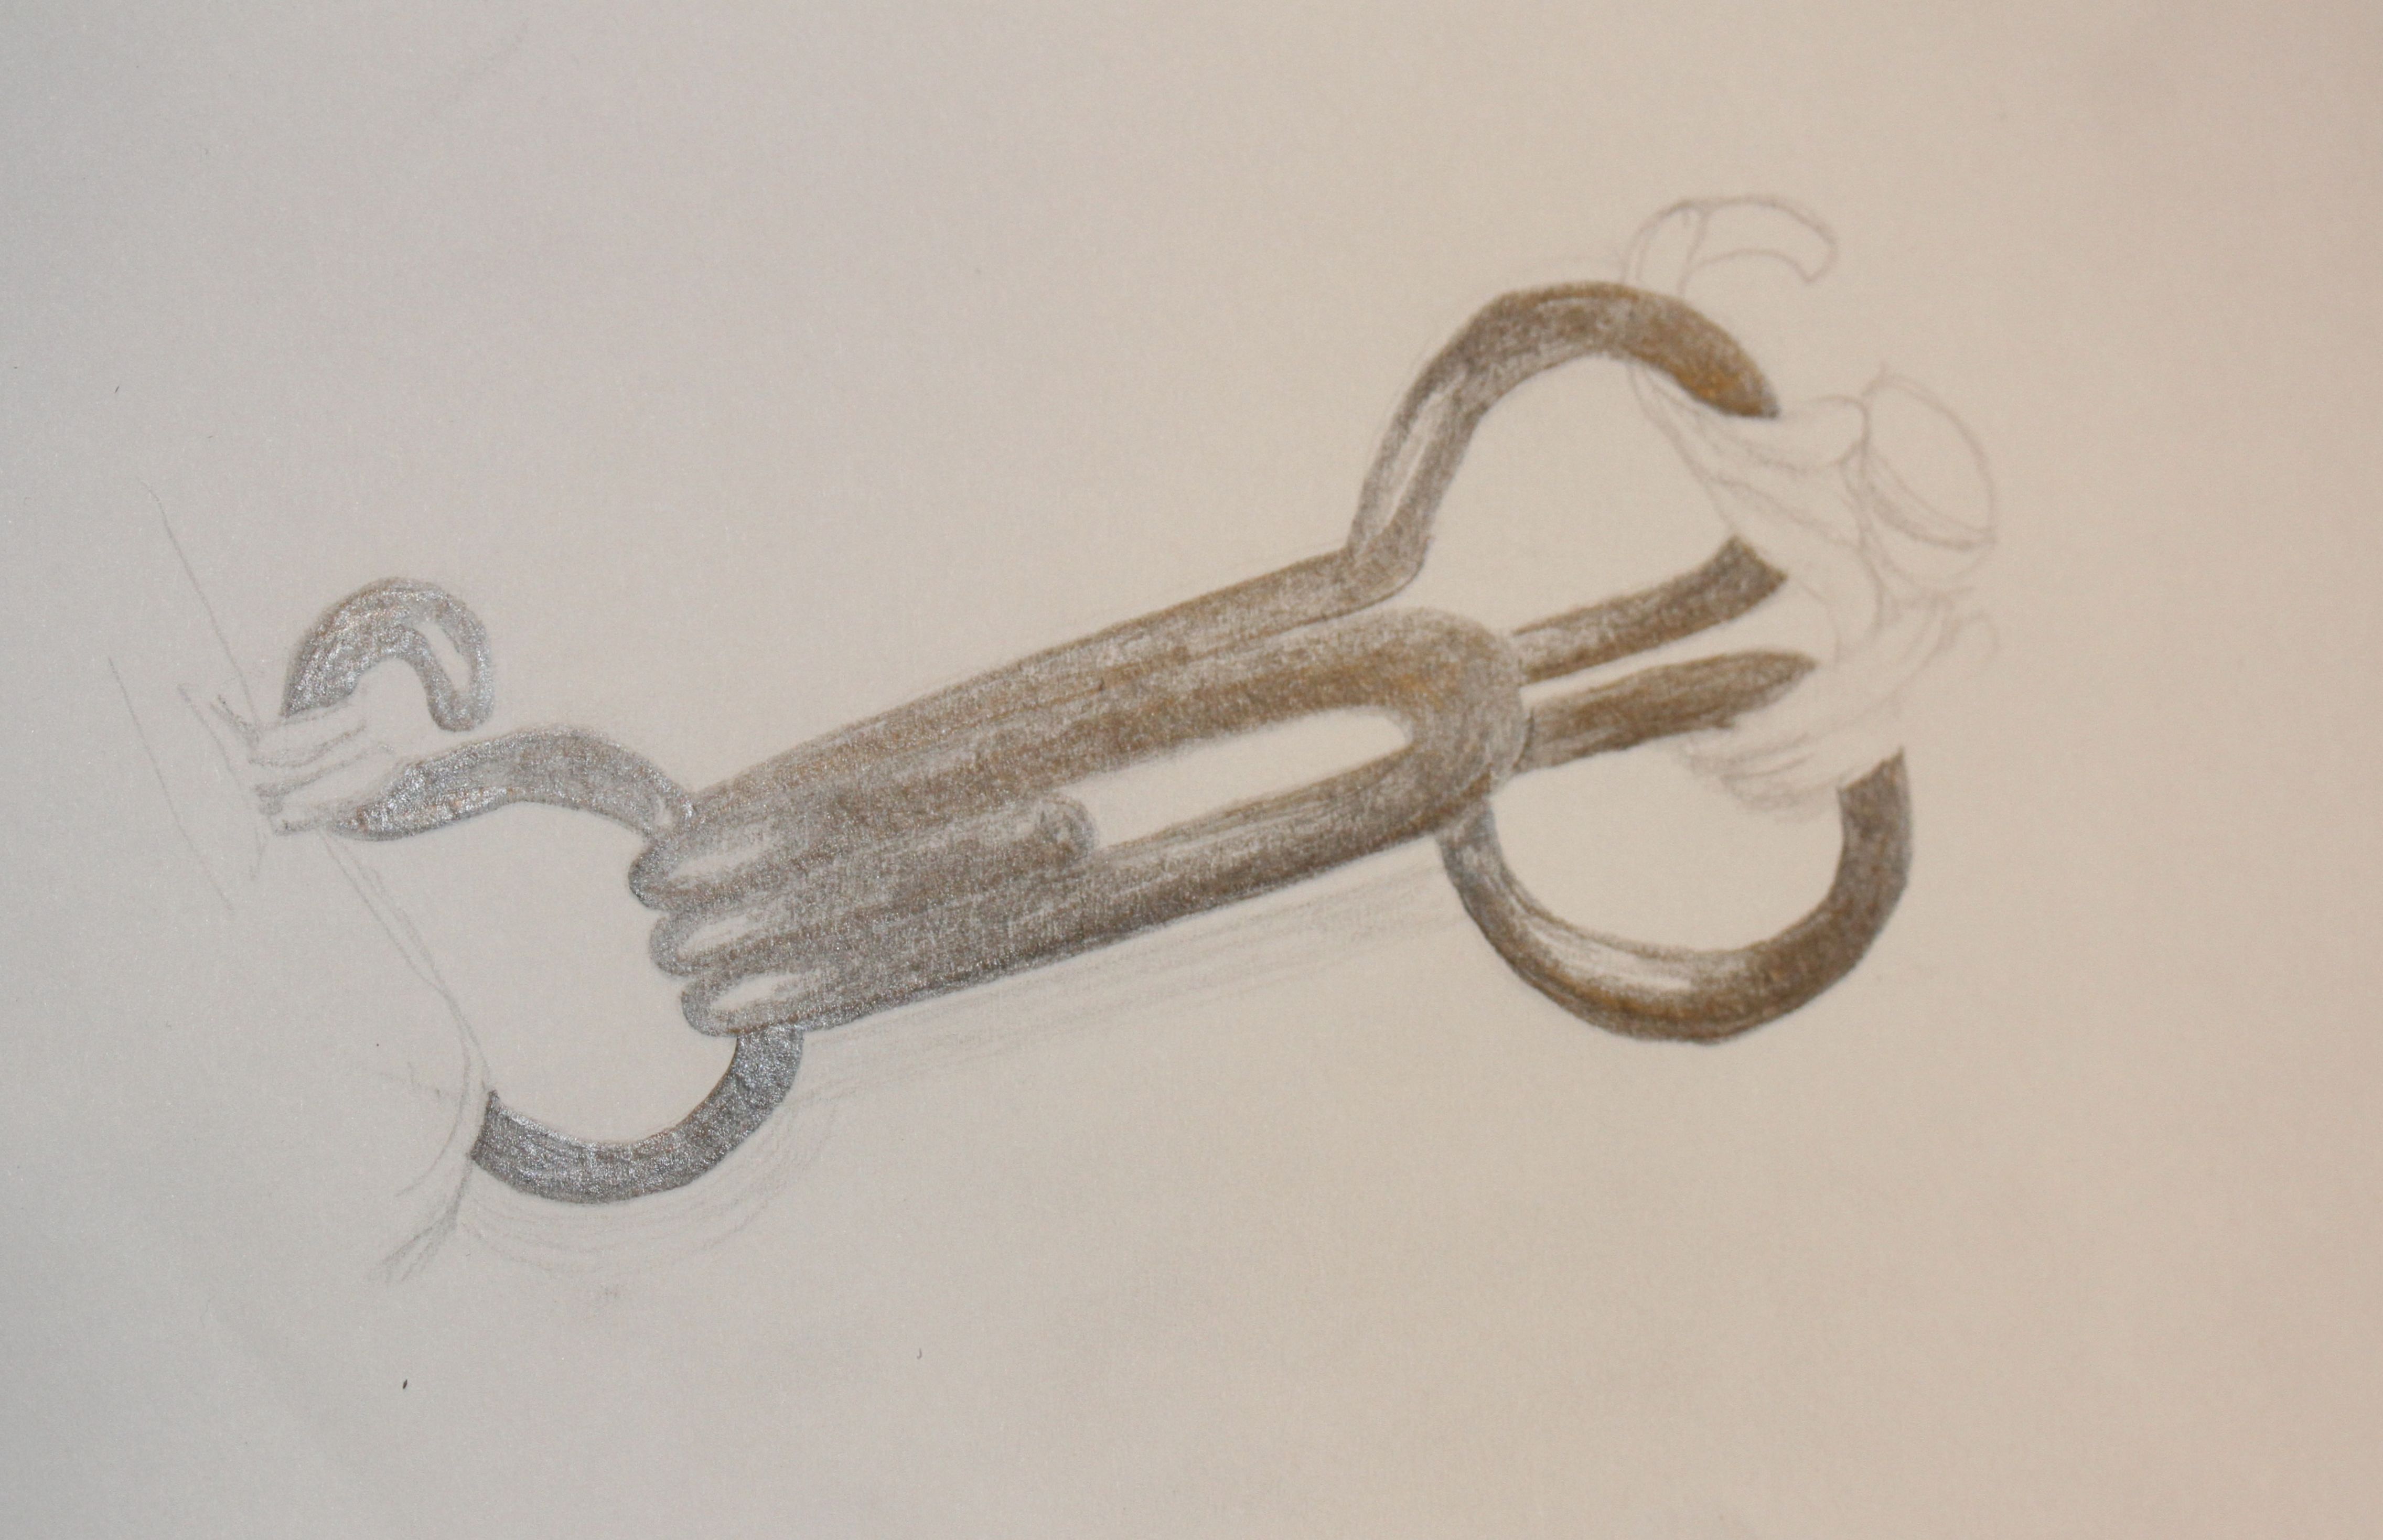
Drawing 2 – Hook and Eye
| Paper Options | Potential Treatments |
|---|---|
|
Glossy Black |
Twisting |
Results
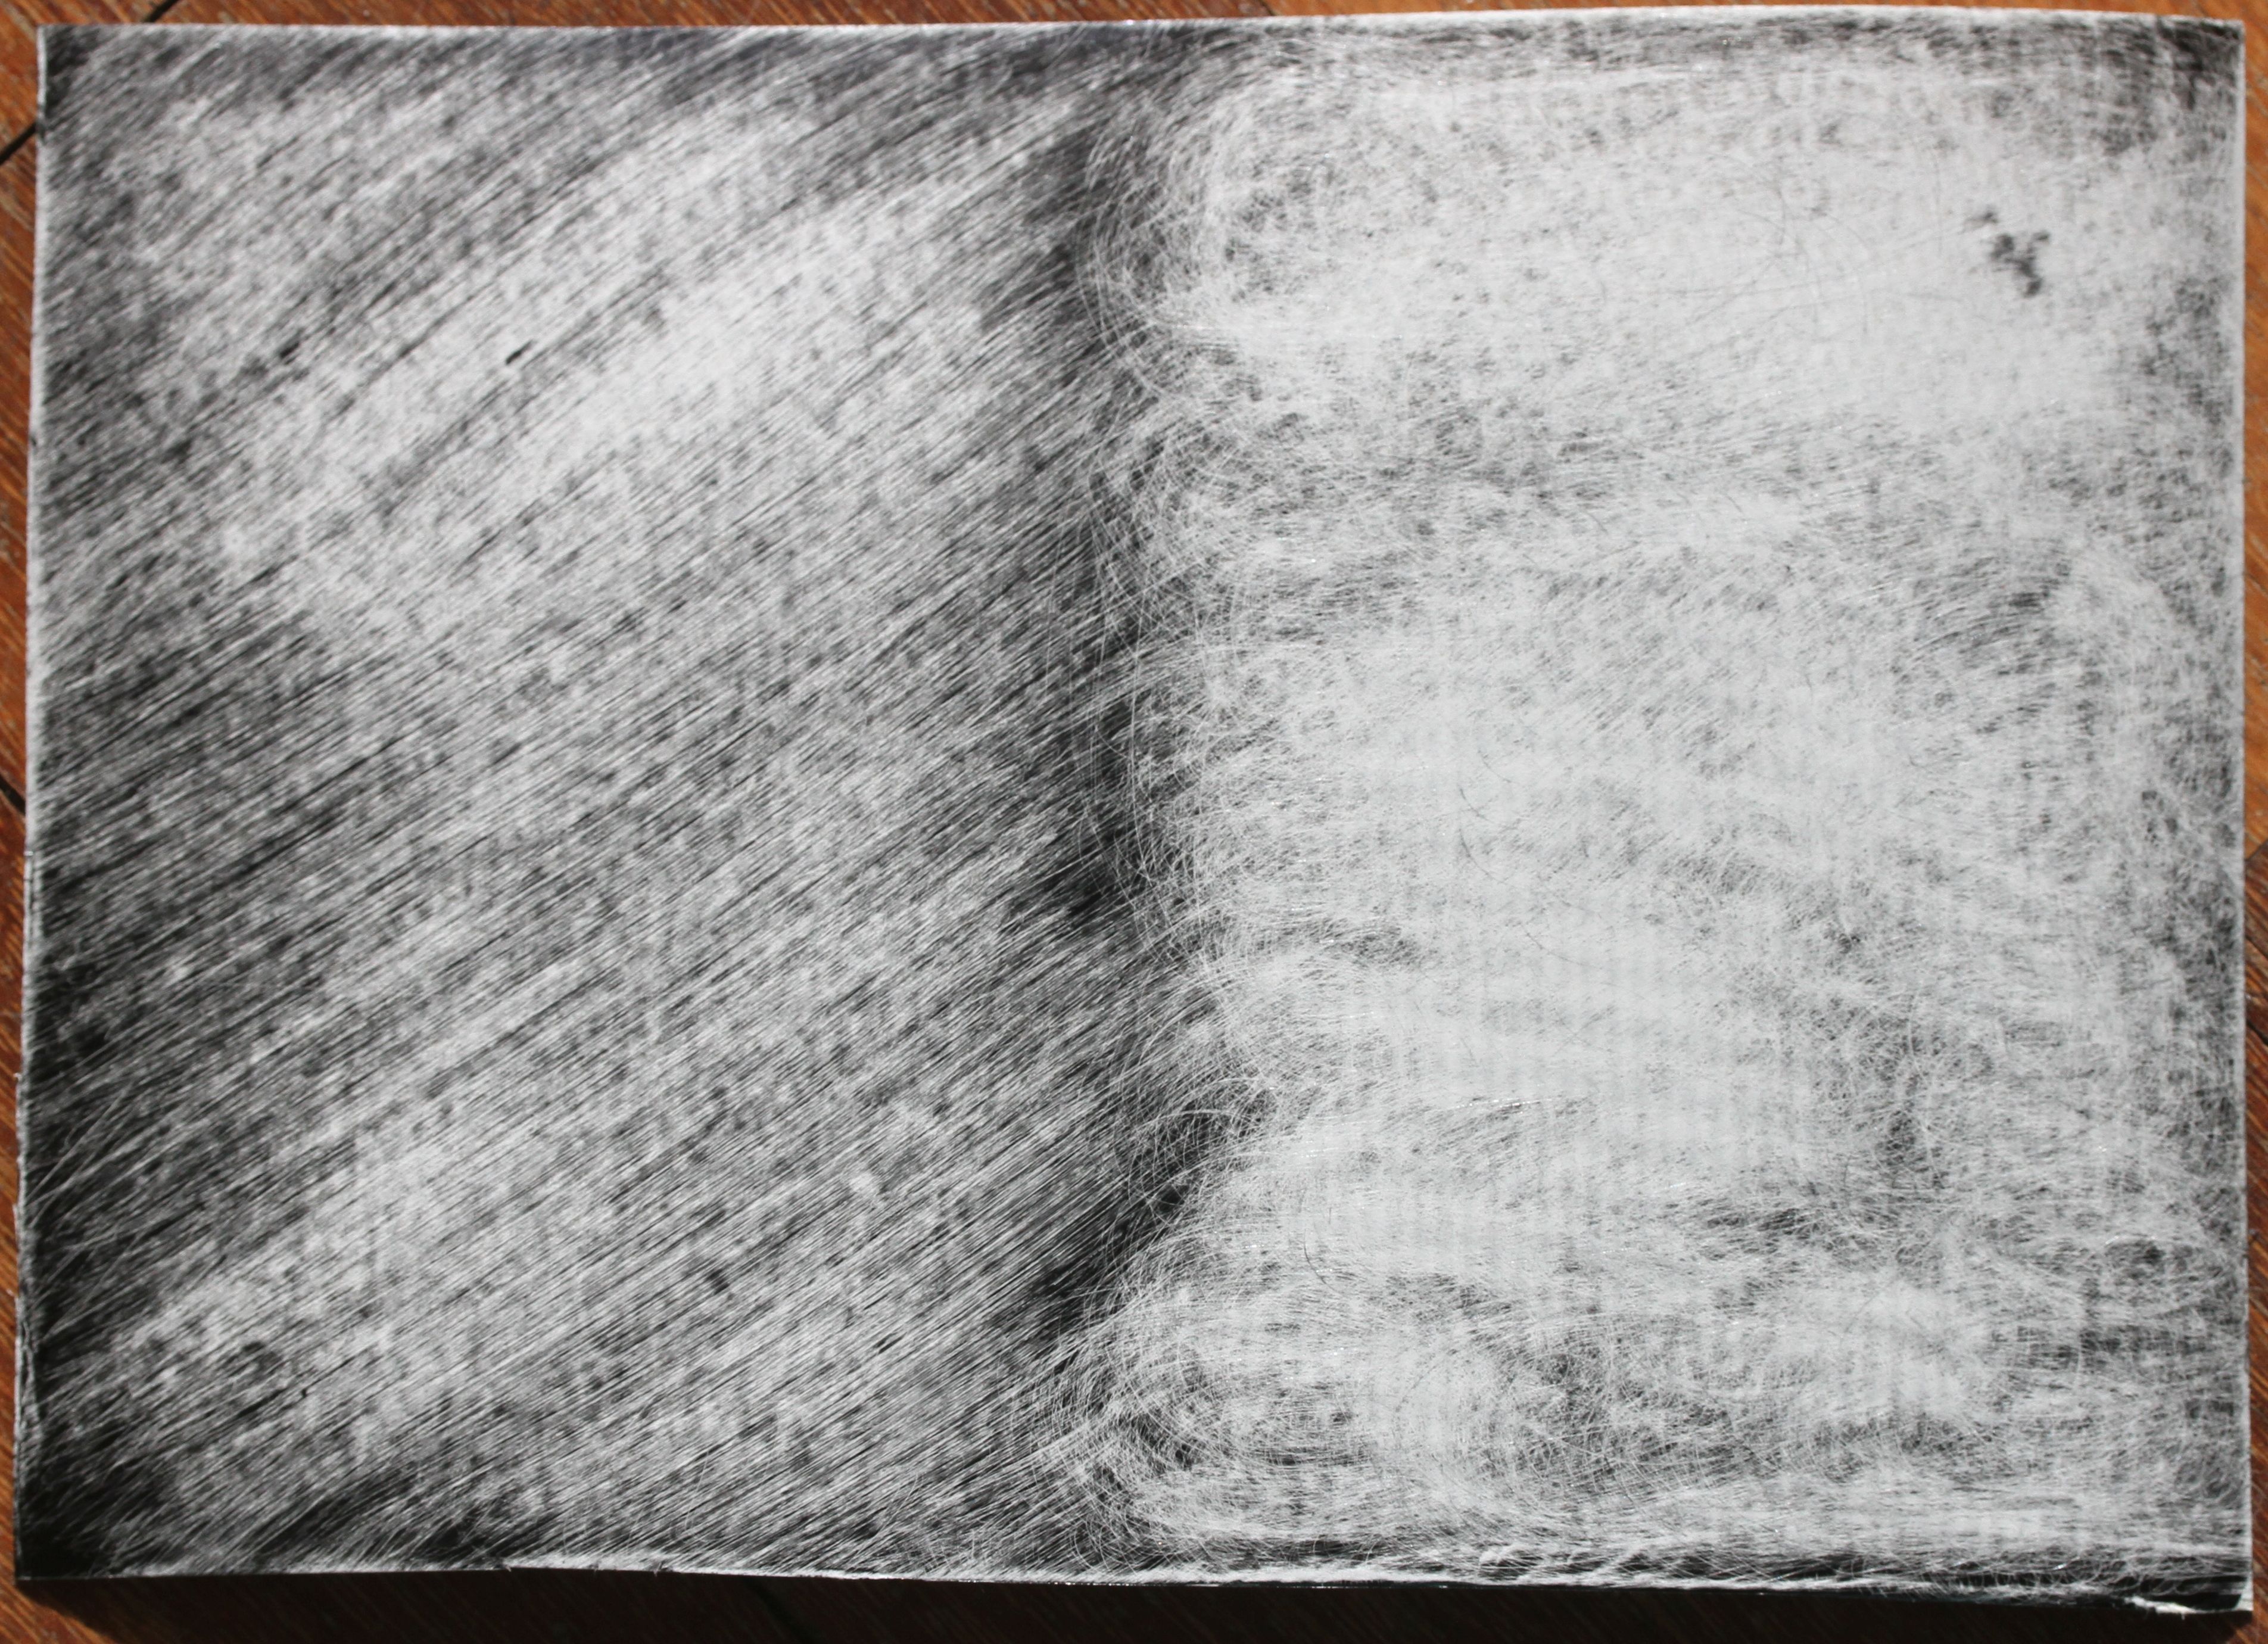
Glossy black card, sanded with fine sand-paper to imitate the shading in the drawing. Half was sanded with a circular motion, the other half with diagonal strokes. The card was silvery under the black layer, so looks quite metallic.
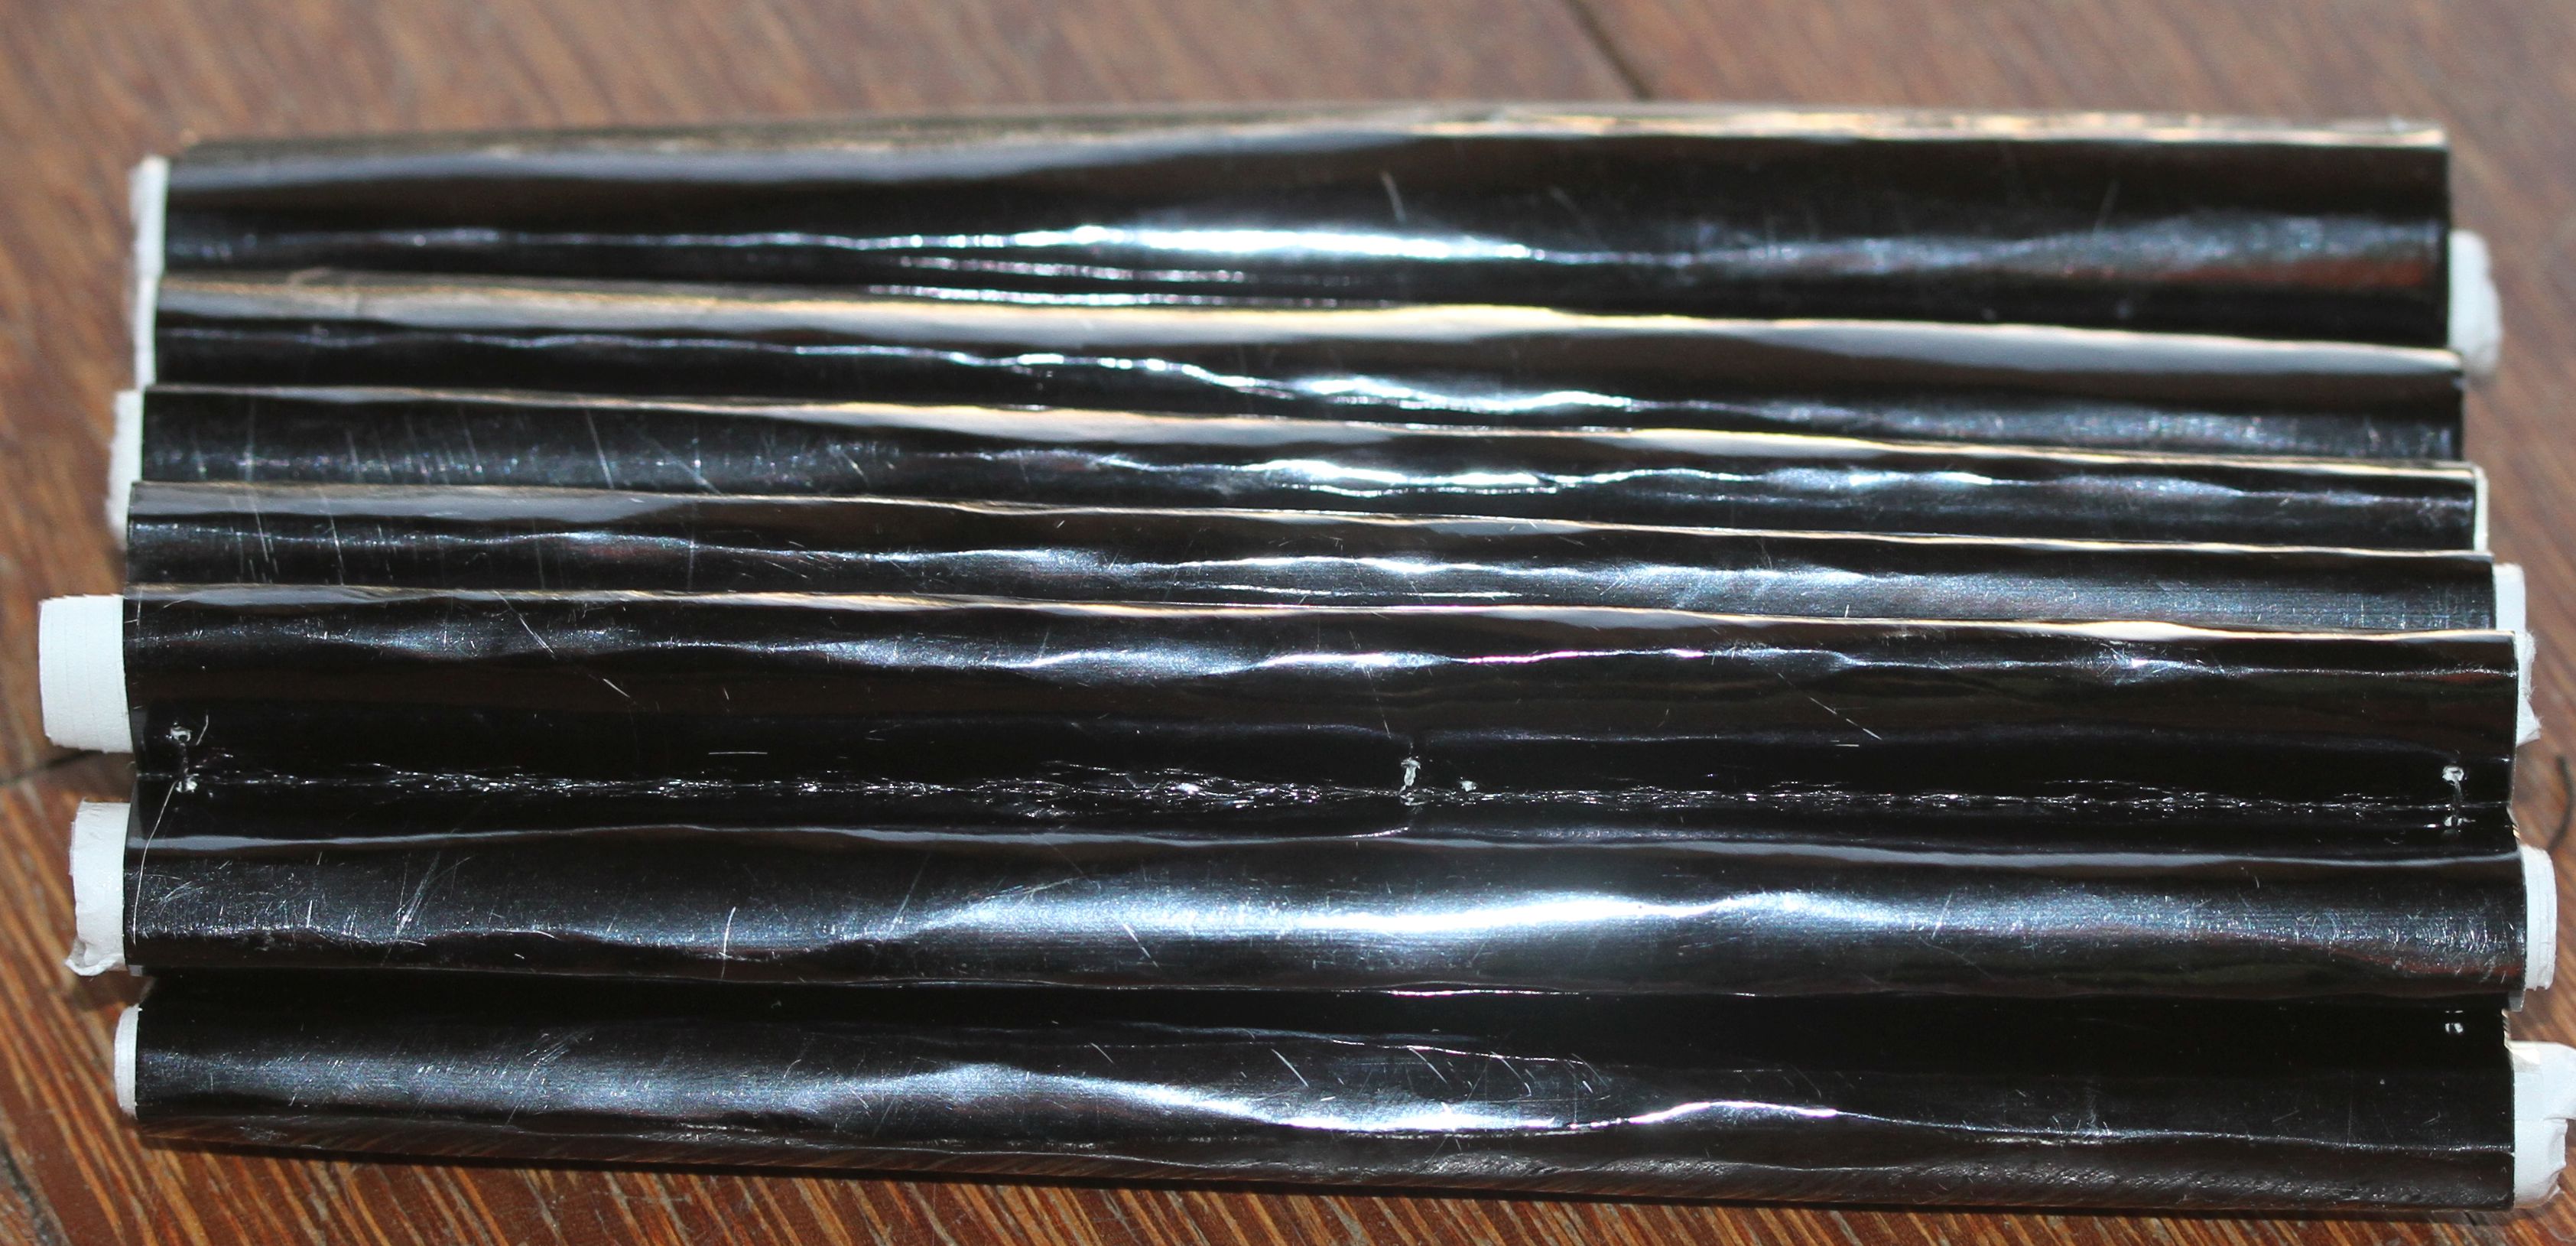
Surprisingly difficult to make the stiff black gloss card retain a rolled shape. It was stuffed with paper rolls and the ridges tied and stitched together.
NOTE TO SELF: This result doesn’t capture the effect I was after, but instead opens the door to a way of thinking about the drawing, as a 3-D object. Although the sample is probably un-usable, I will use it to take into the next exercise … how would couching wire or black cord work to represent the hook? What background would that need?
The answer is gentle folds and ties like the ancillary parts of the drawing. I took some cheap, soft watercolour paper and folded and twisted and crumpled it until it was even softer (Click for larger images):
|
|
|
Drawing 3 – Gerbera (Copper Engraving Style)

| Paper Options | Potential Treatments |
|---|---|
|
Stripey Pattern |
Scoring |
Results
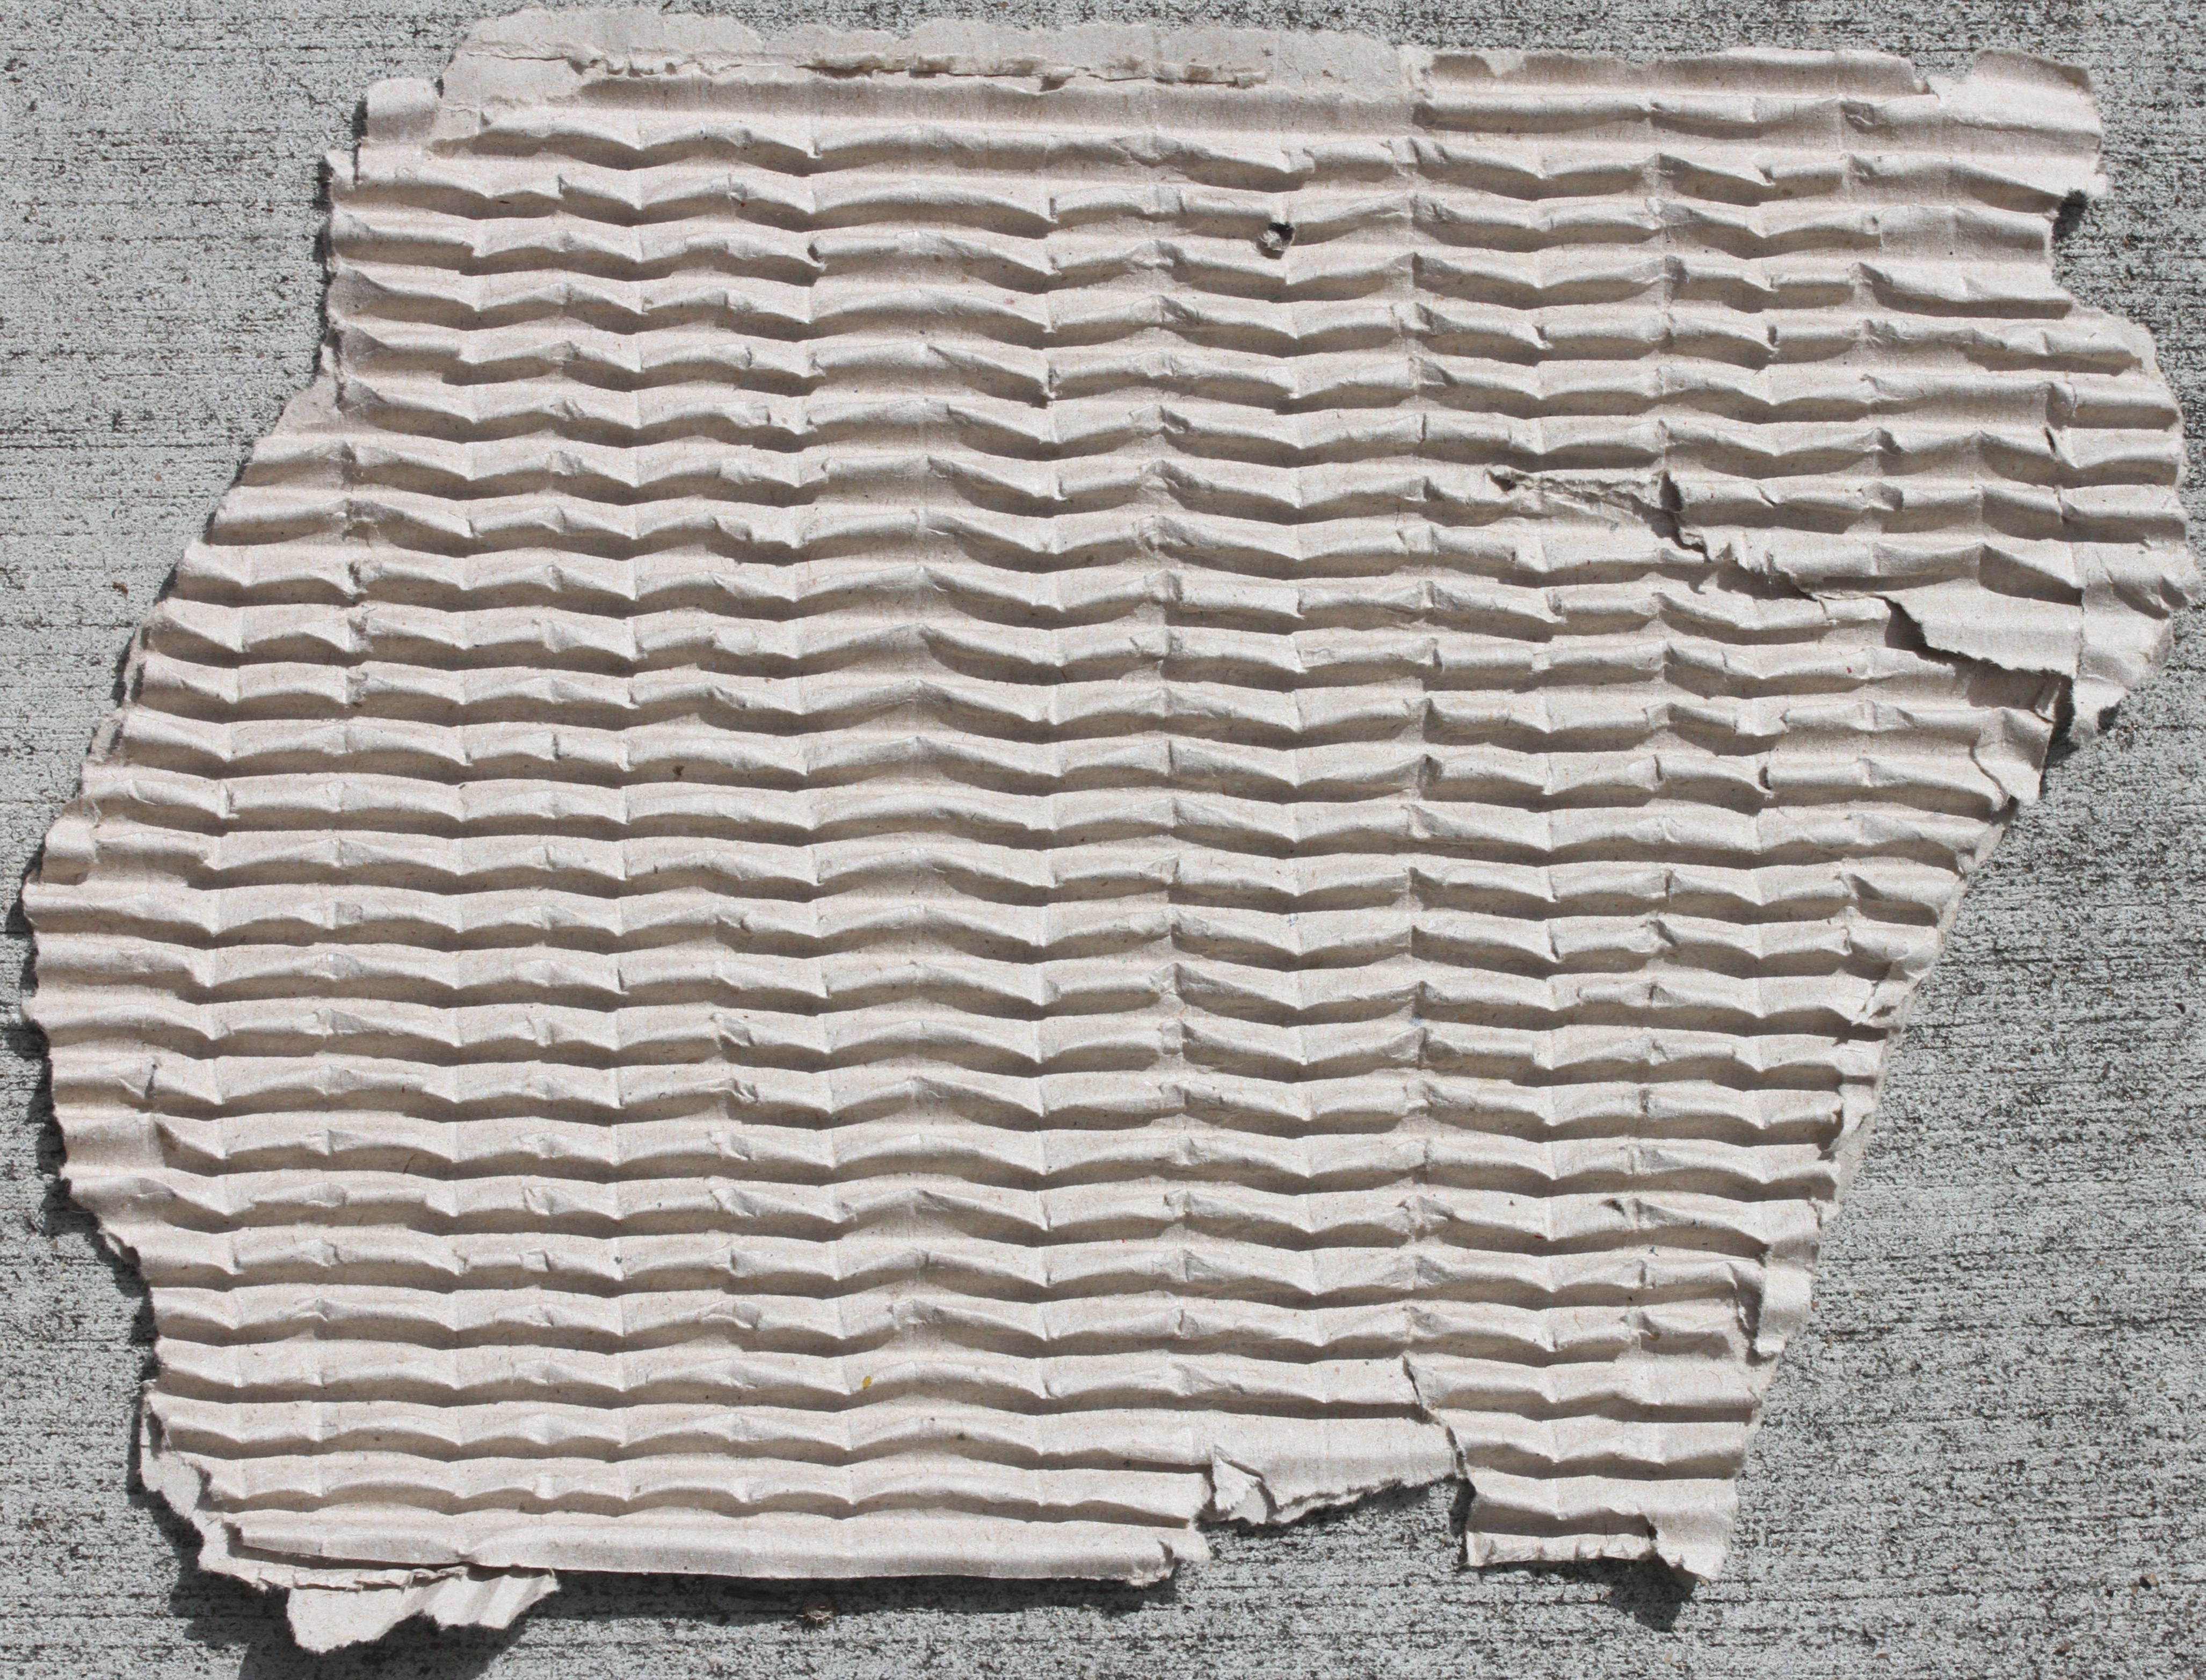
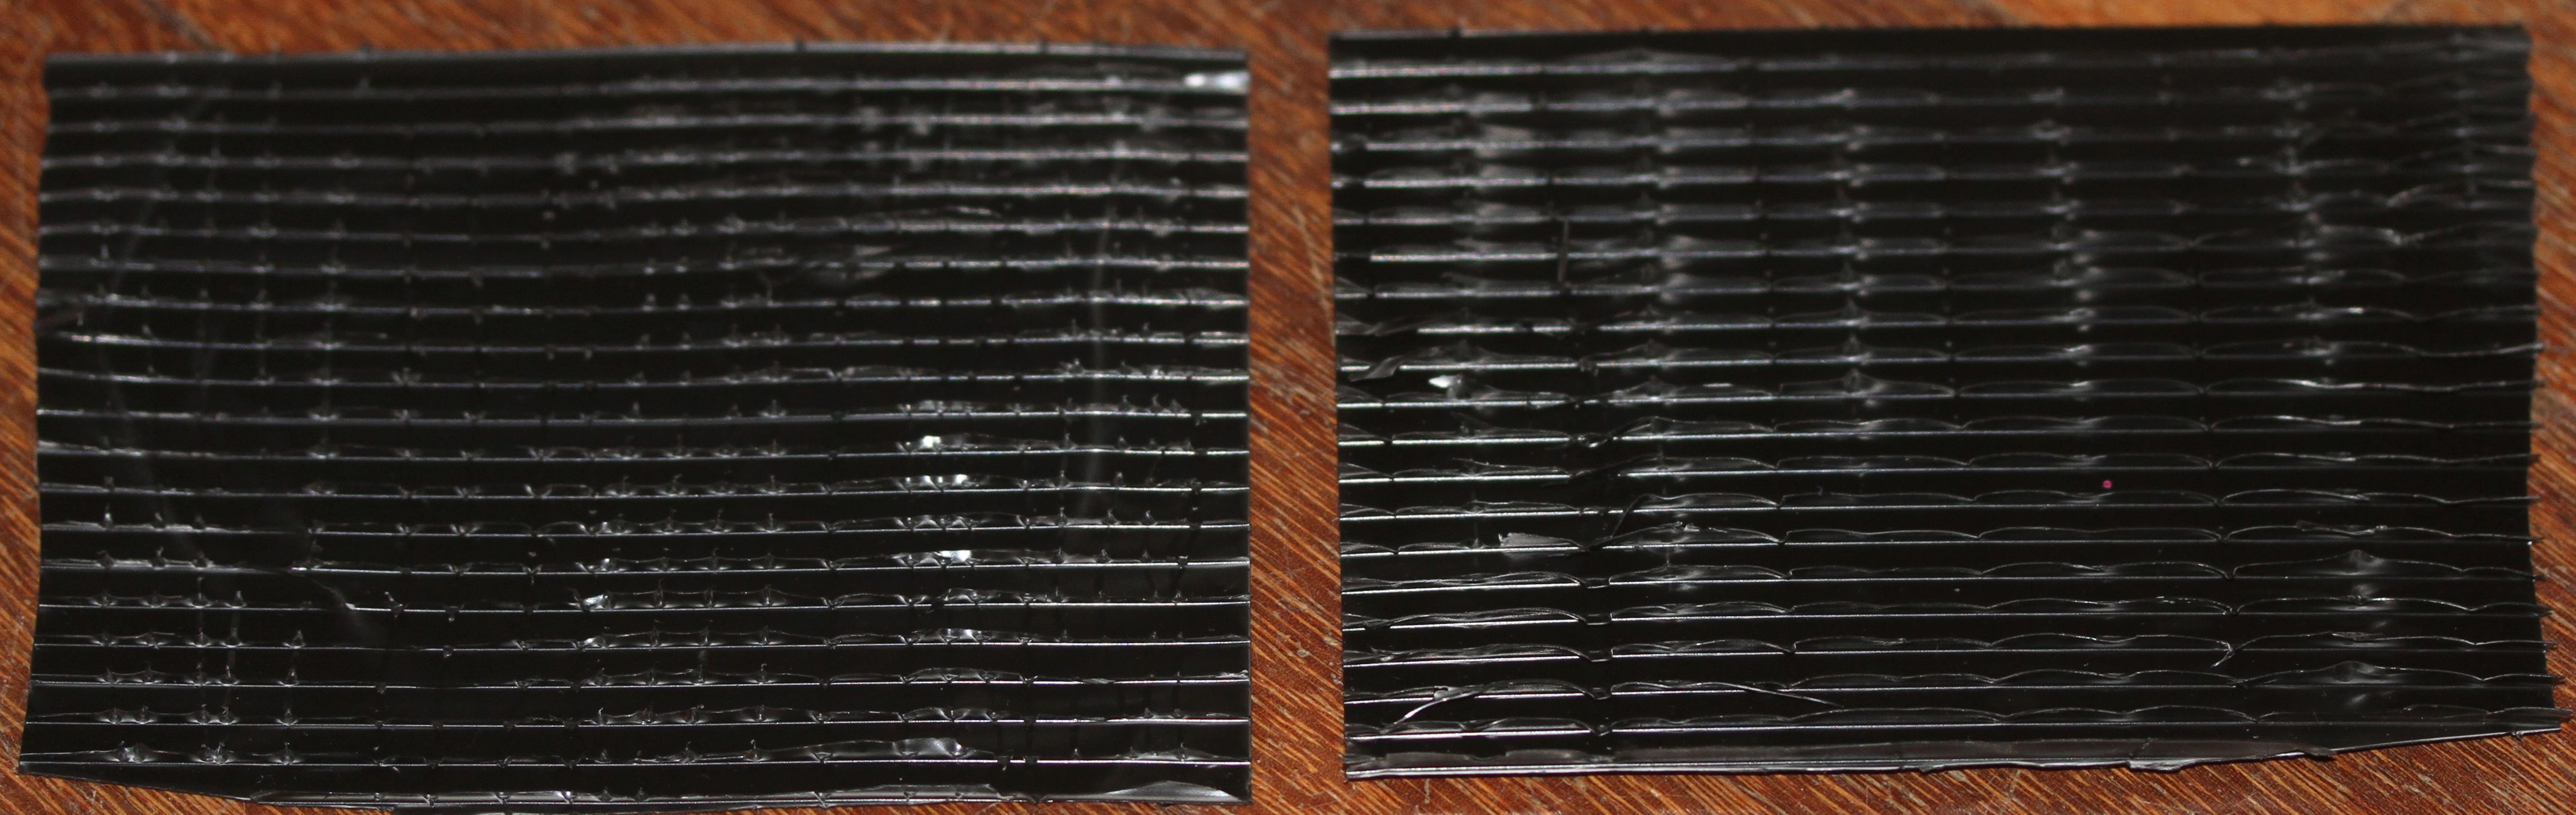
Scoring corrugated cardboard in two different directions, against the strips.
The corrugated cardboard was interesting, but the texture of the cardboard didn’t suit. I tried again with black corflute, and the results reflected the drawing slightly better.

Drawing paper slashed with a craft knife.
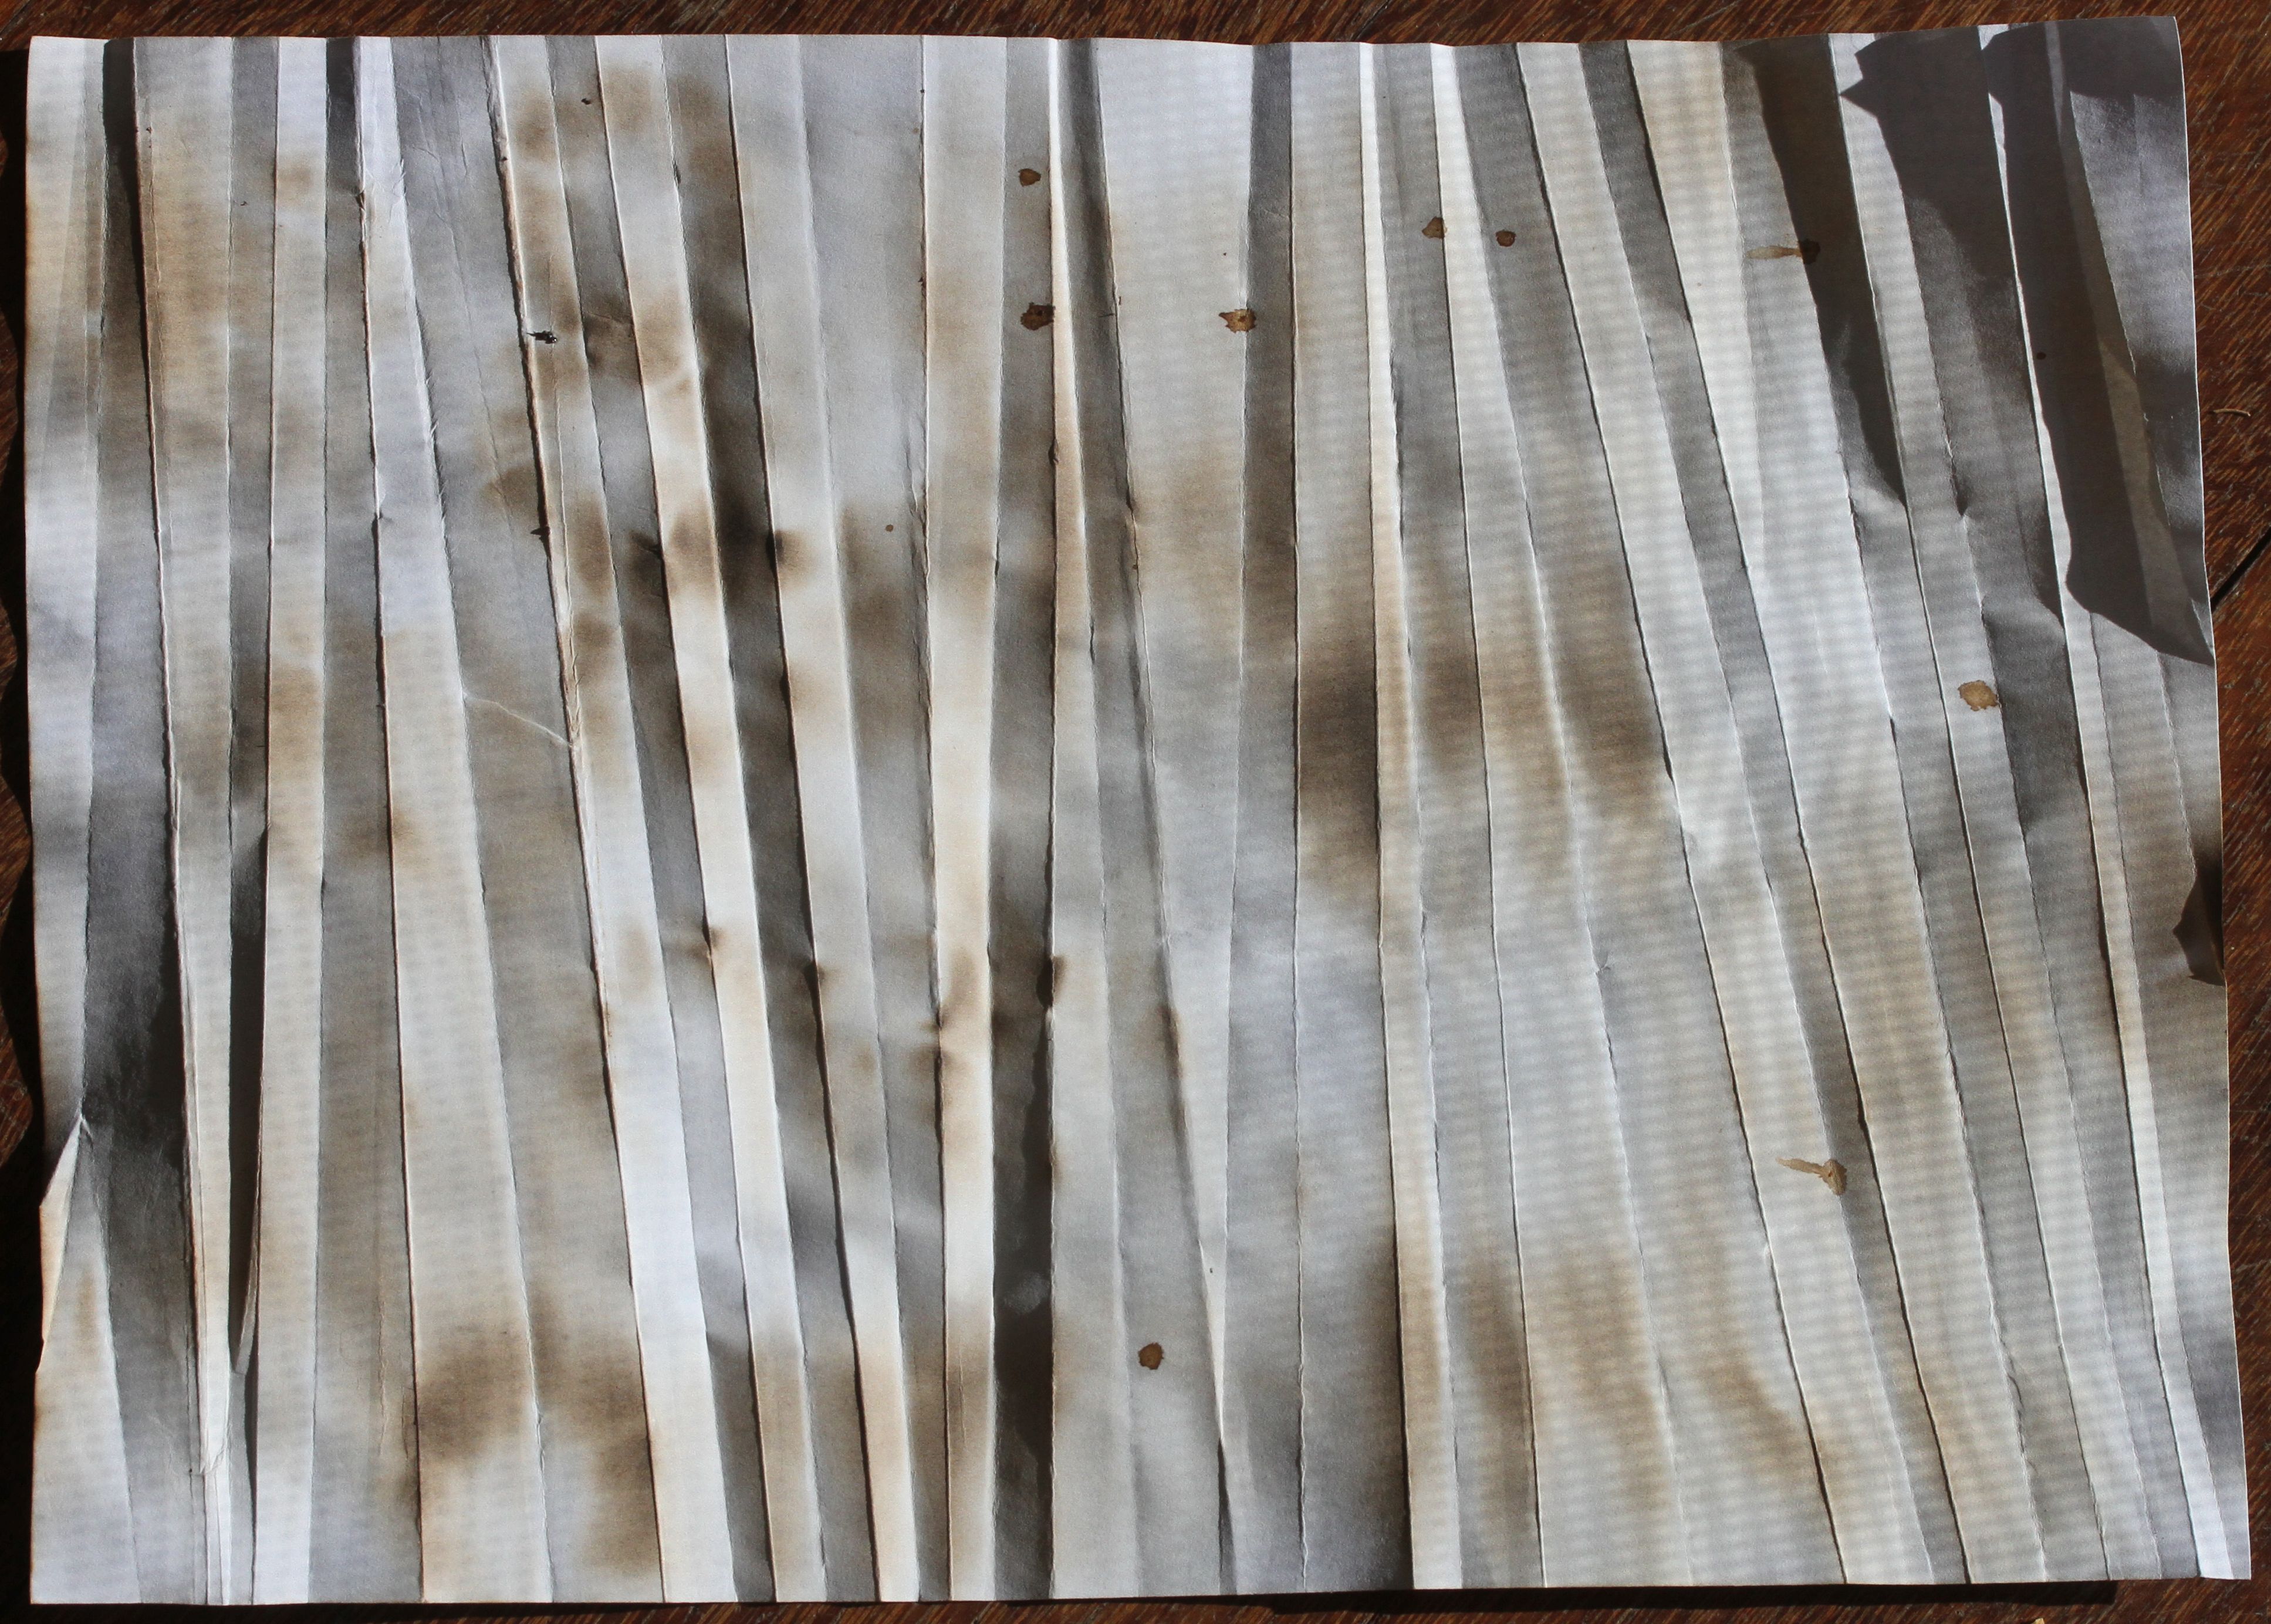
Pleated office paper, burnt while pleated.
NOTE TO SELF: I went far beyond the initial brainstorm ideas with the burning! What great marks, though. Burning is a whole new world to explore, even if it doesn’t fit the remit of this project – see how far it can go with different papers, applying it with different tools (the heat gun, a soldering iron, candles and wax, stubbed out matches …)
Drawing 4 – Voile Grid
| Paper Options | Potential Treatments |
|---|---|
|
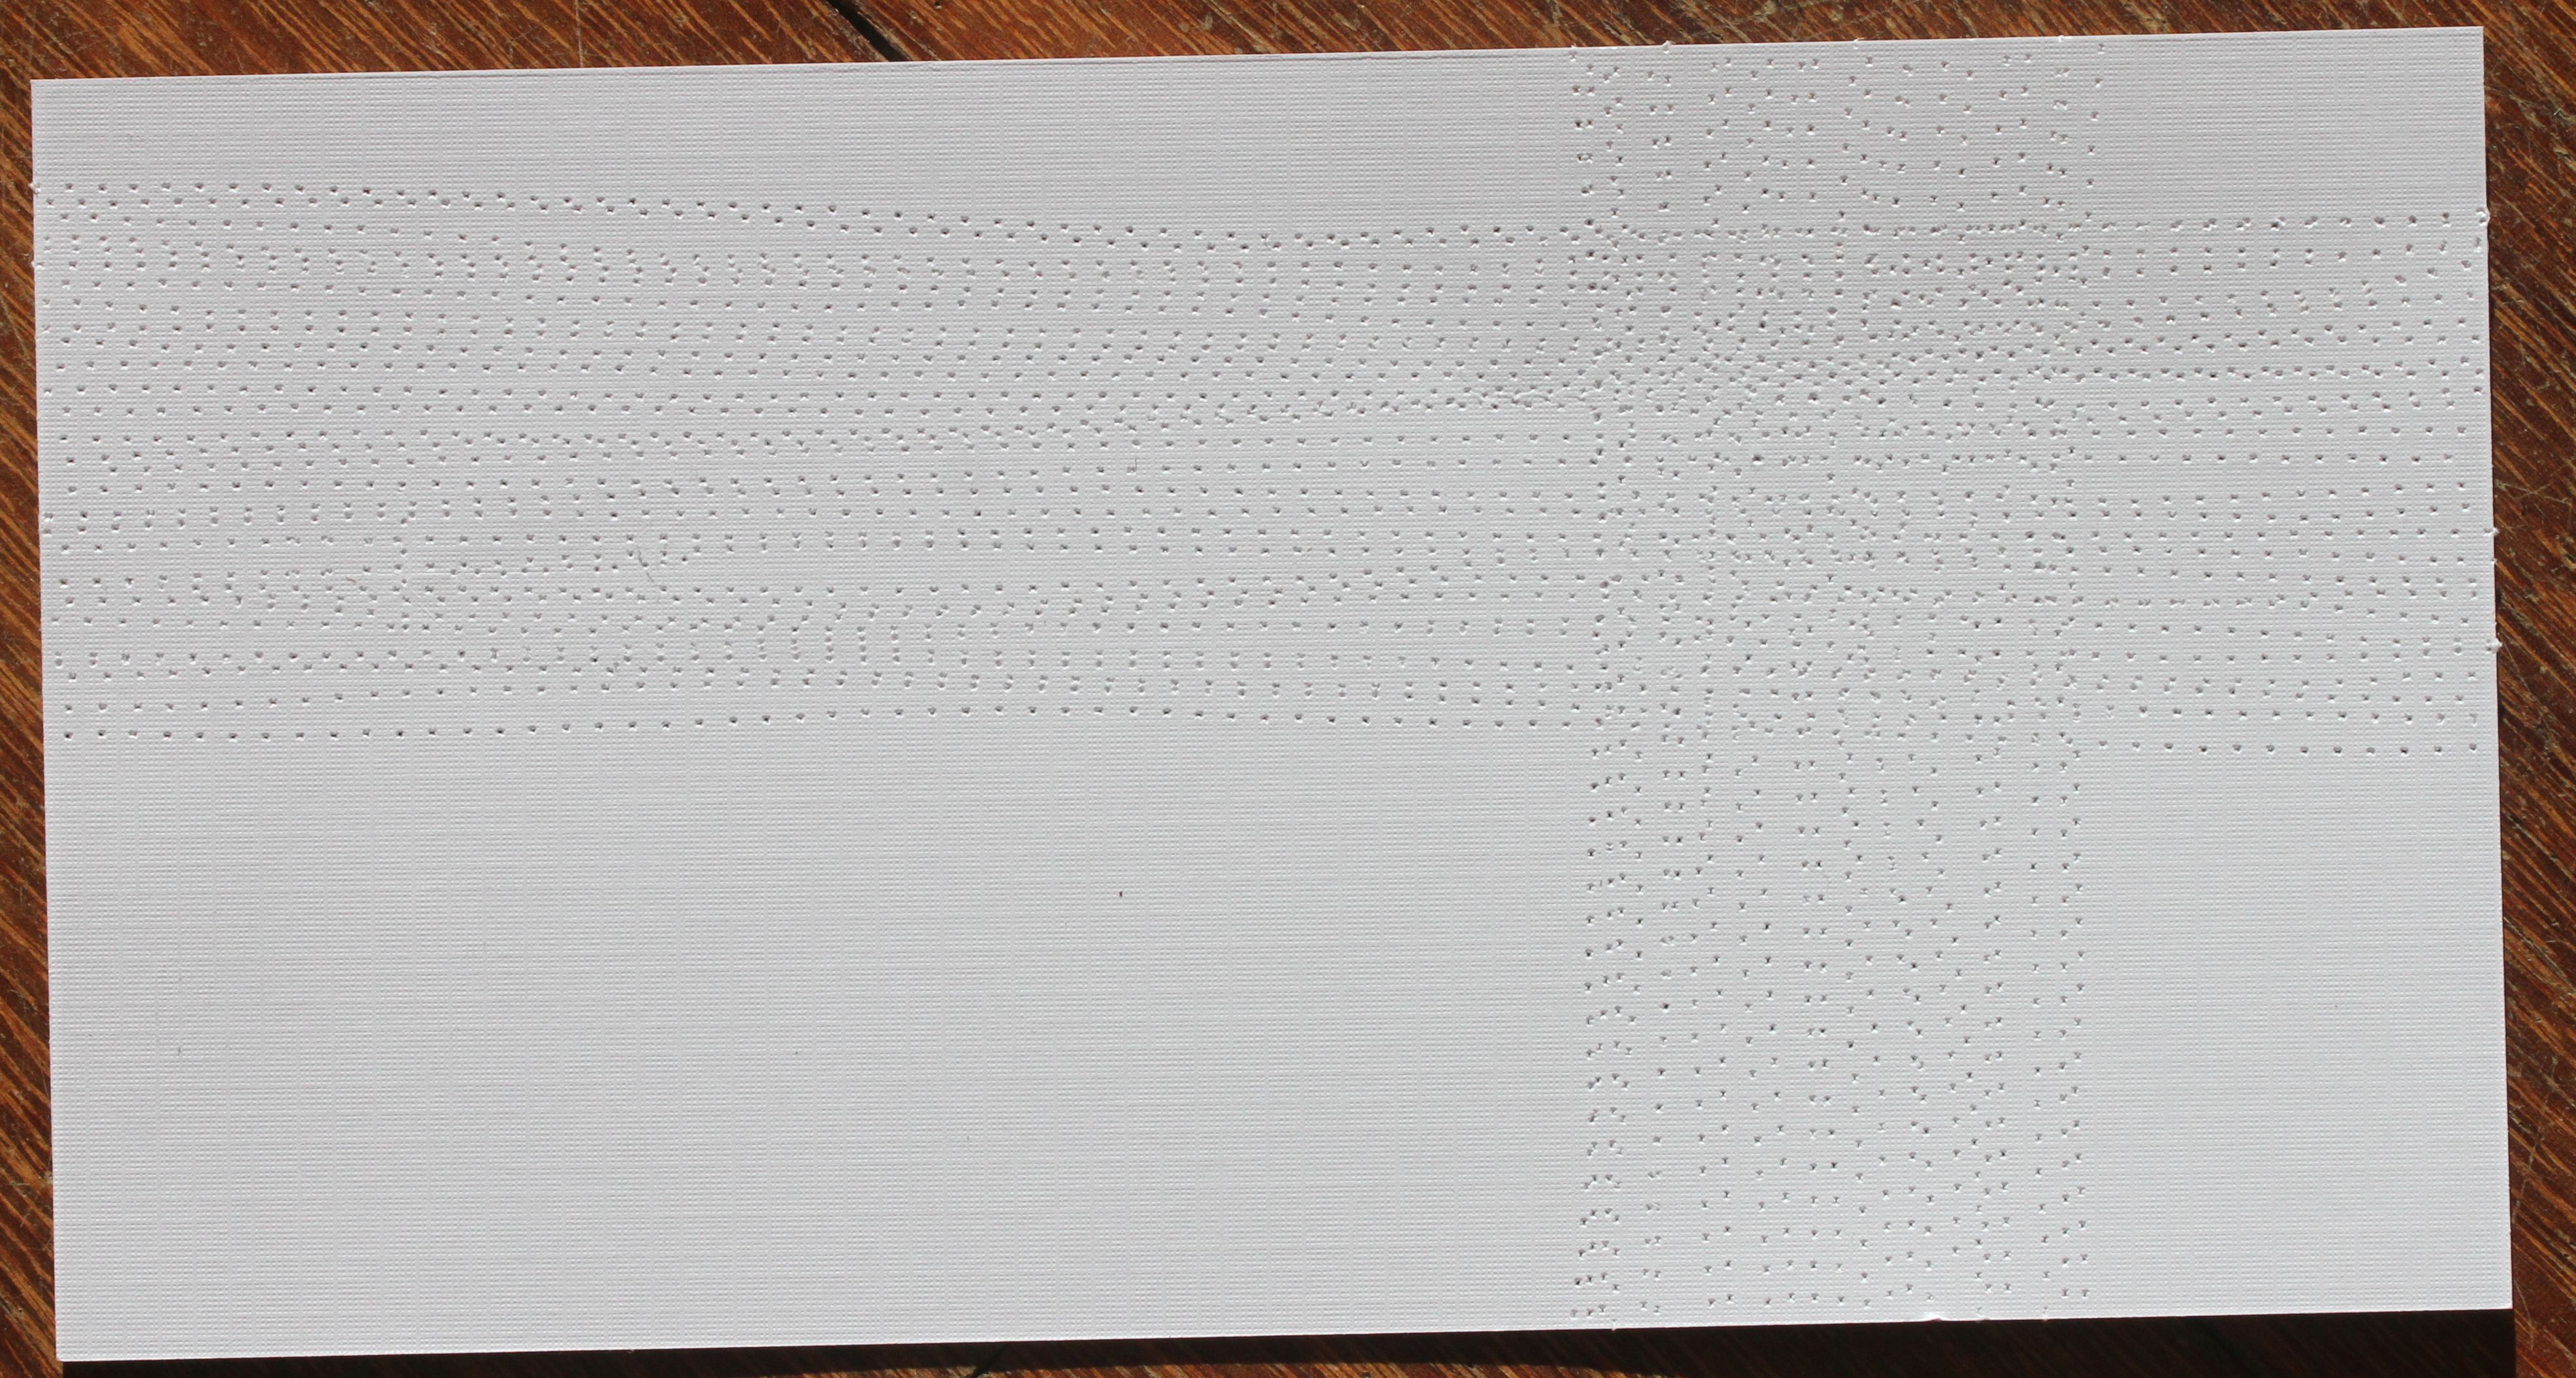
Grid – Graph Paper |
Shredding |
Results

Black office paper and tracing paper, woven together. If I were a more experienced weaver, I might have been able to incorporate the curved aspect of the drawing. I would try stretching it out of line if I was to use it for one of my samples. All in all, it doesn’t bear much resemblance to the drawing.
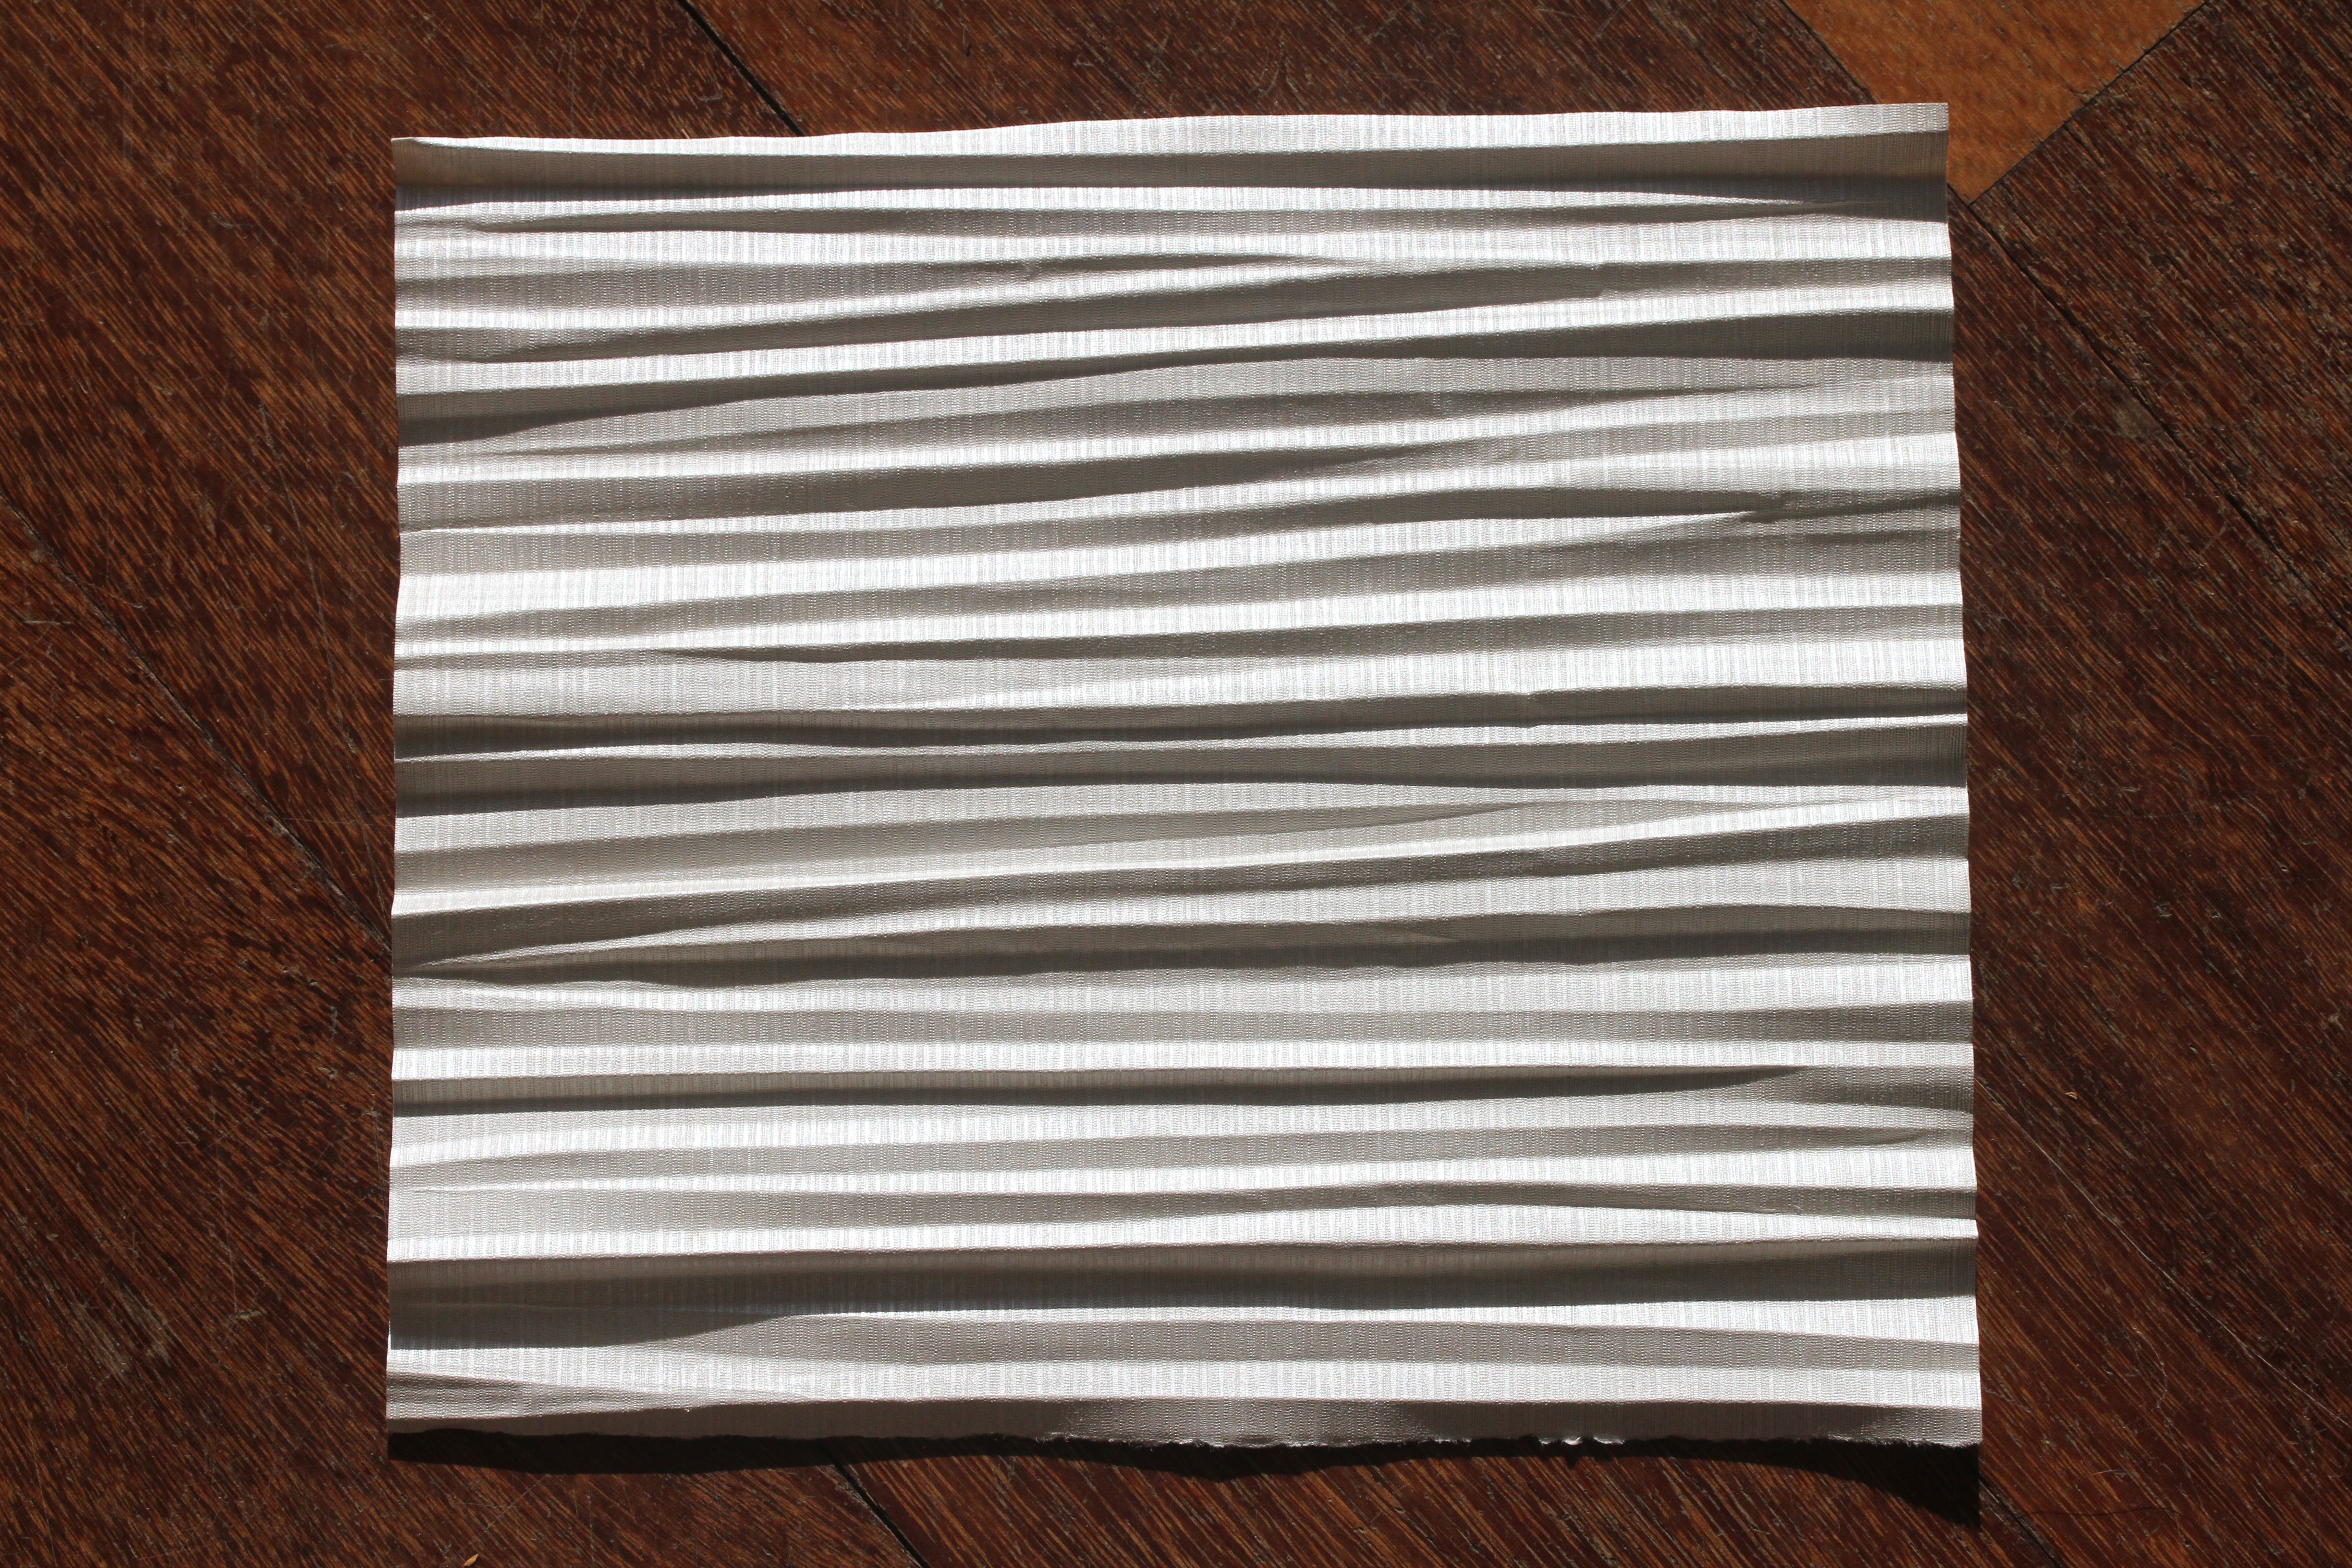
Wallpaper with directional embossing, pleated against the grain.
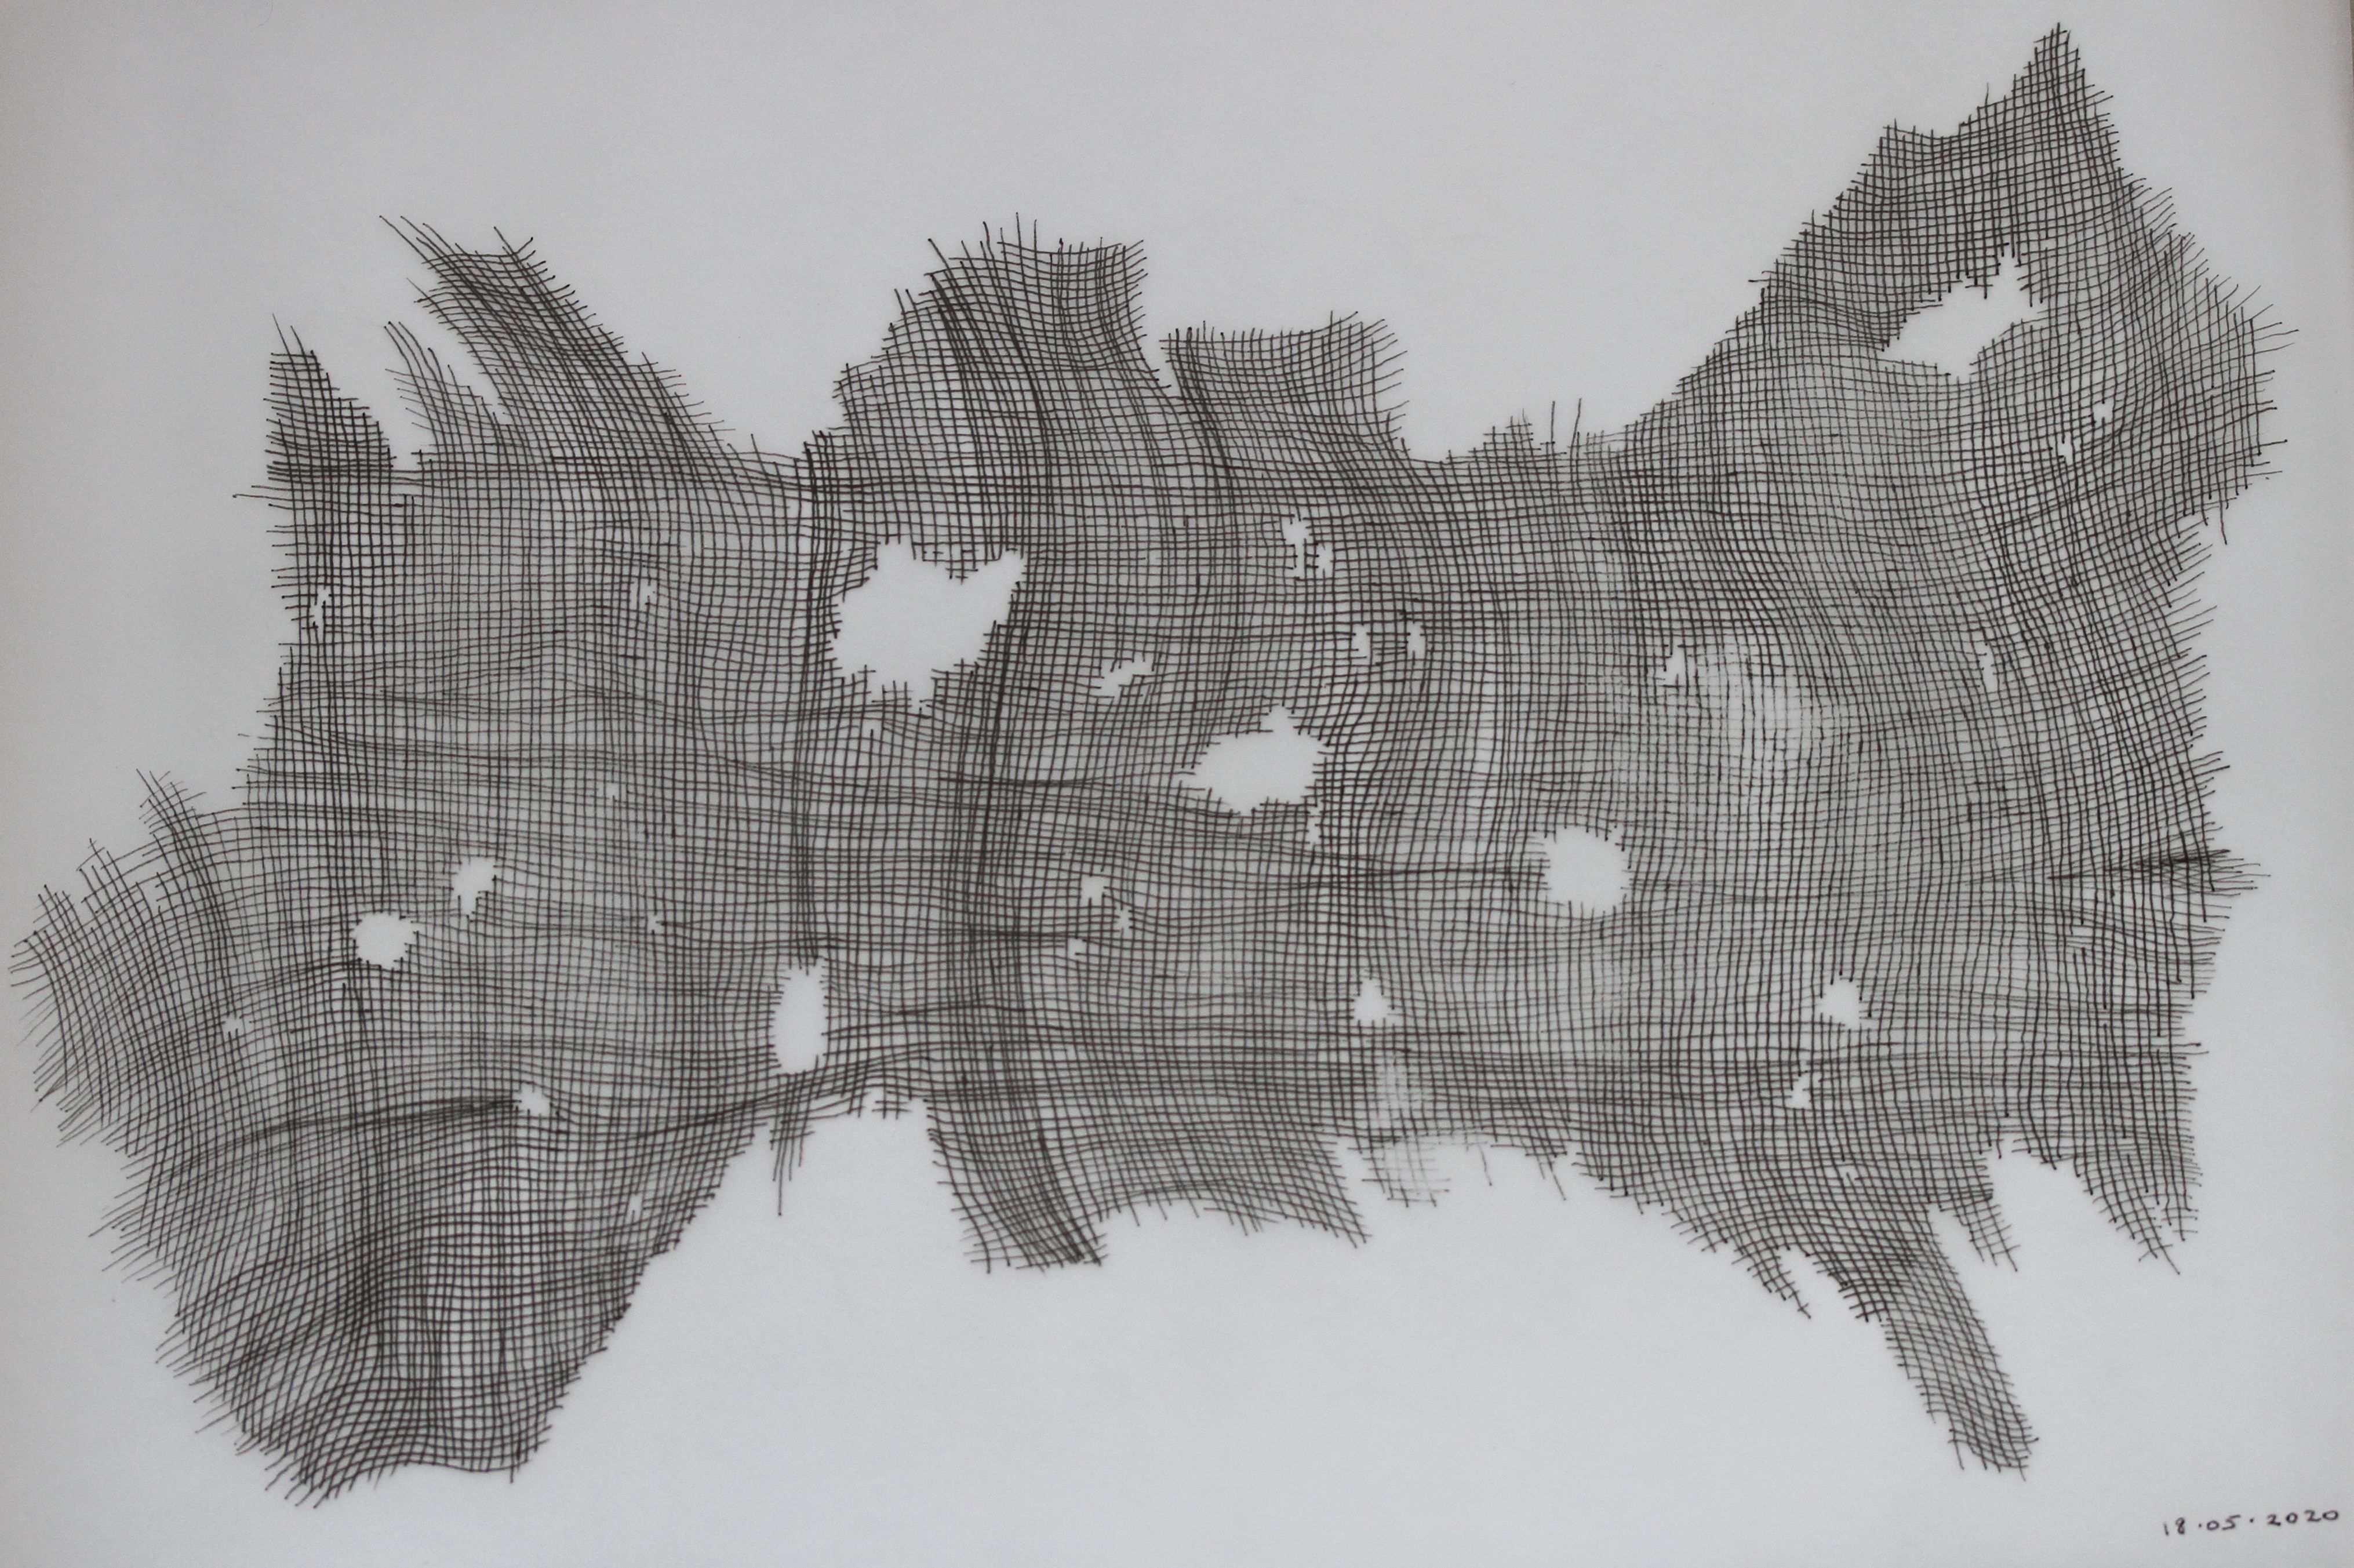
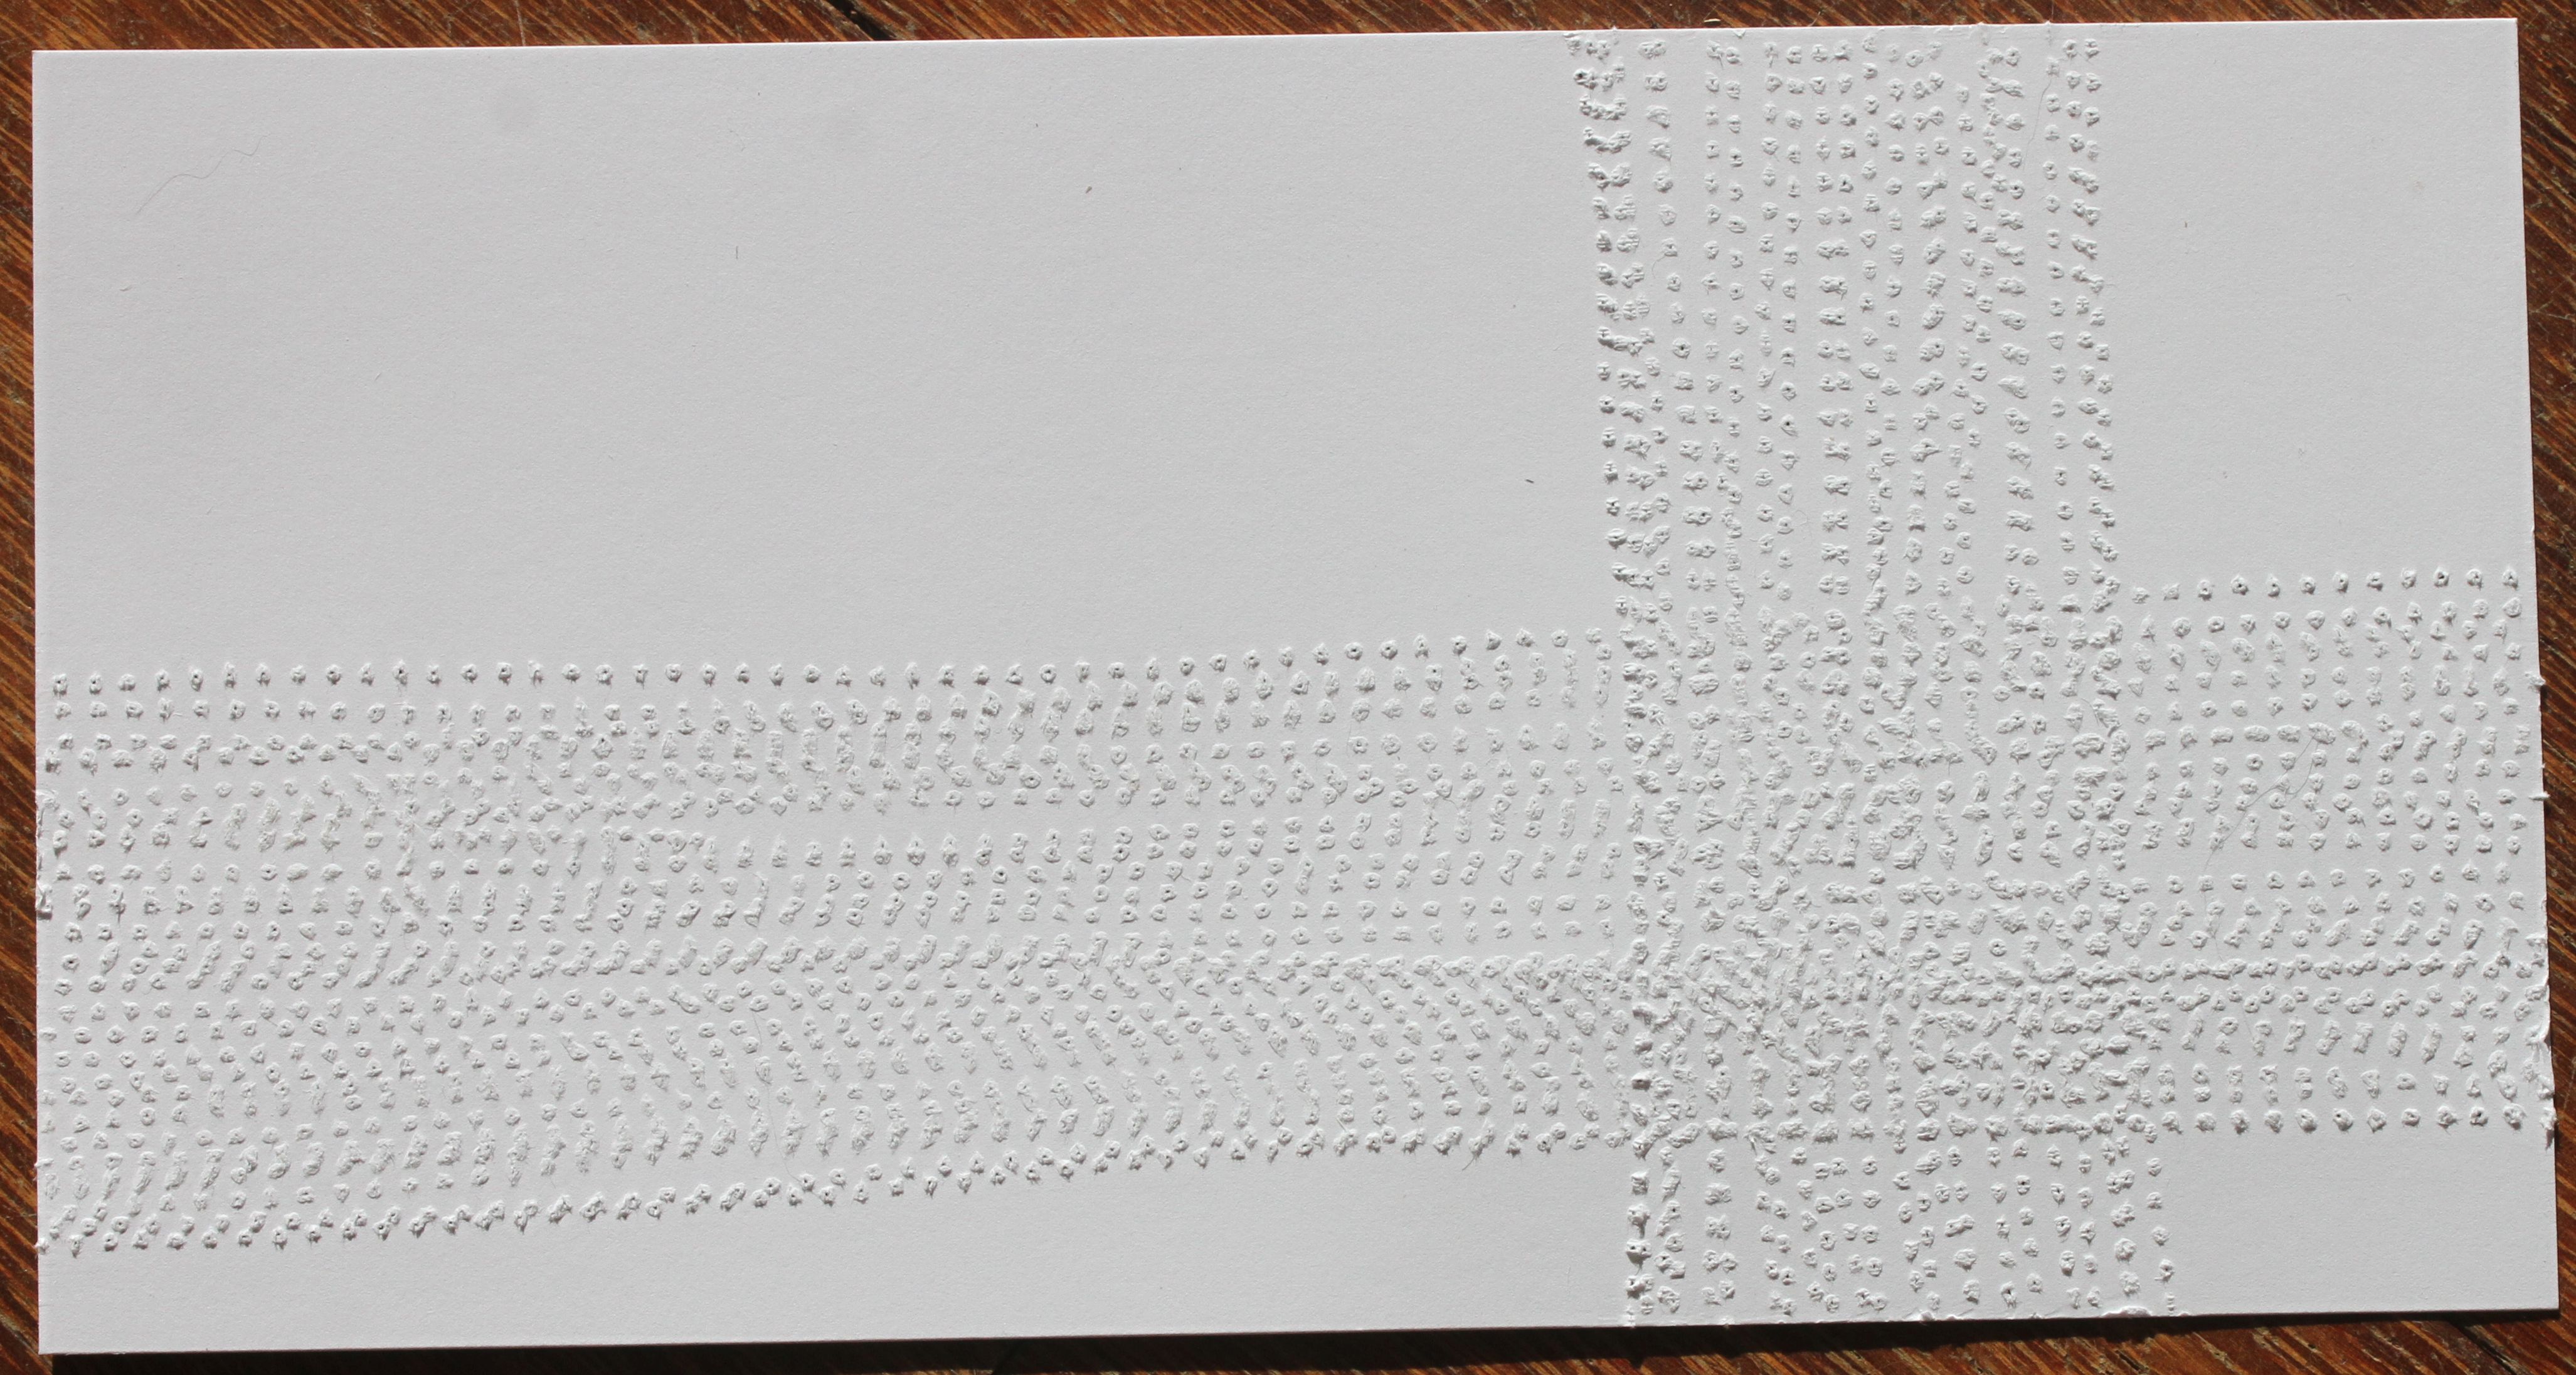
Watercolour paper, with fine criss-cross embossing, stitched with sewing machine (click for larger images):
|
|
|
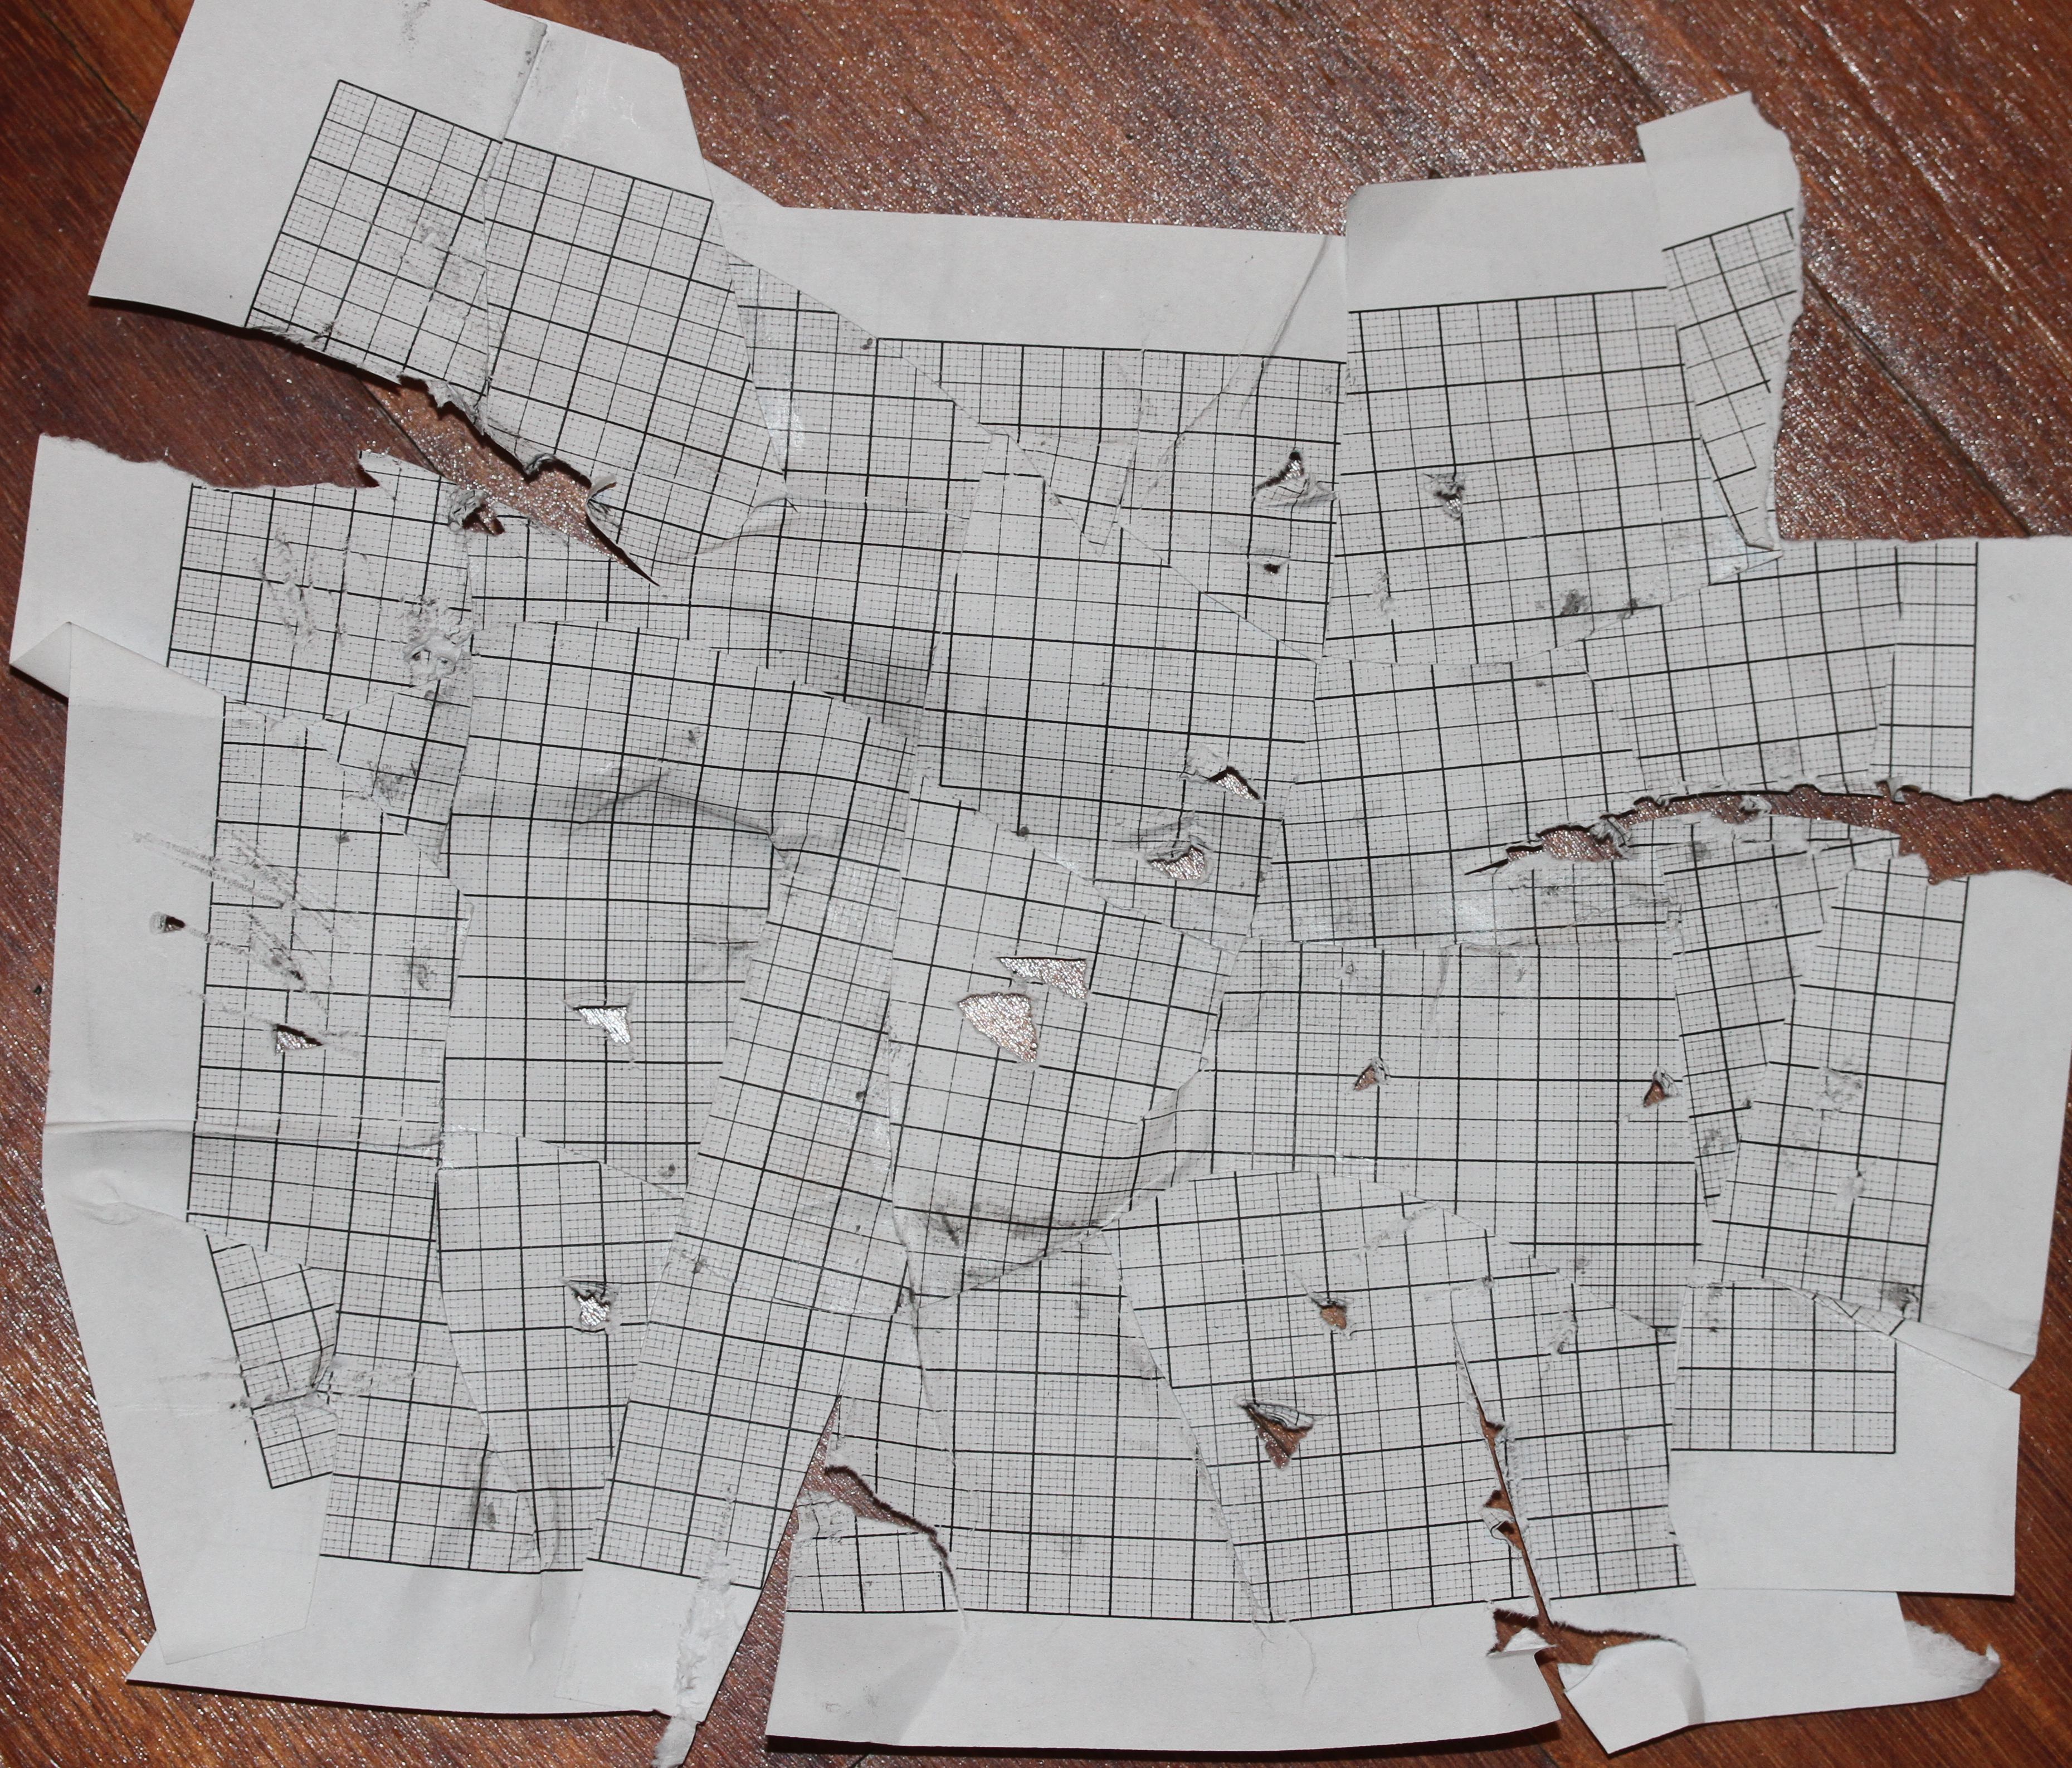
Graph paper, slashed and the slashes bought back together at a different angle (glued in place).
This is a really successful manipulation; I’m pleased with it. It takes the slashing I started with the white paper for the Gerbera to another level.
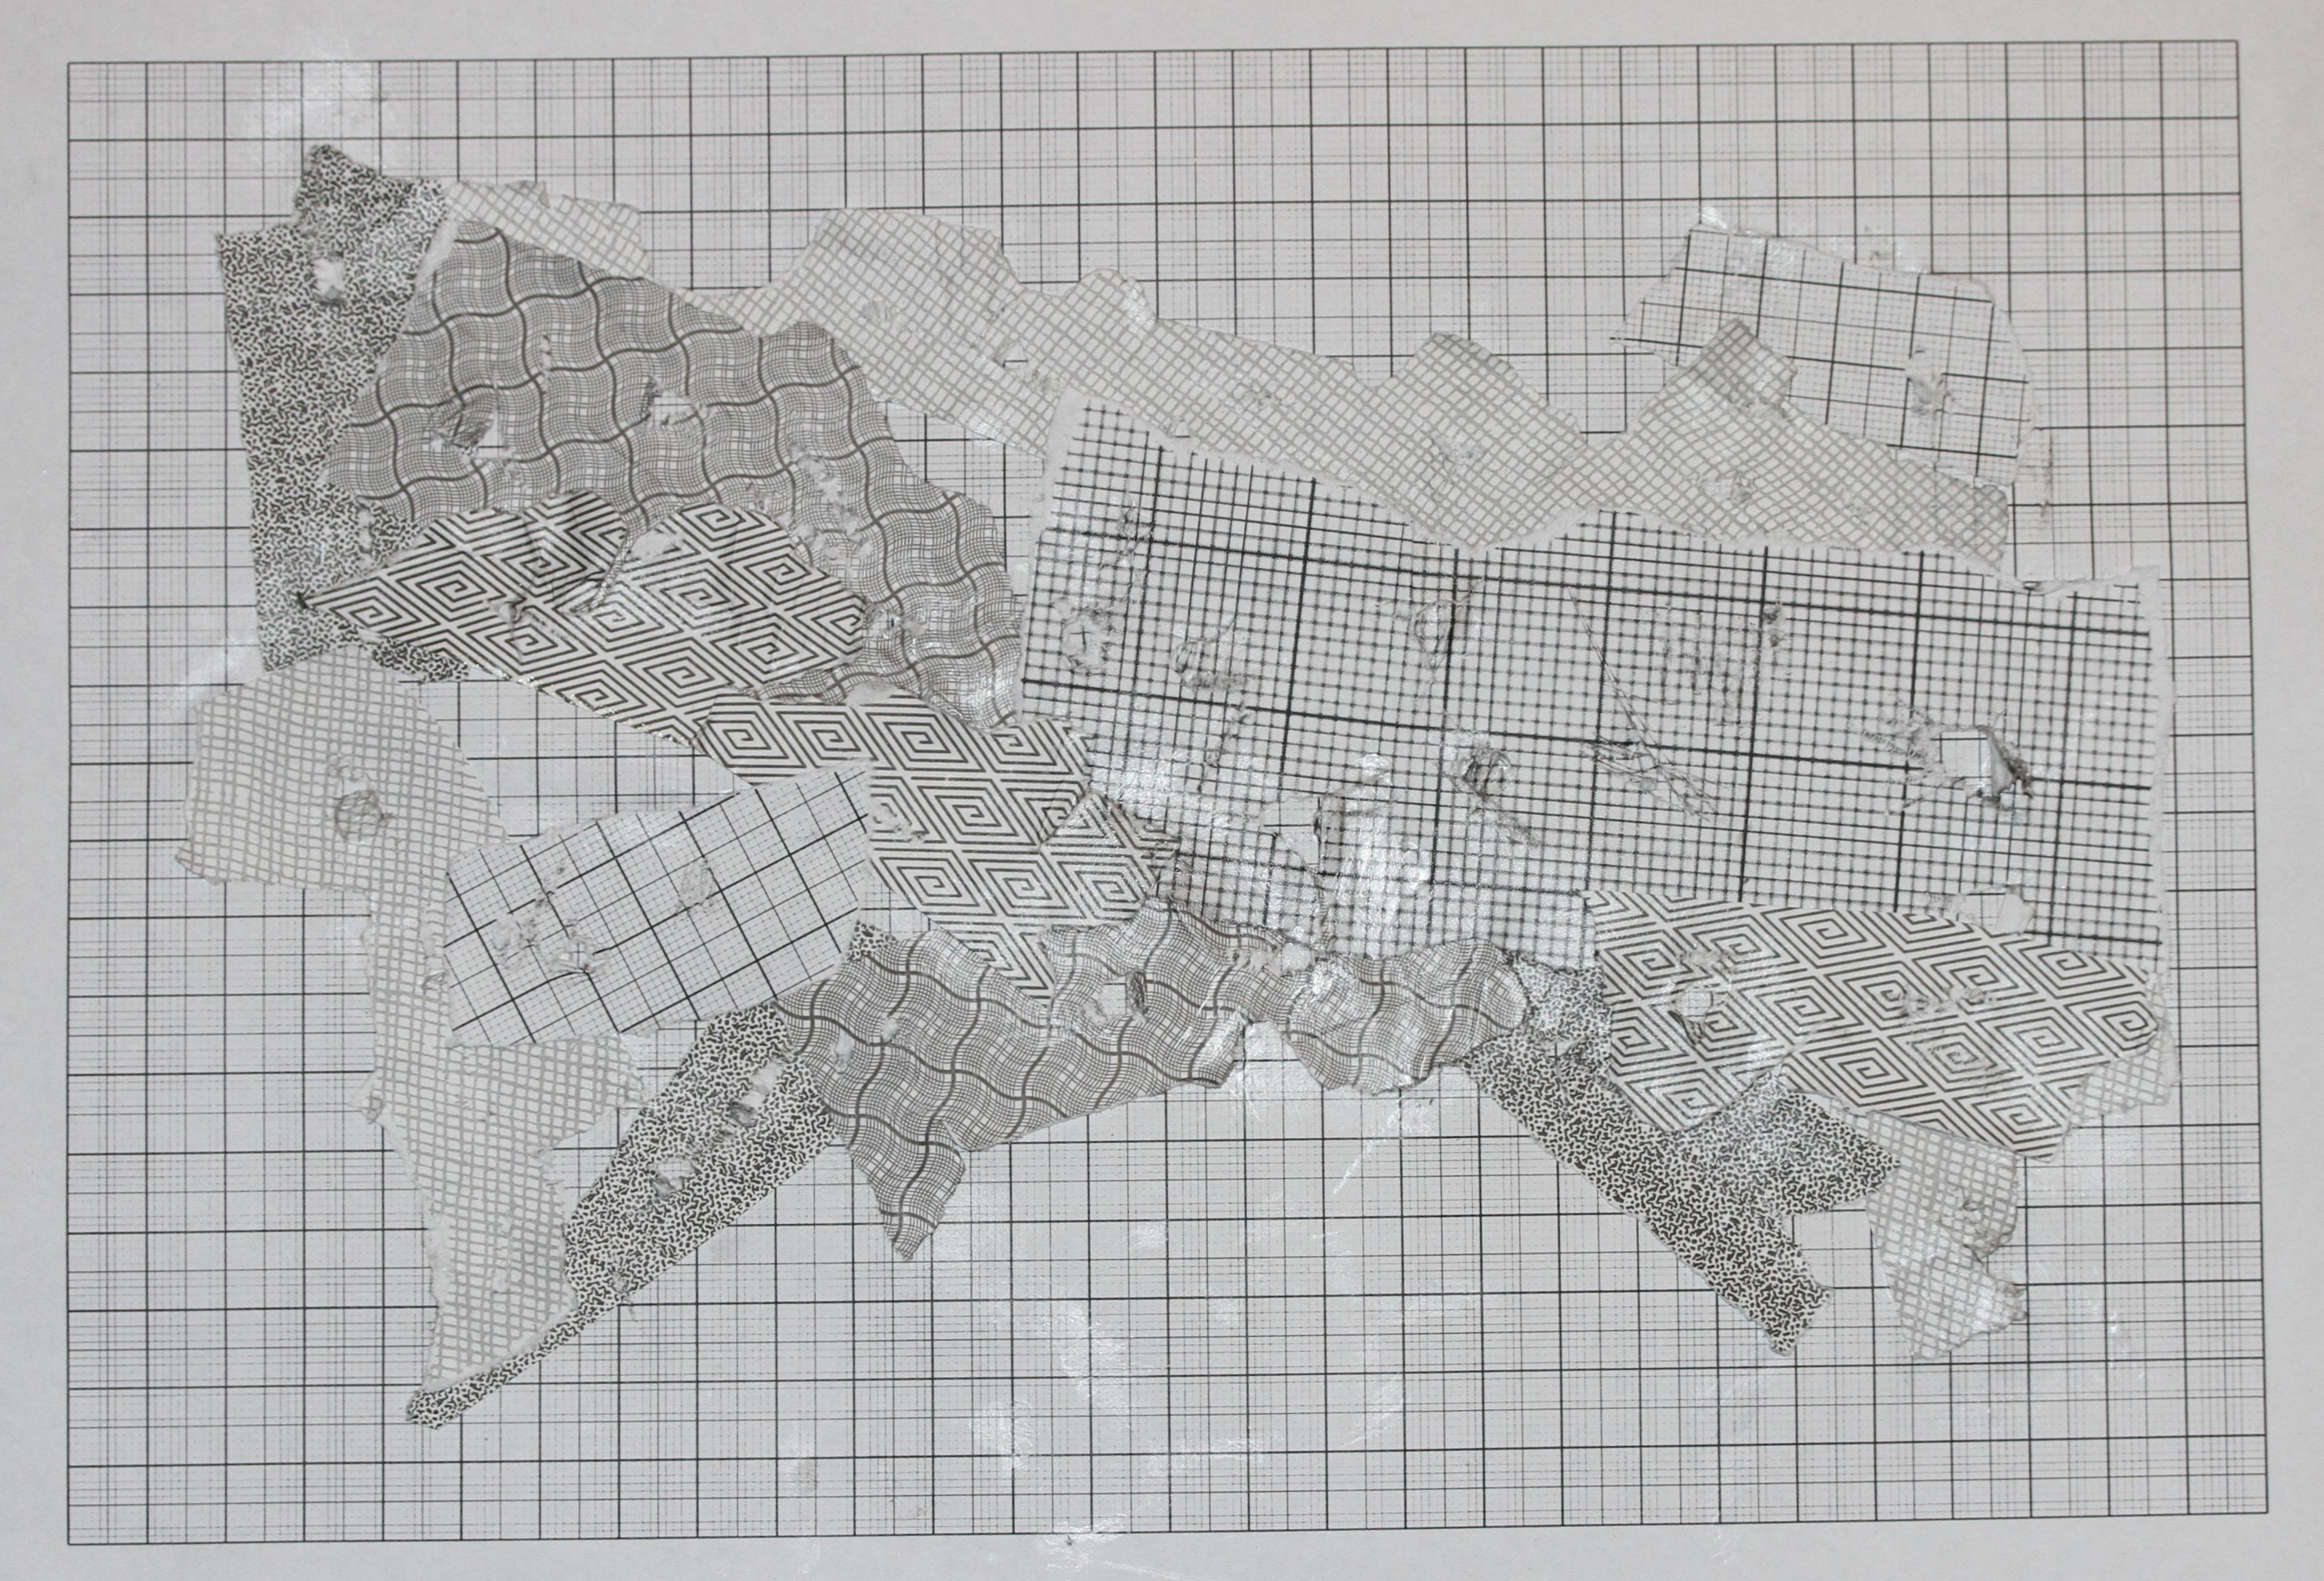
I’m not sure the following meets the remit of the project, as it is collage. I do like the texture created though.
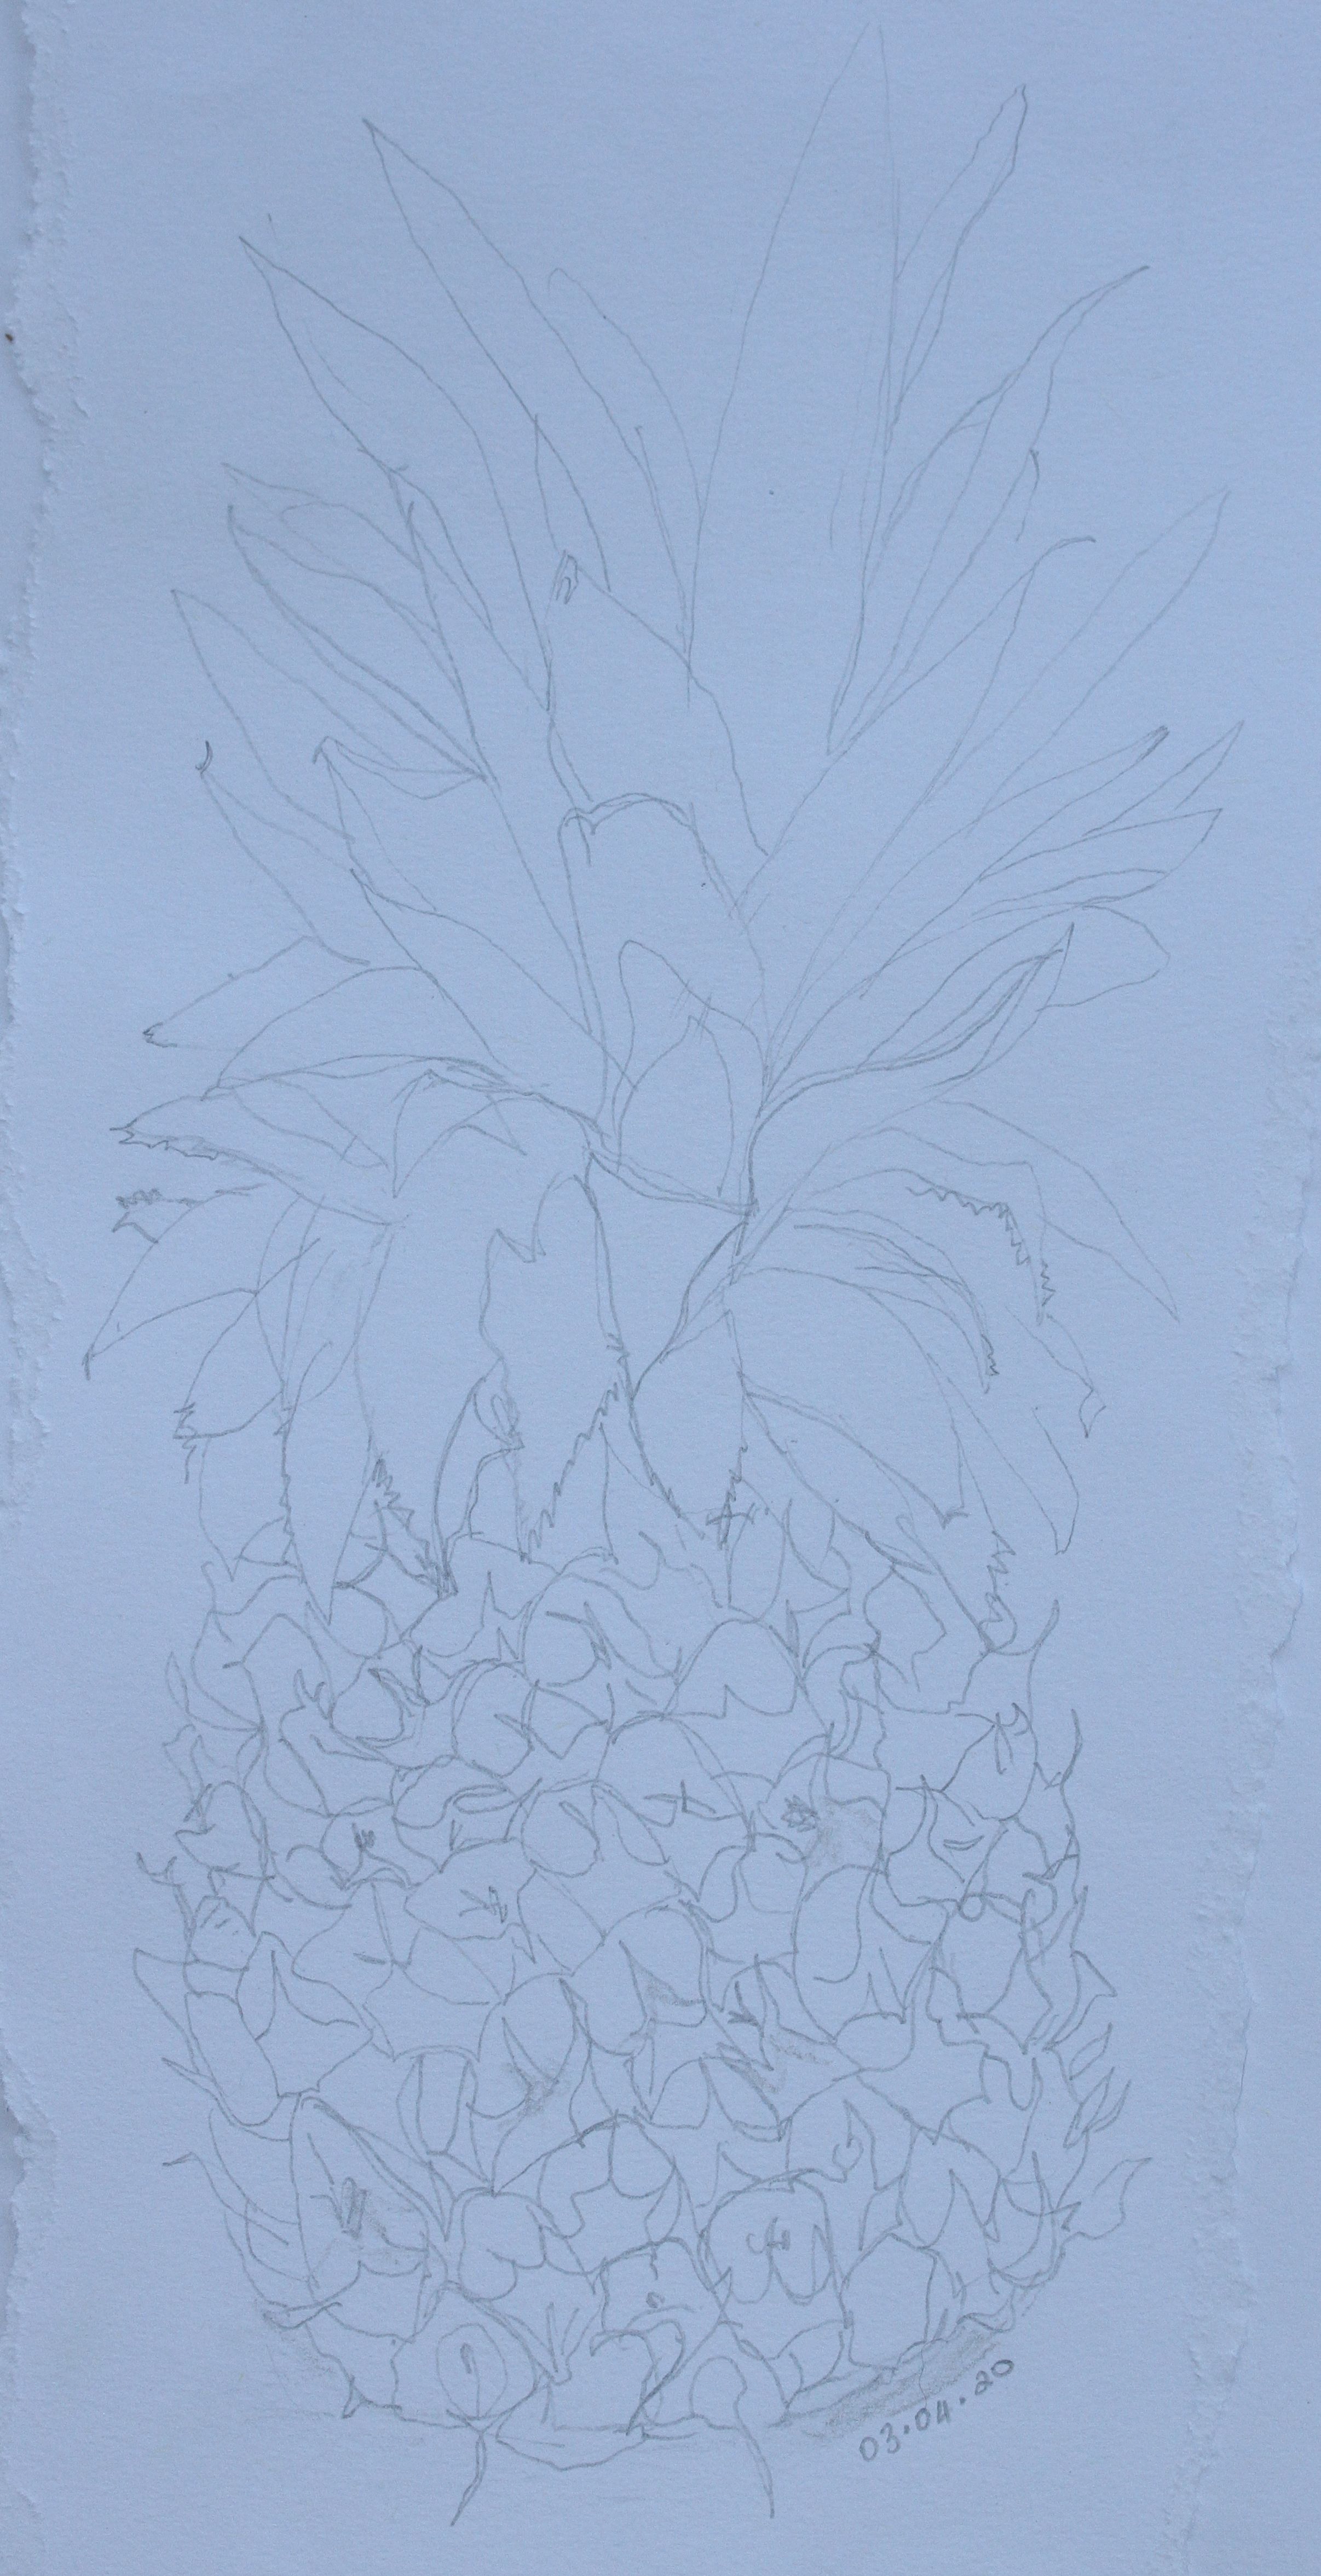
Drawing 5 – Pineapple
| Paper Options | Potential Treatments |
|---|---|
|
Rough Texture – Handmade Paper |
Scraping, Scuffing |
Results
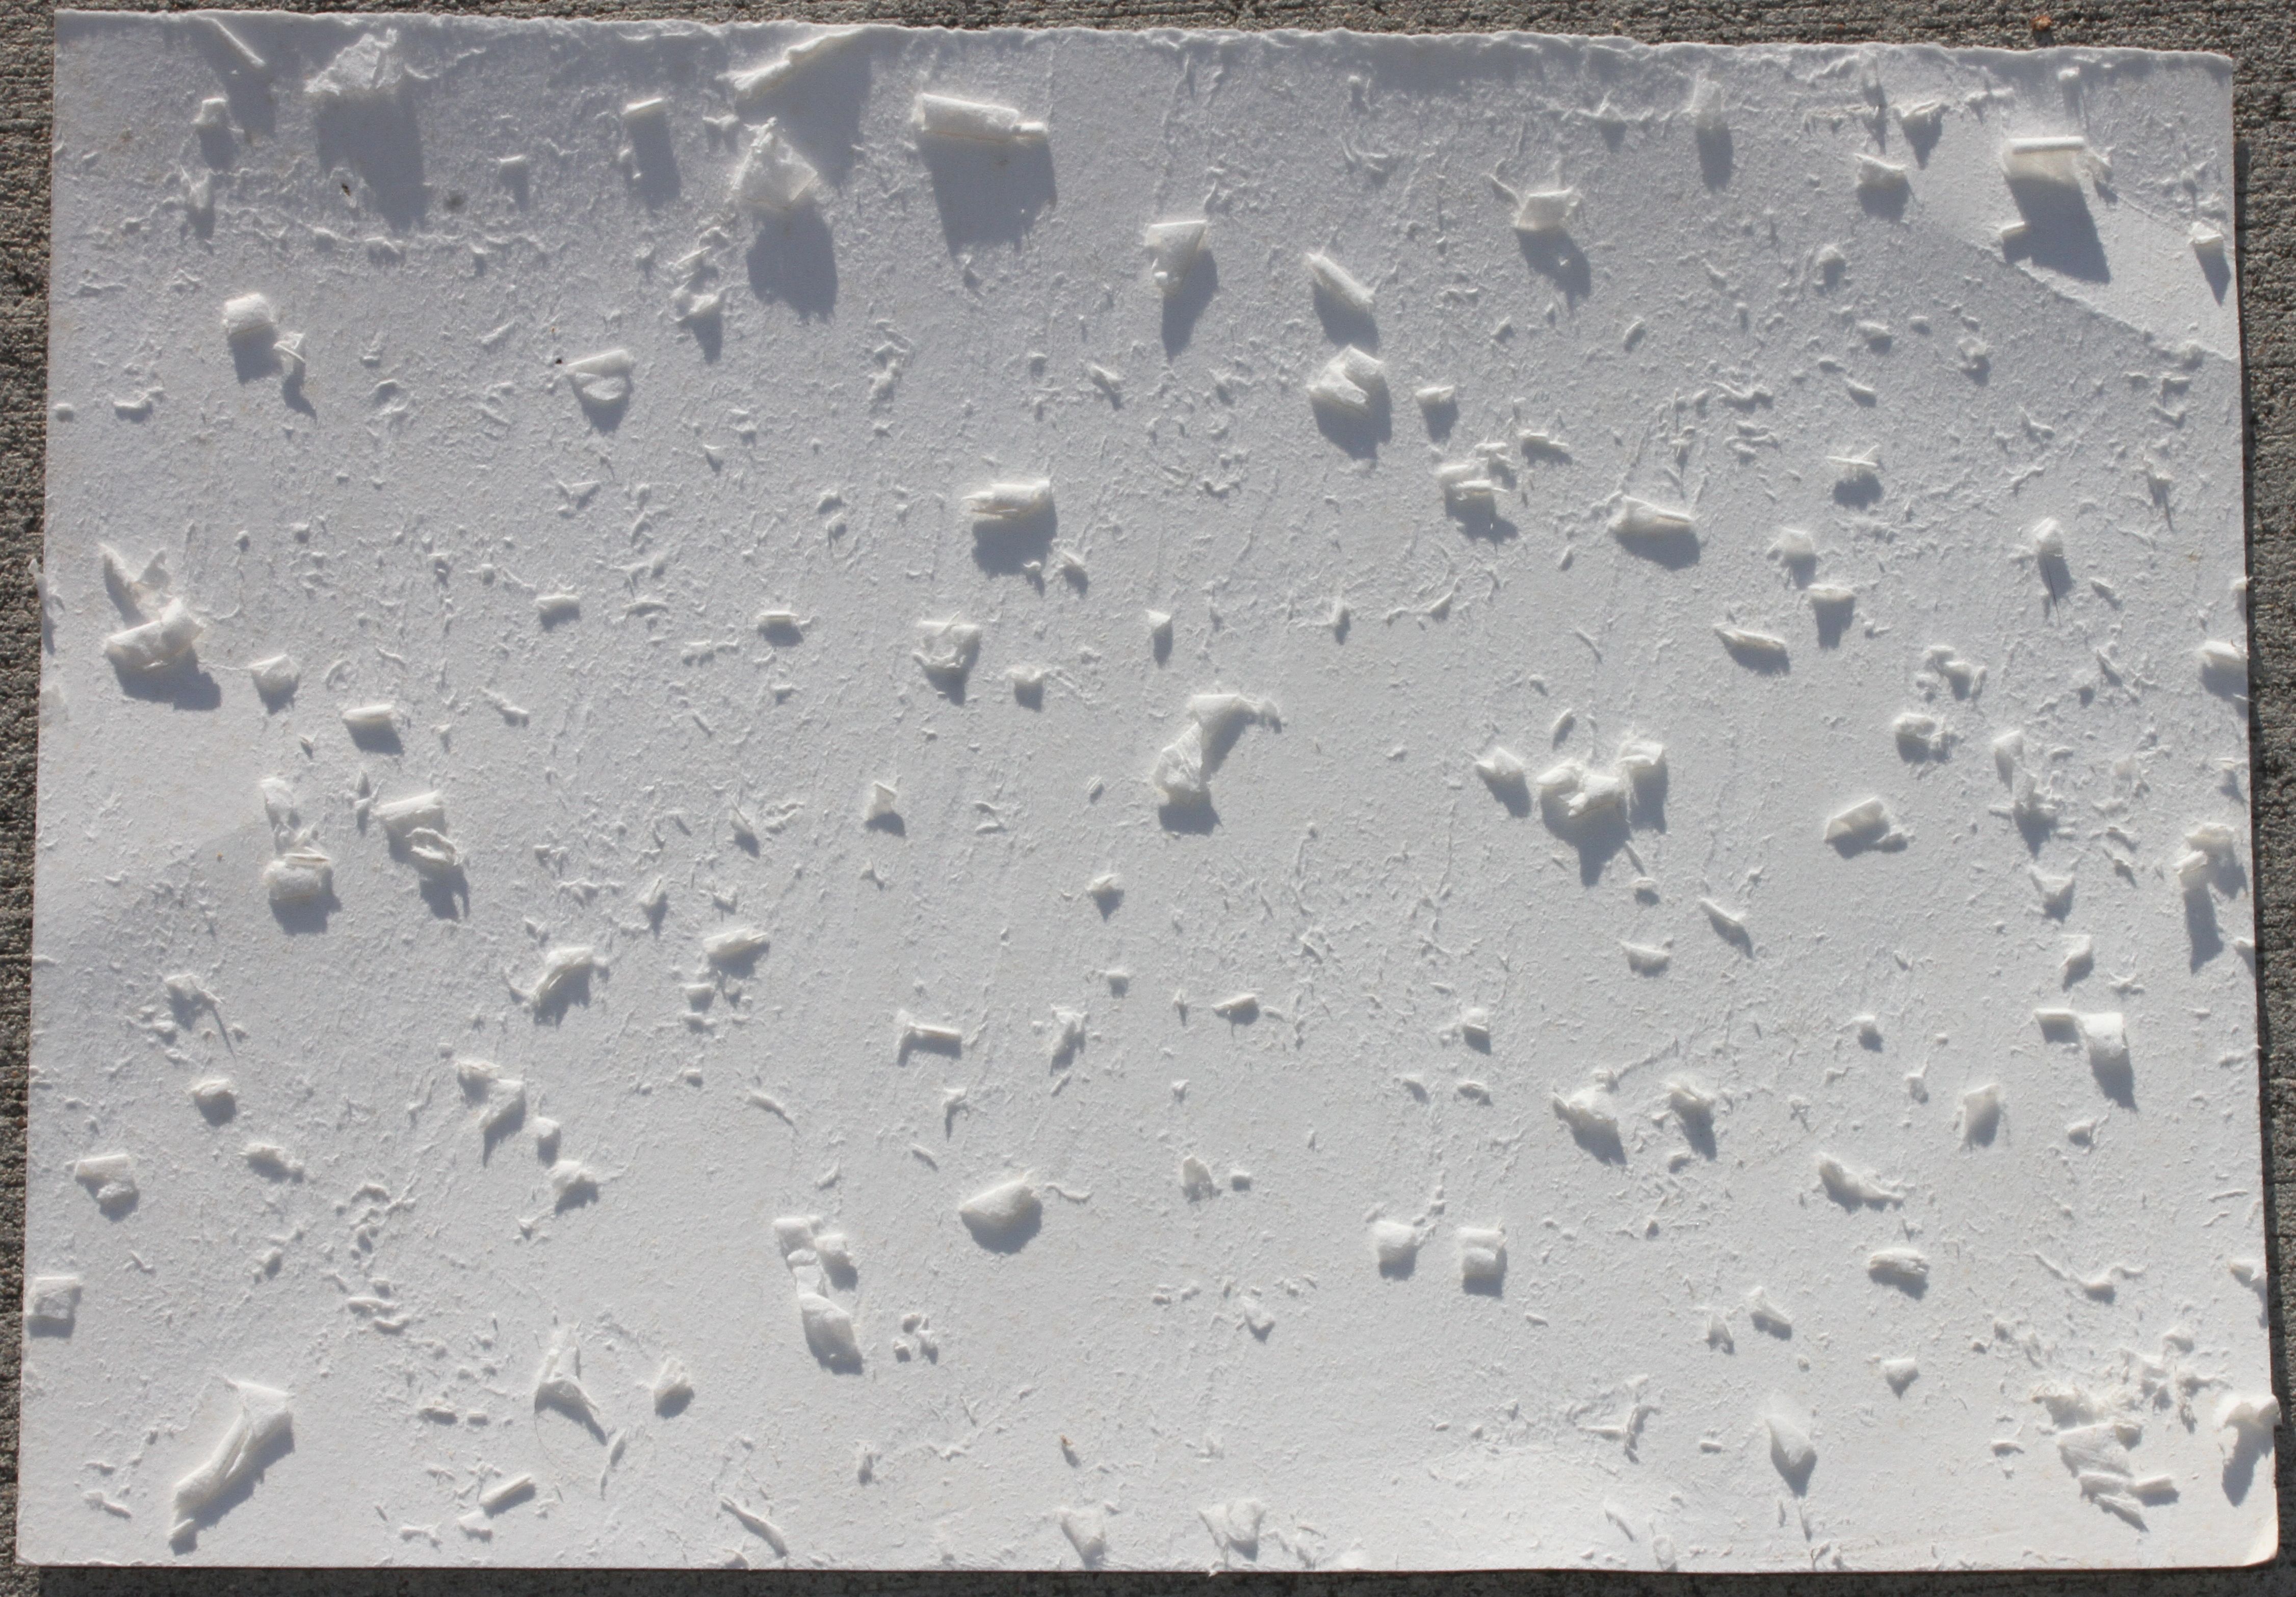
300gsm drawing paper, sanded and scraped with a large emery board. I like how the torn pieces of paper curl up from the surface!
Handmade Paper (I made this in 2019 from scrap paper and blended Prickly Pear (Opuntia)). It has a really rough texture.
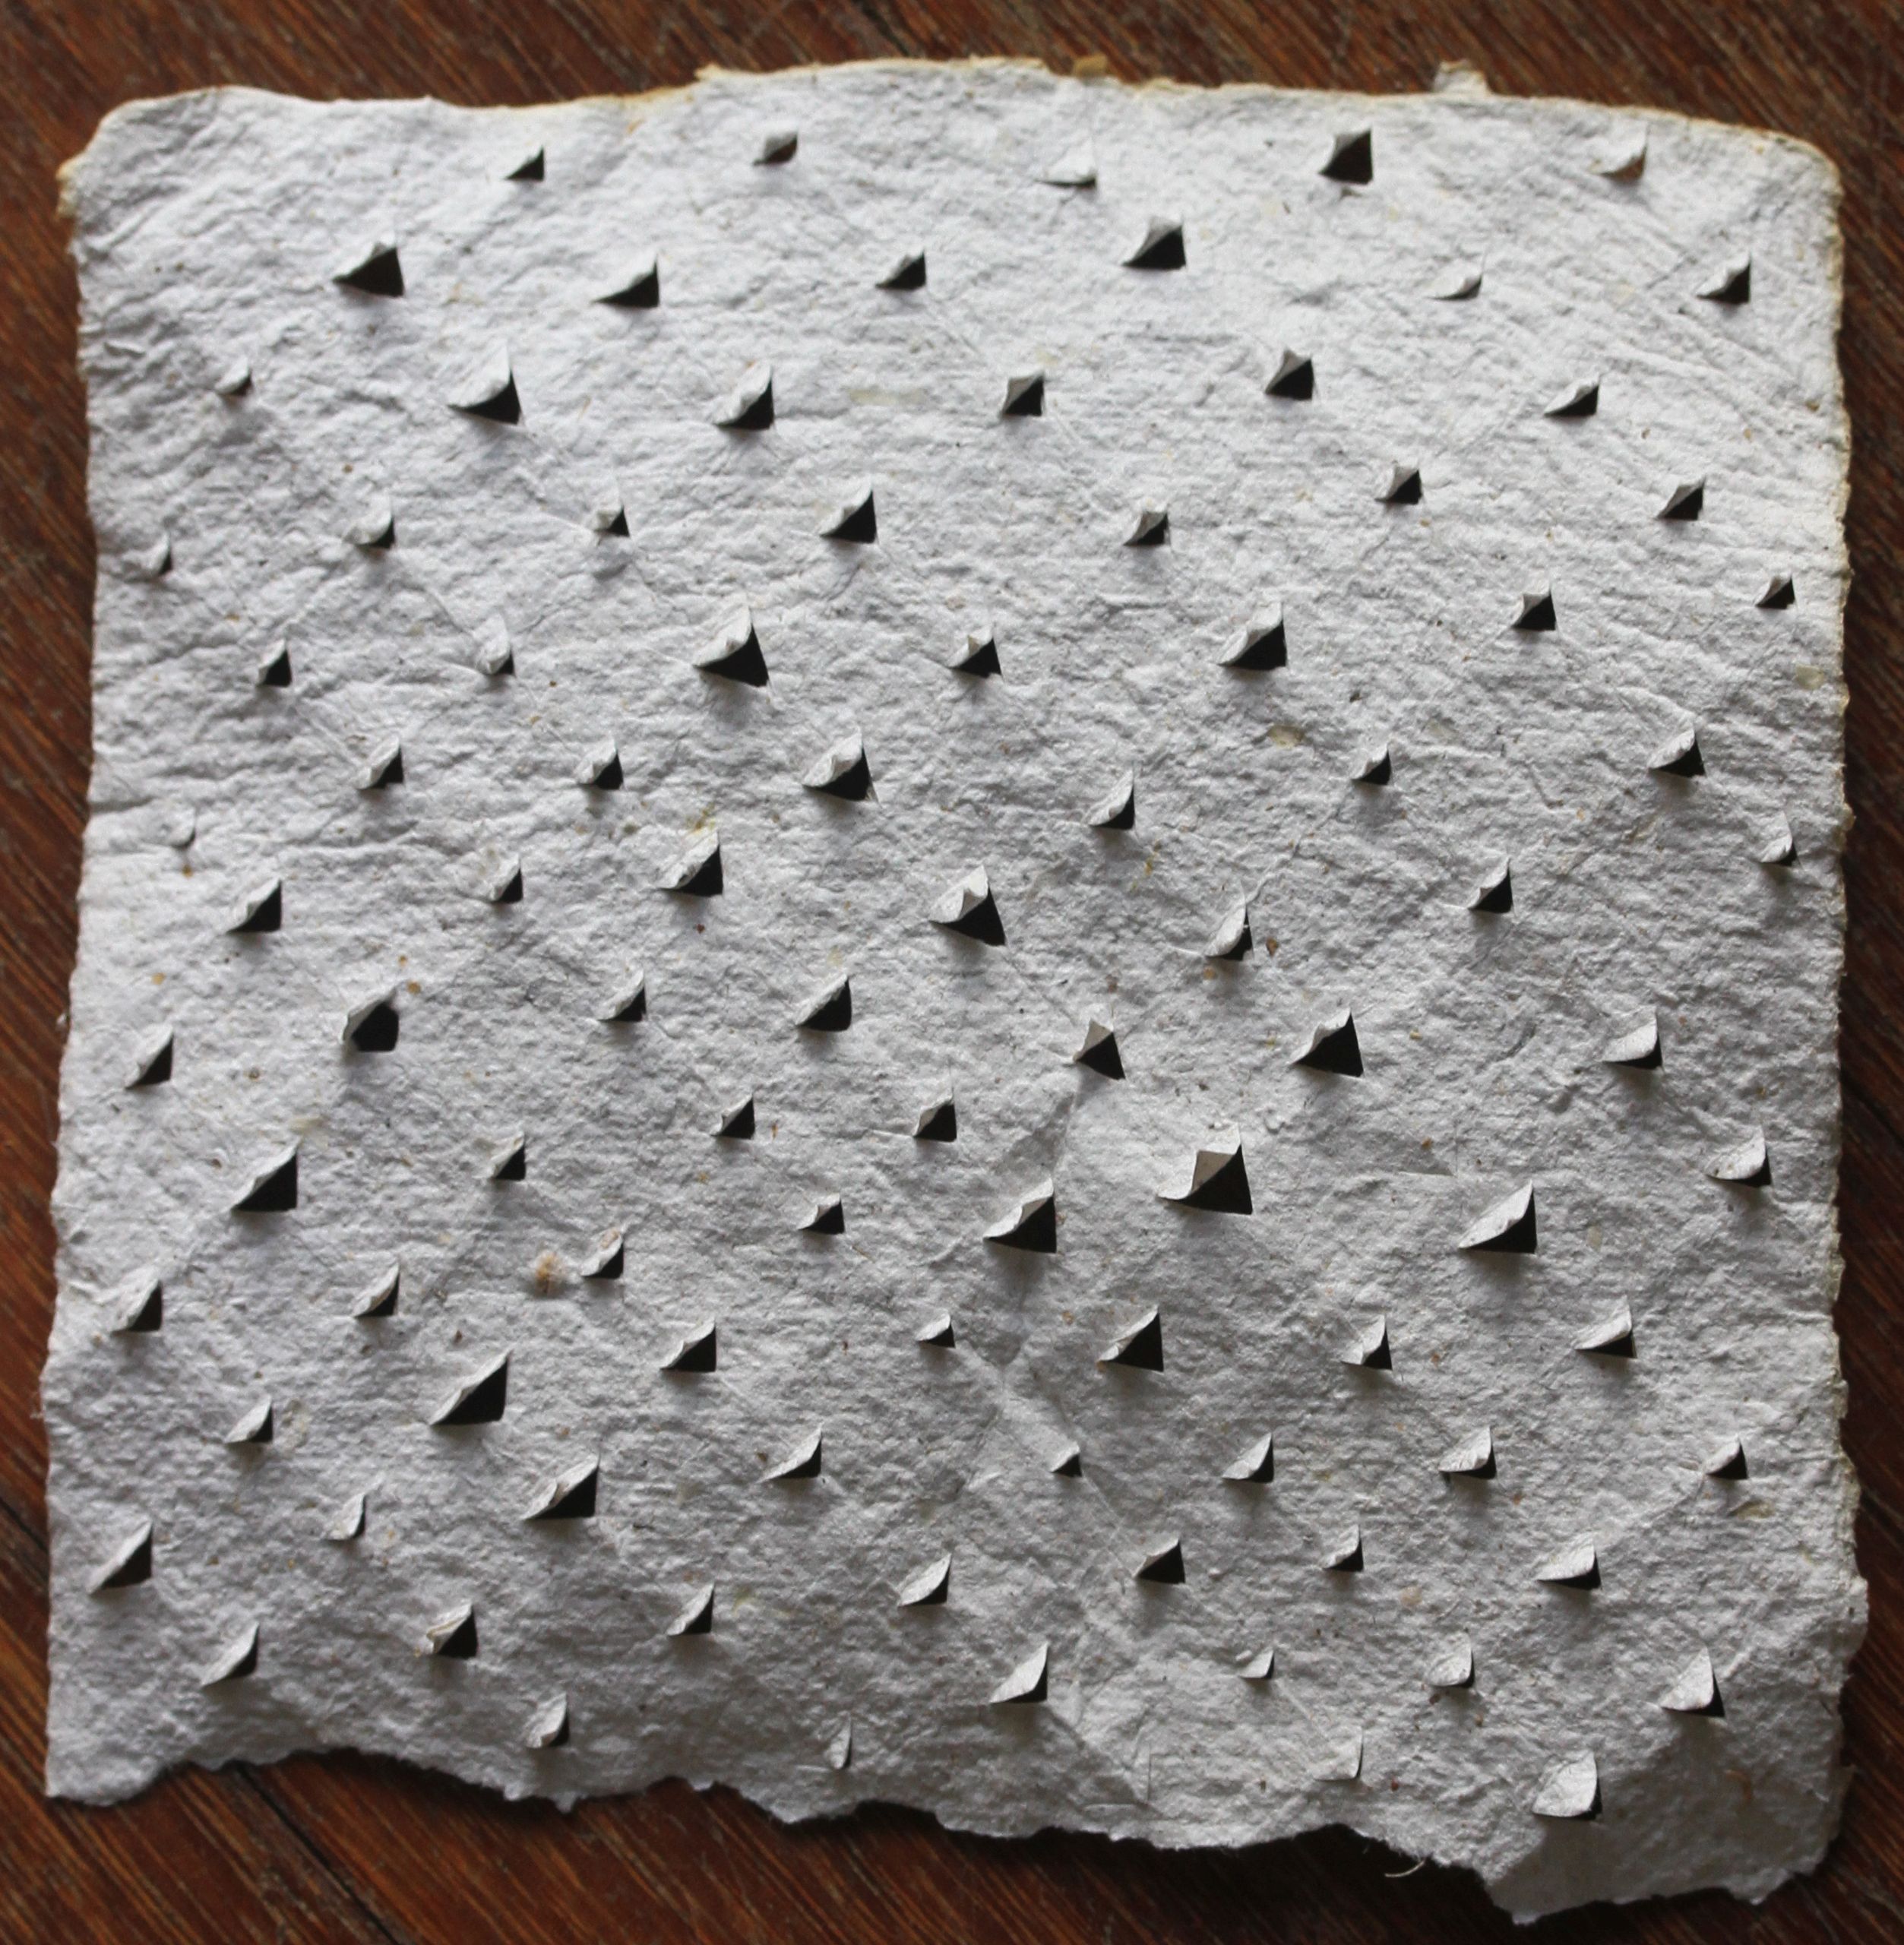
Although ‘cutting’ was not in my original list, it emerged as I was playing. It emulates both the serrations on the leaves and the spikey lines on the body of the pineapple. Folding the paper in order to snip it also gives a subtle grid pattern.
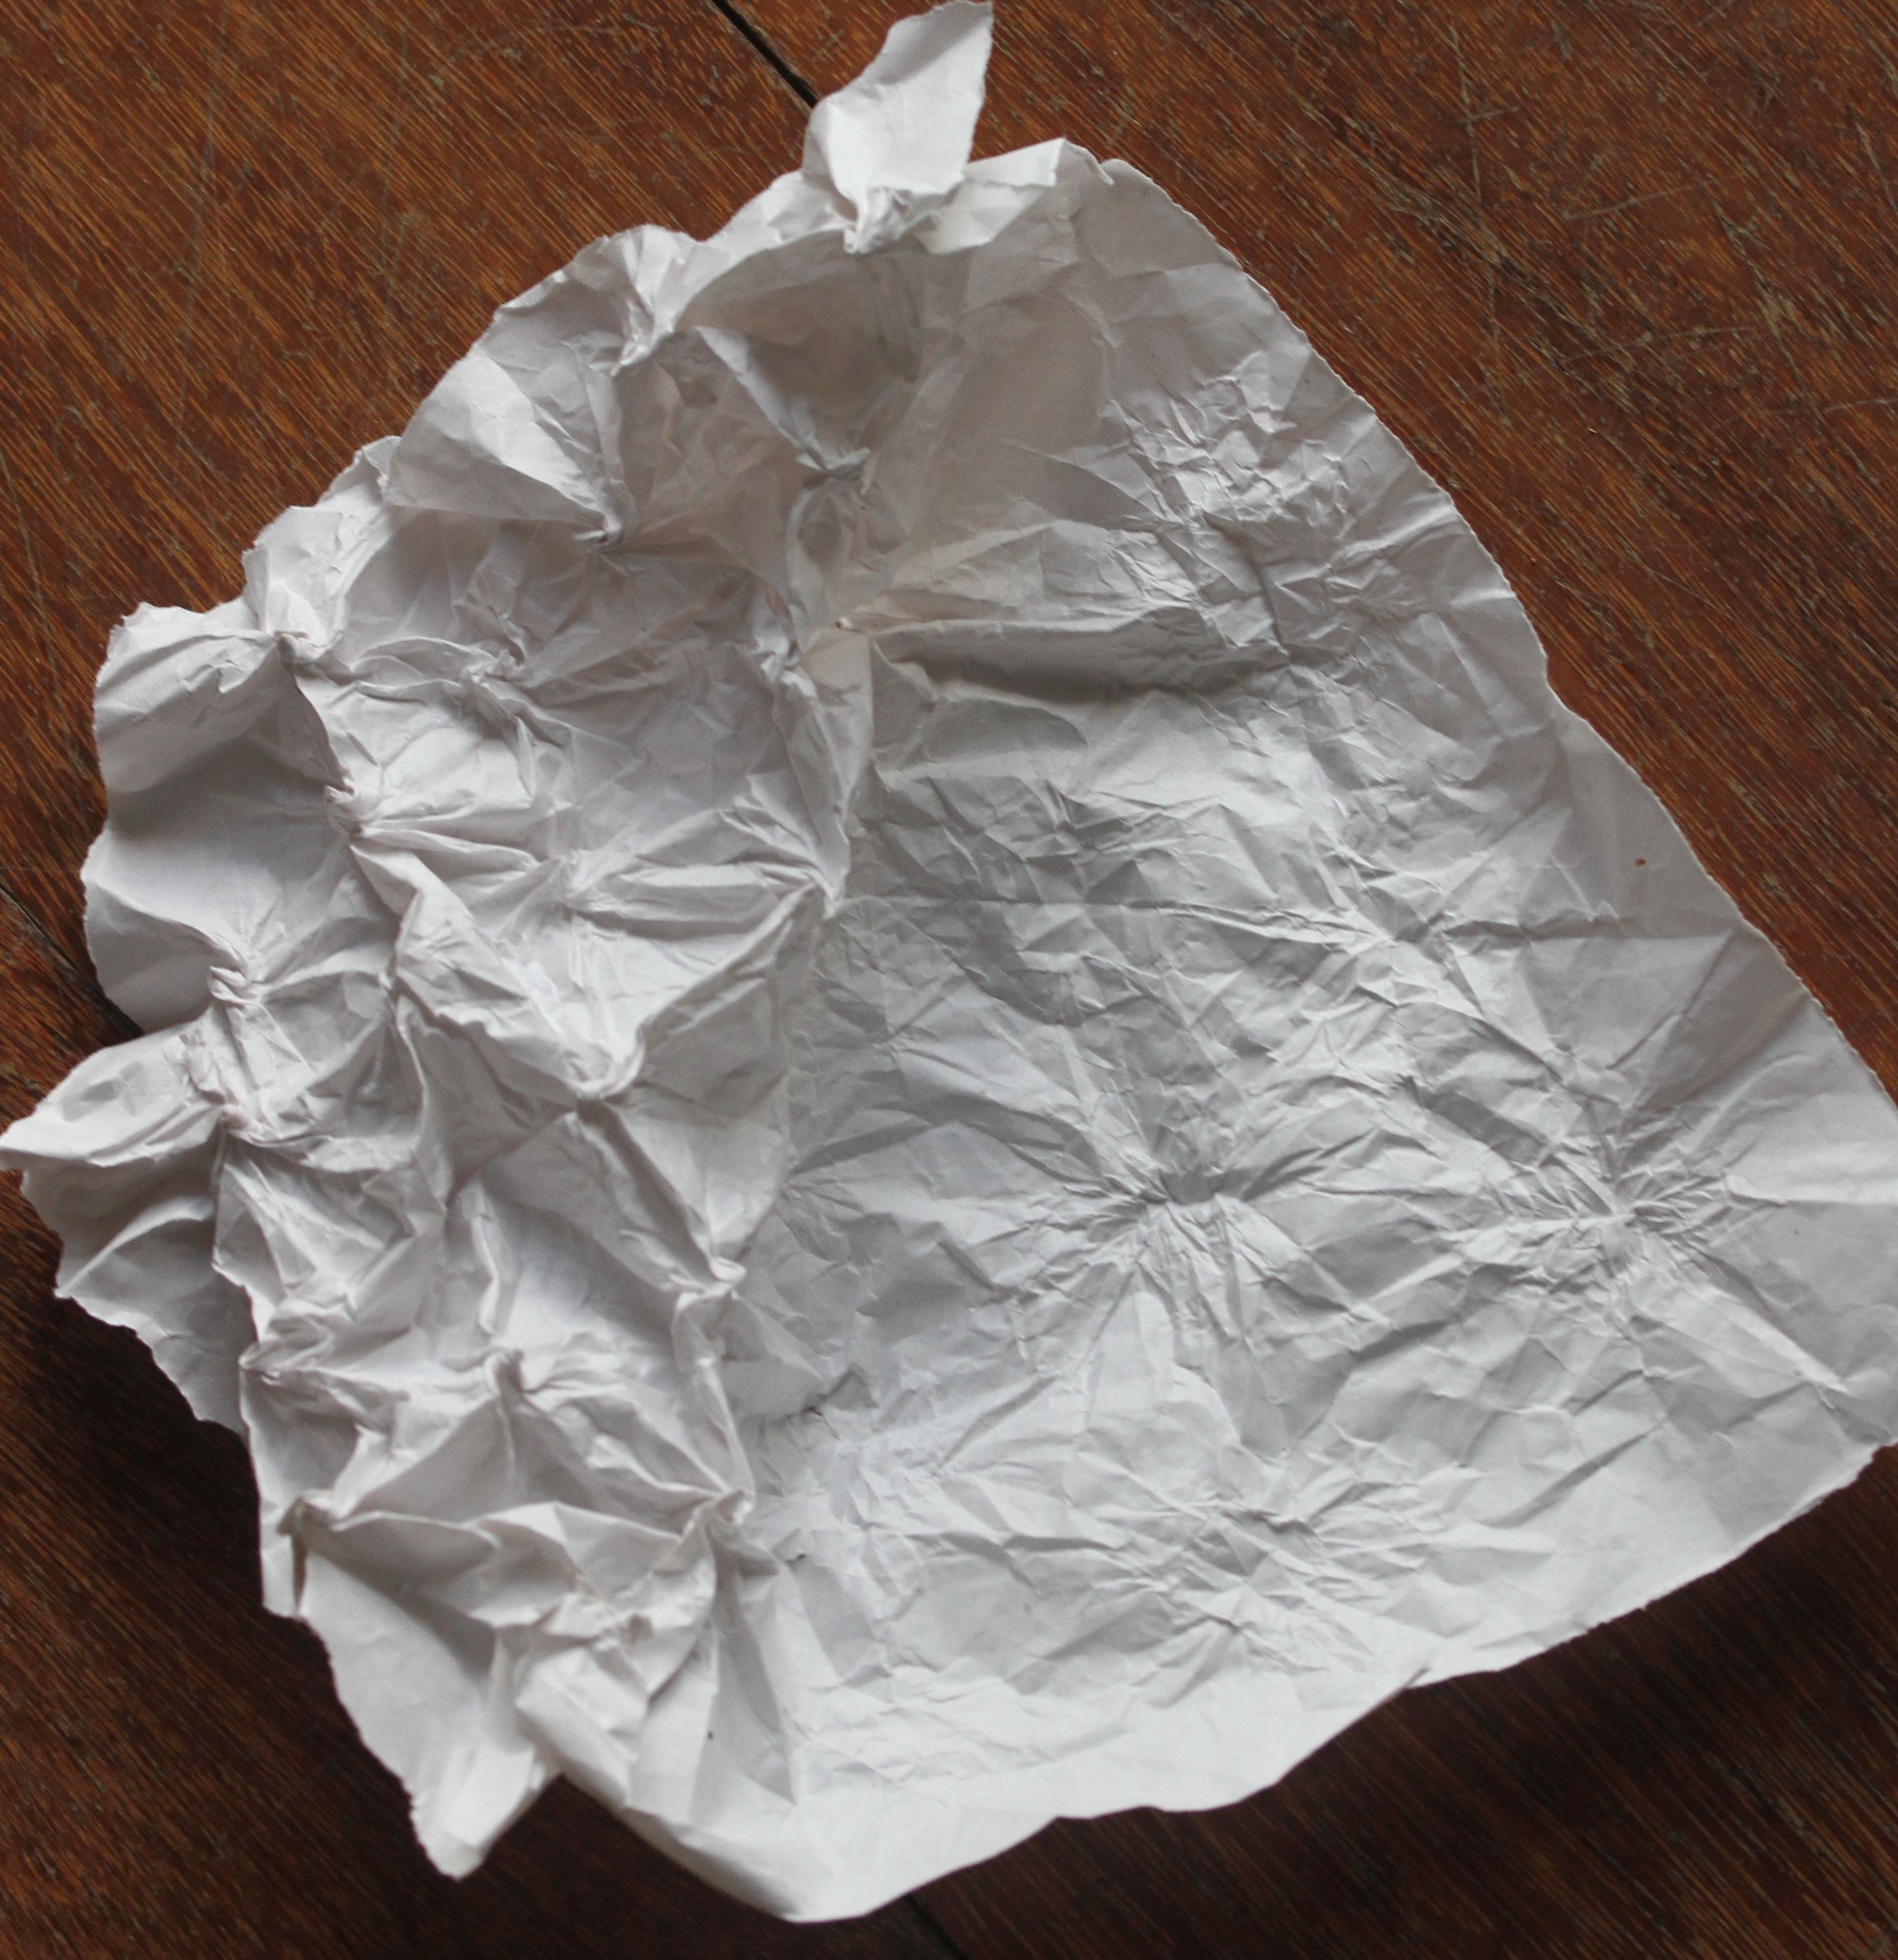
My attempt at ‘tufting’ became ‘twisting’. Really pleased with the 3-D effect!
Newsprint Paper was selected so that it had the malleability to make effective twists.
I have two options with this experiment: 3-D, or flattened twists.
I did not expect this, but the pineapple was so inspiring!
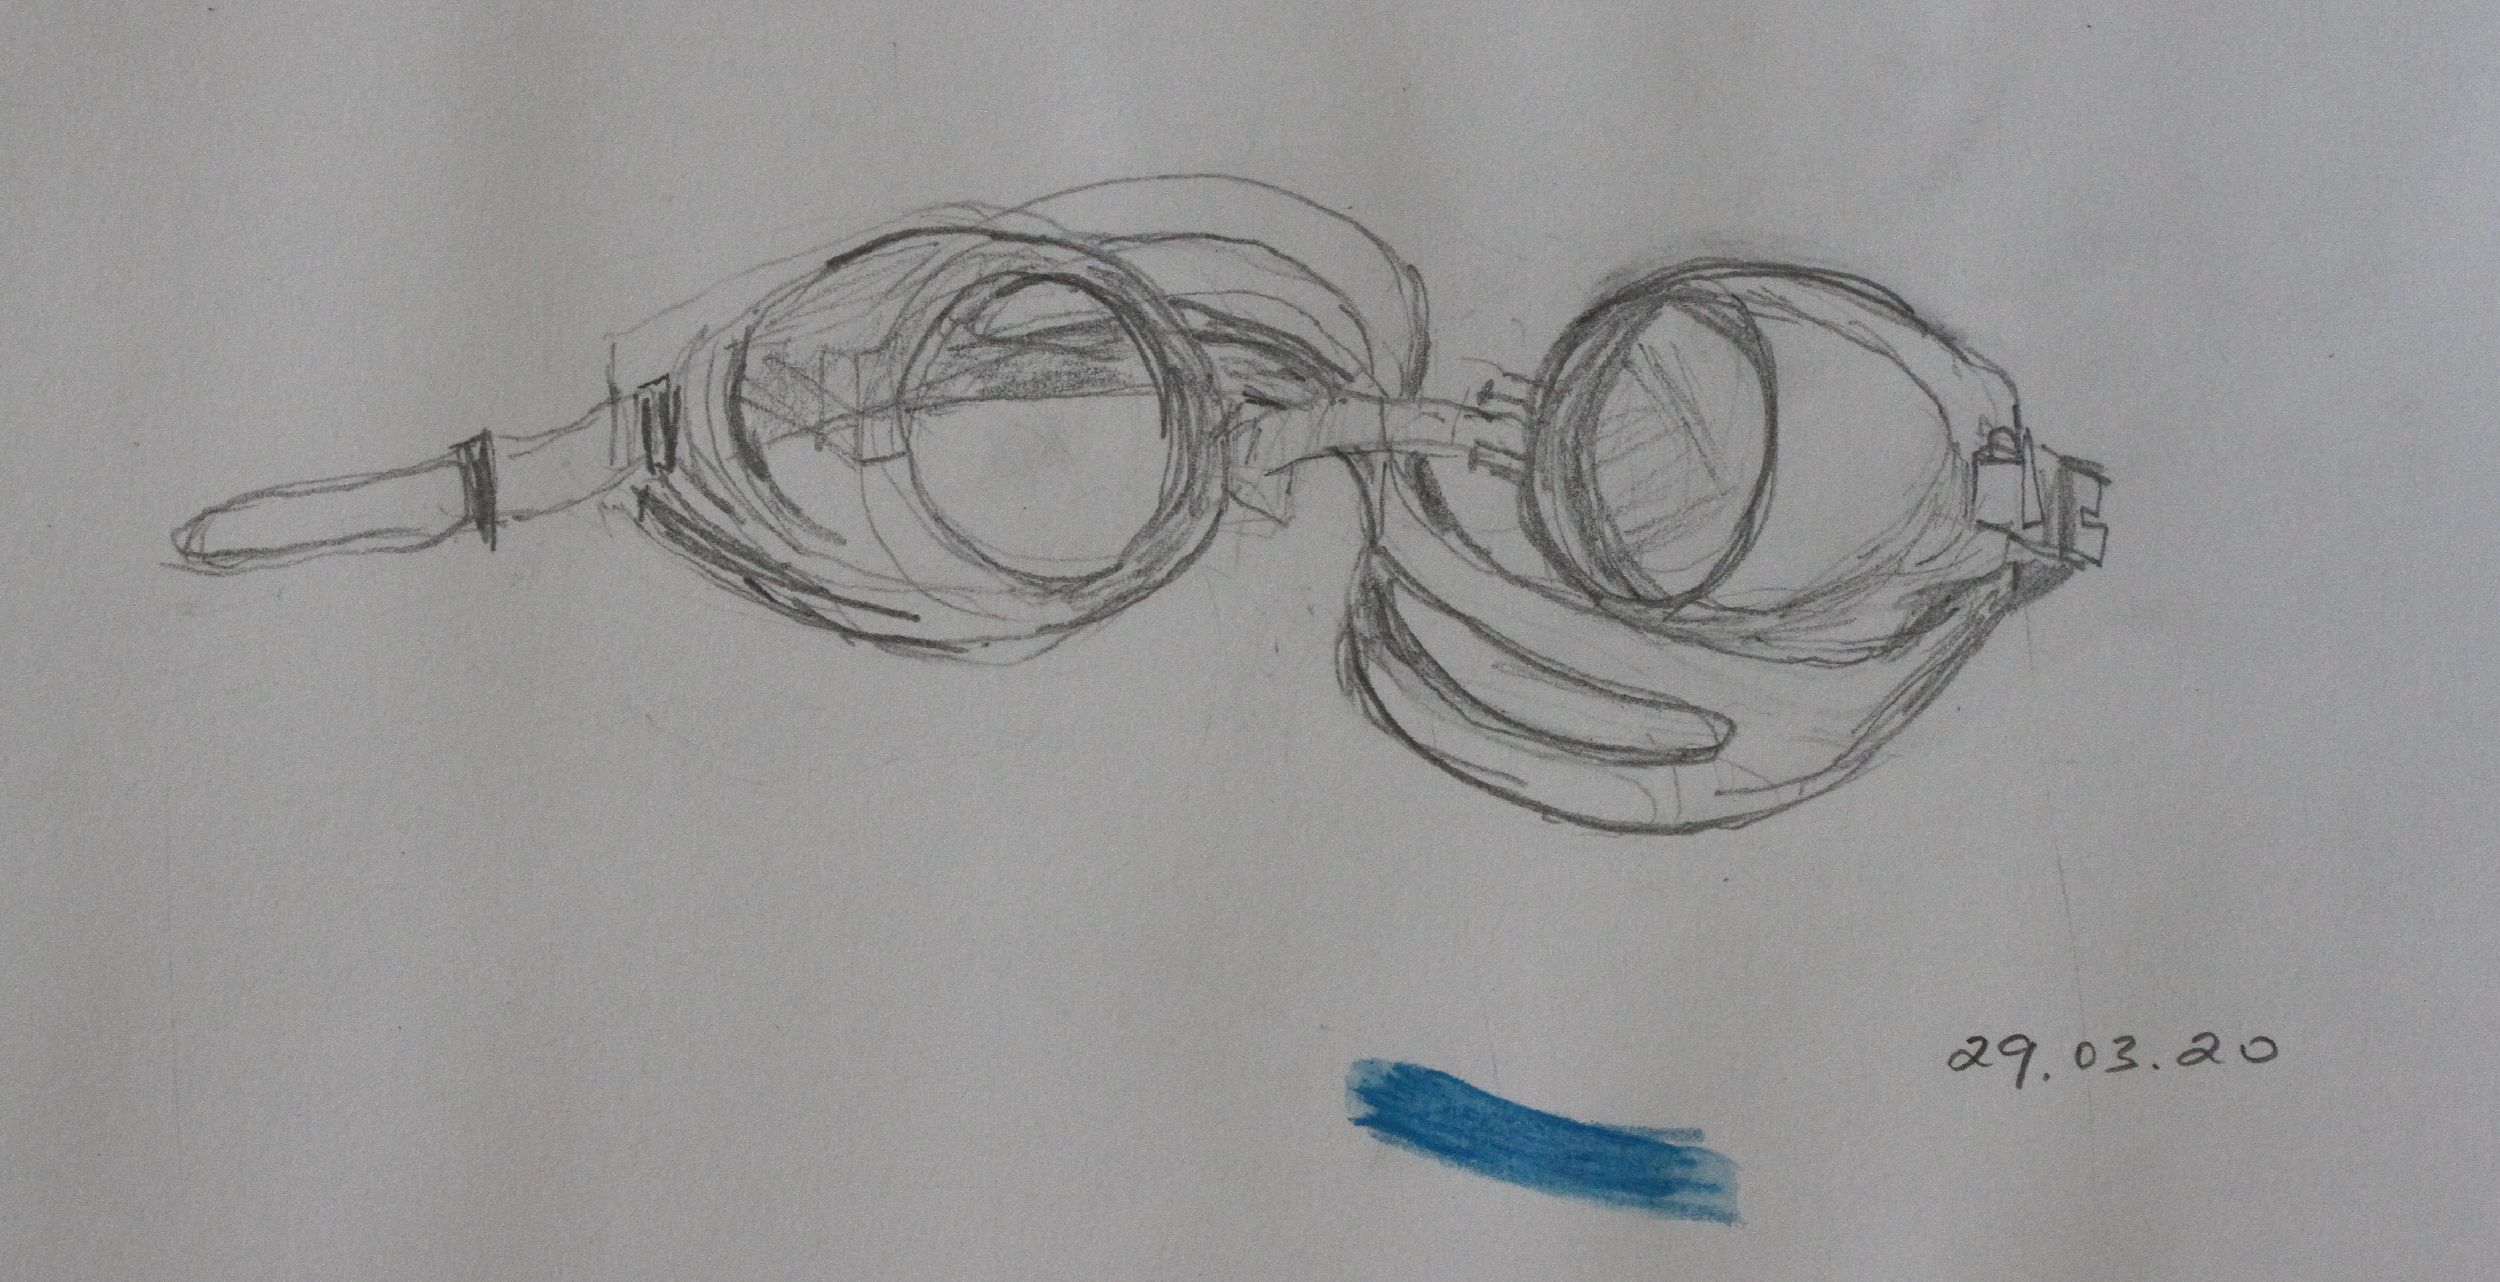
Drawing 6 – Goggles
| Paper Options | Potential Treatments |
|---|---|
|
Plastic |
Bending |
Results
Transparent plastic melted with a heat gun. The bubbles give the curved lines I wanted.
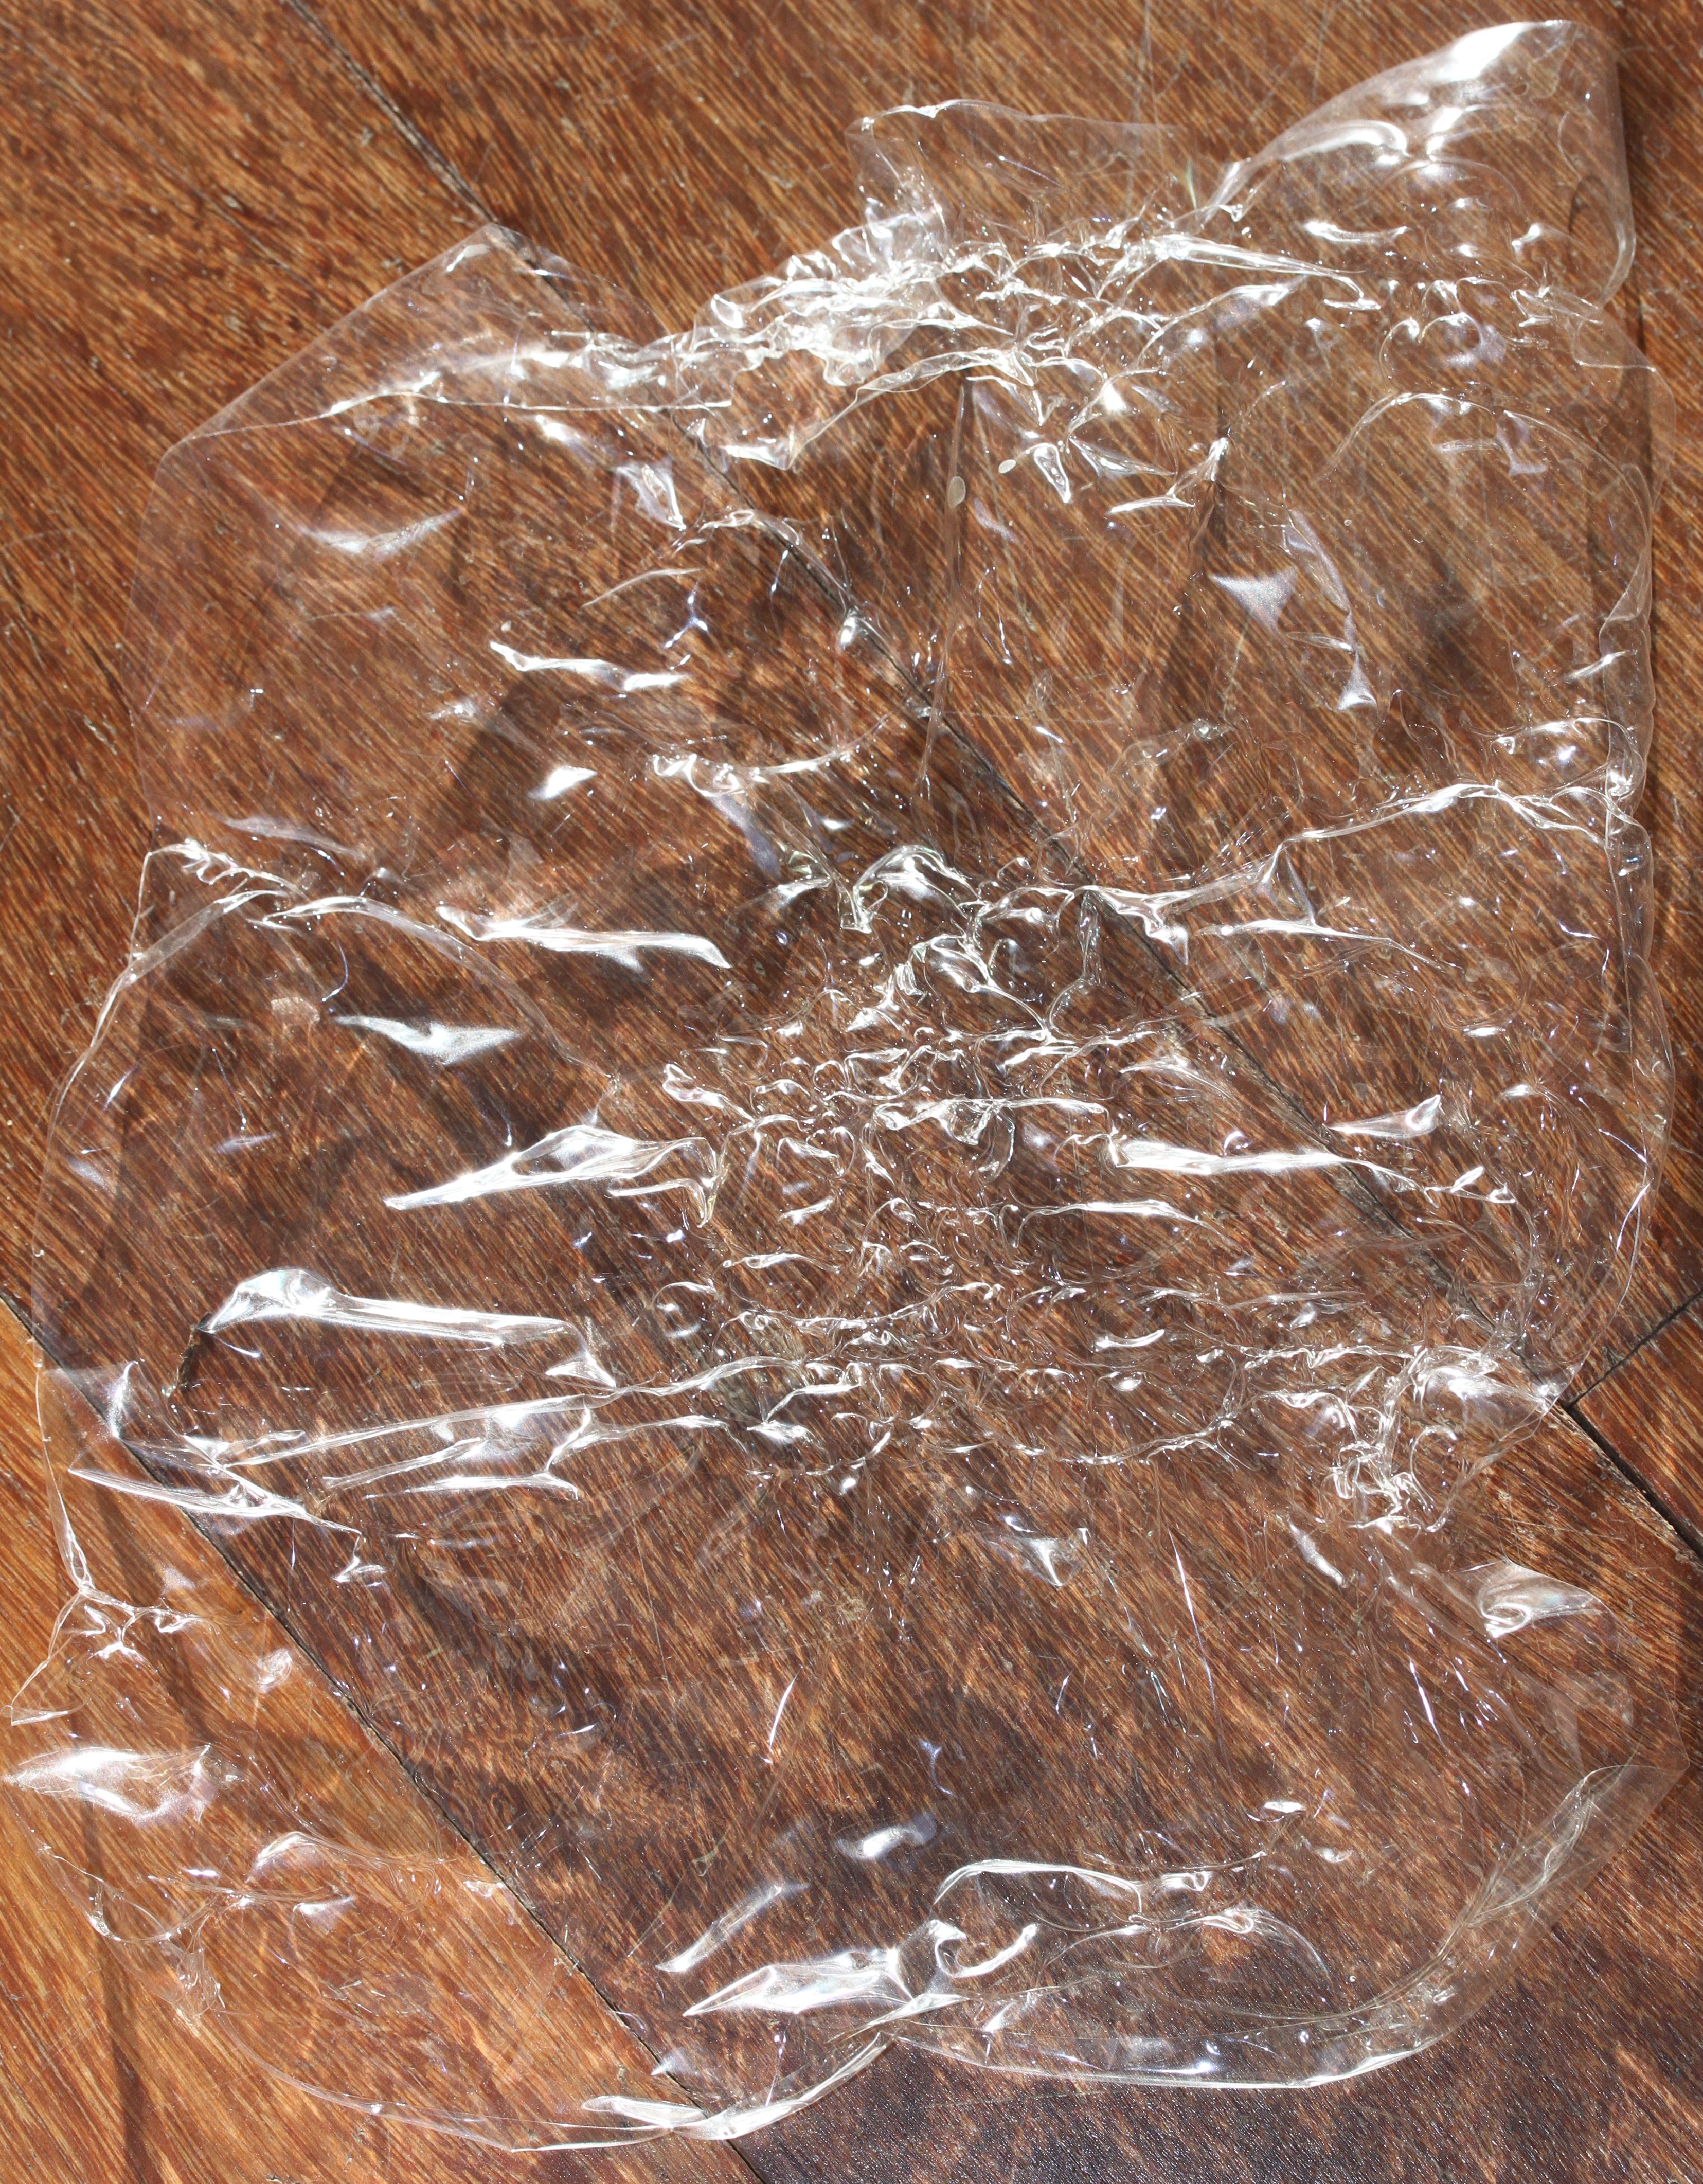
Cellophane
I made a series of cellophane melts. This is indicative.
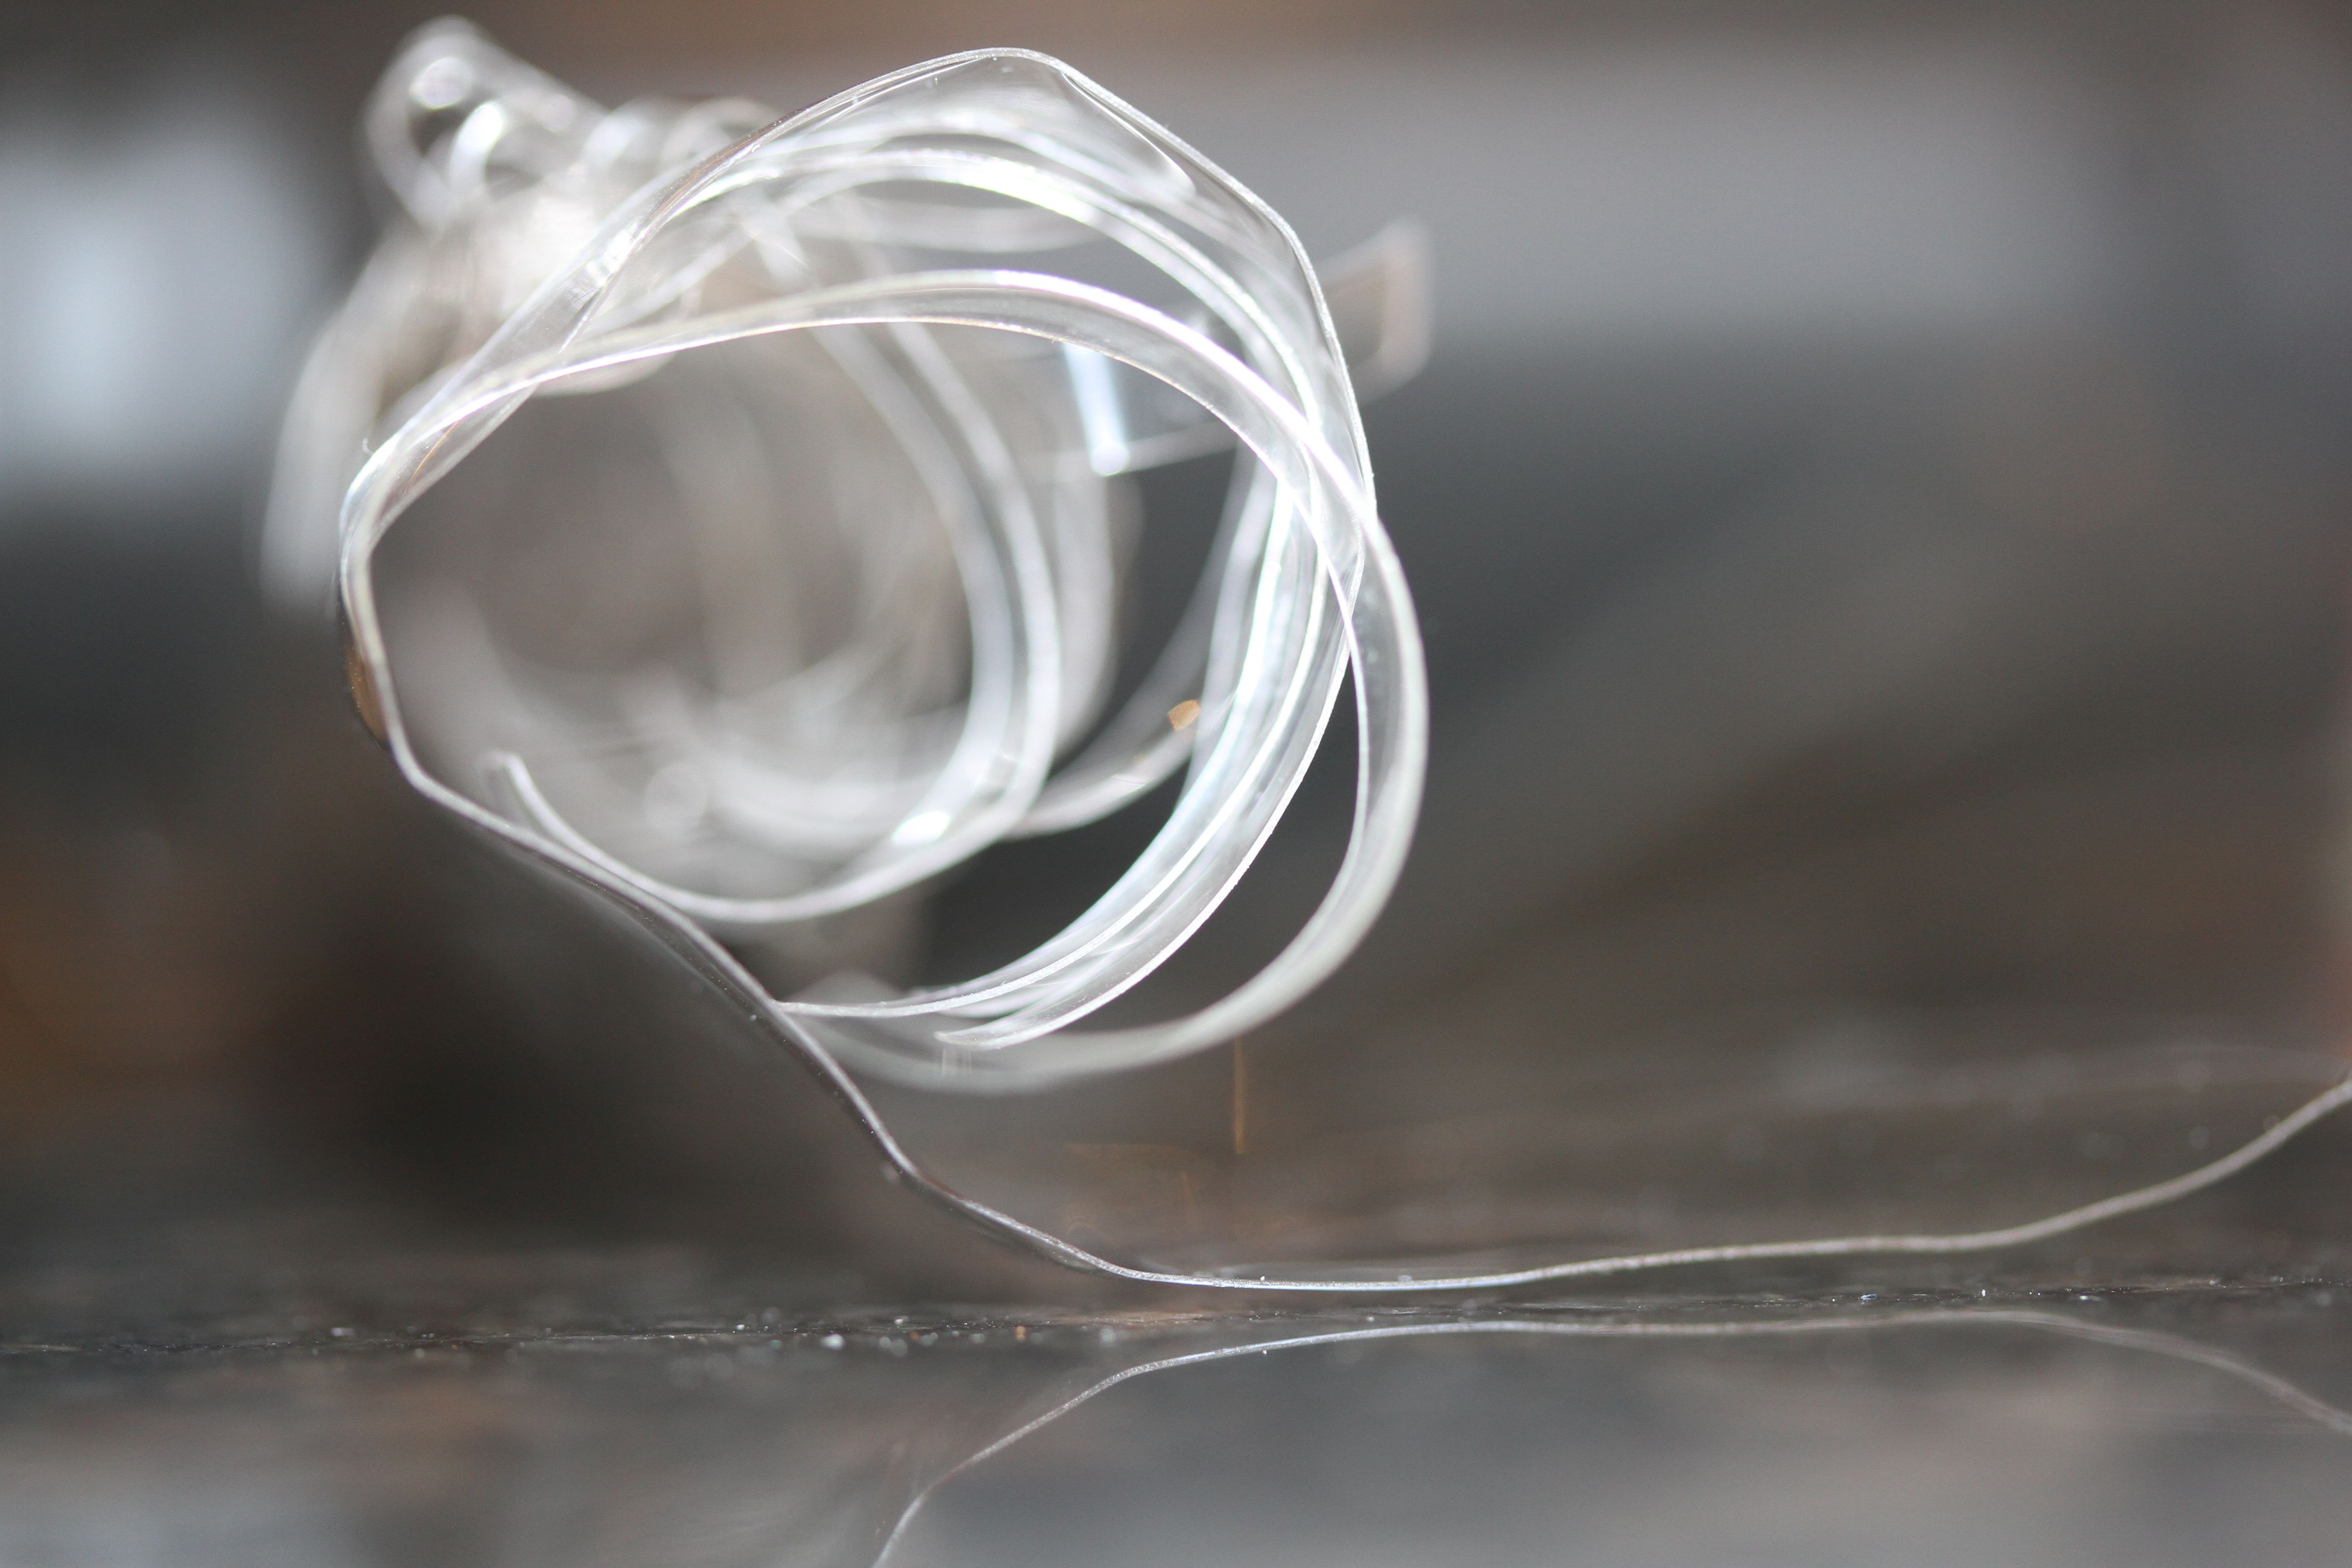
I continued with a thicker piece of acrylic (from the cover of a comb-bound document), this time using the heat gun to roll it:
|
|
|

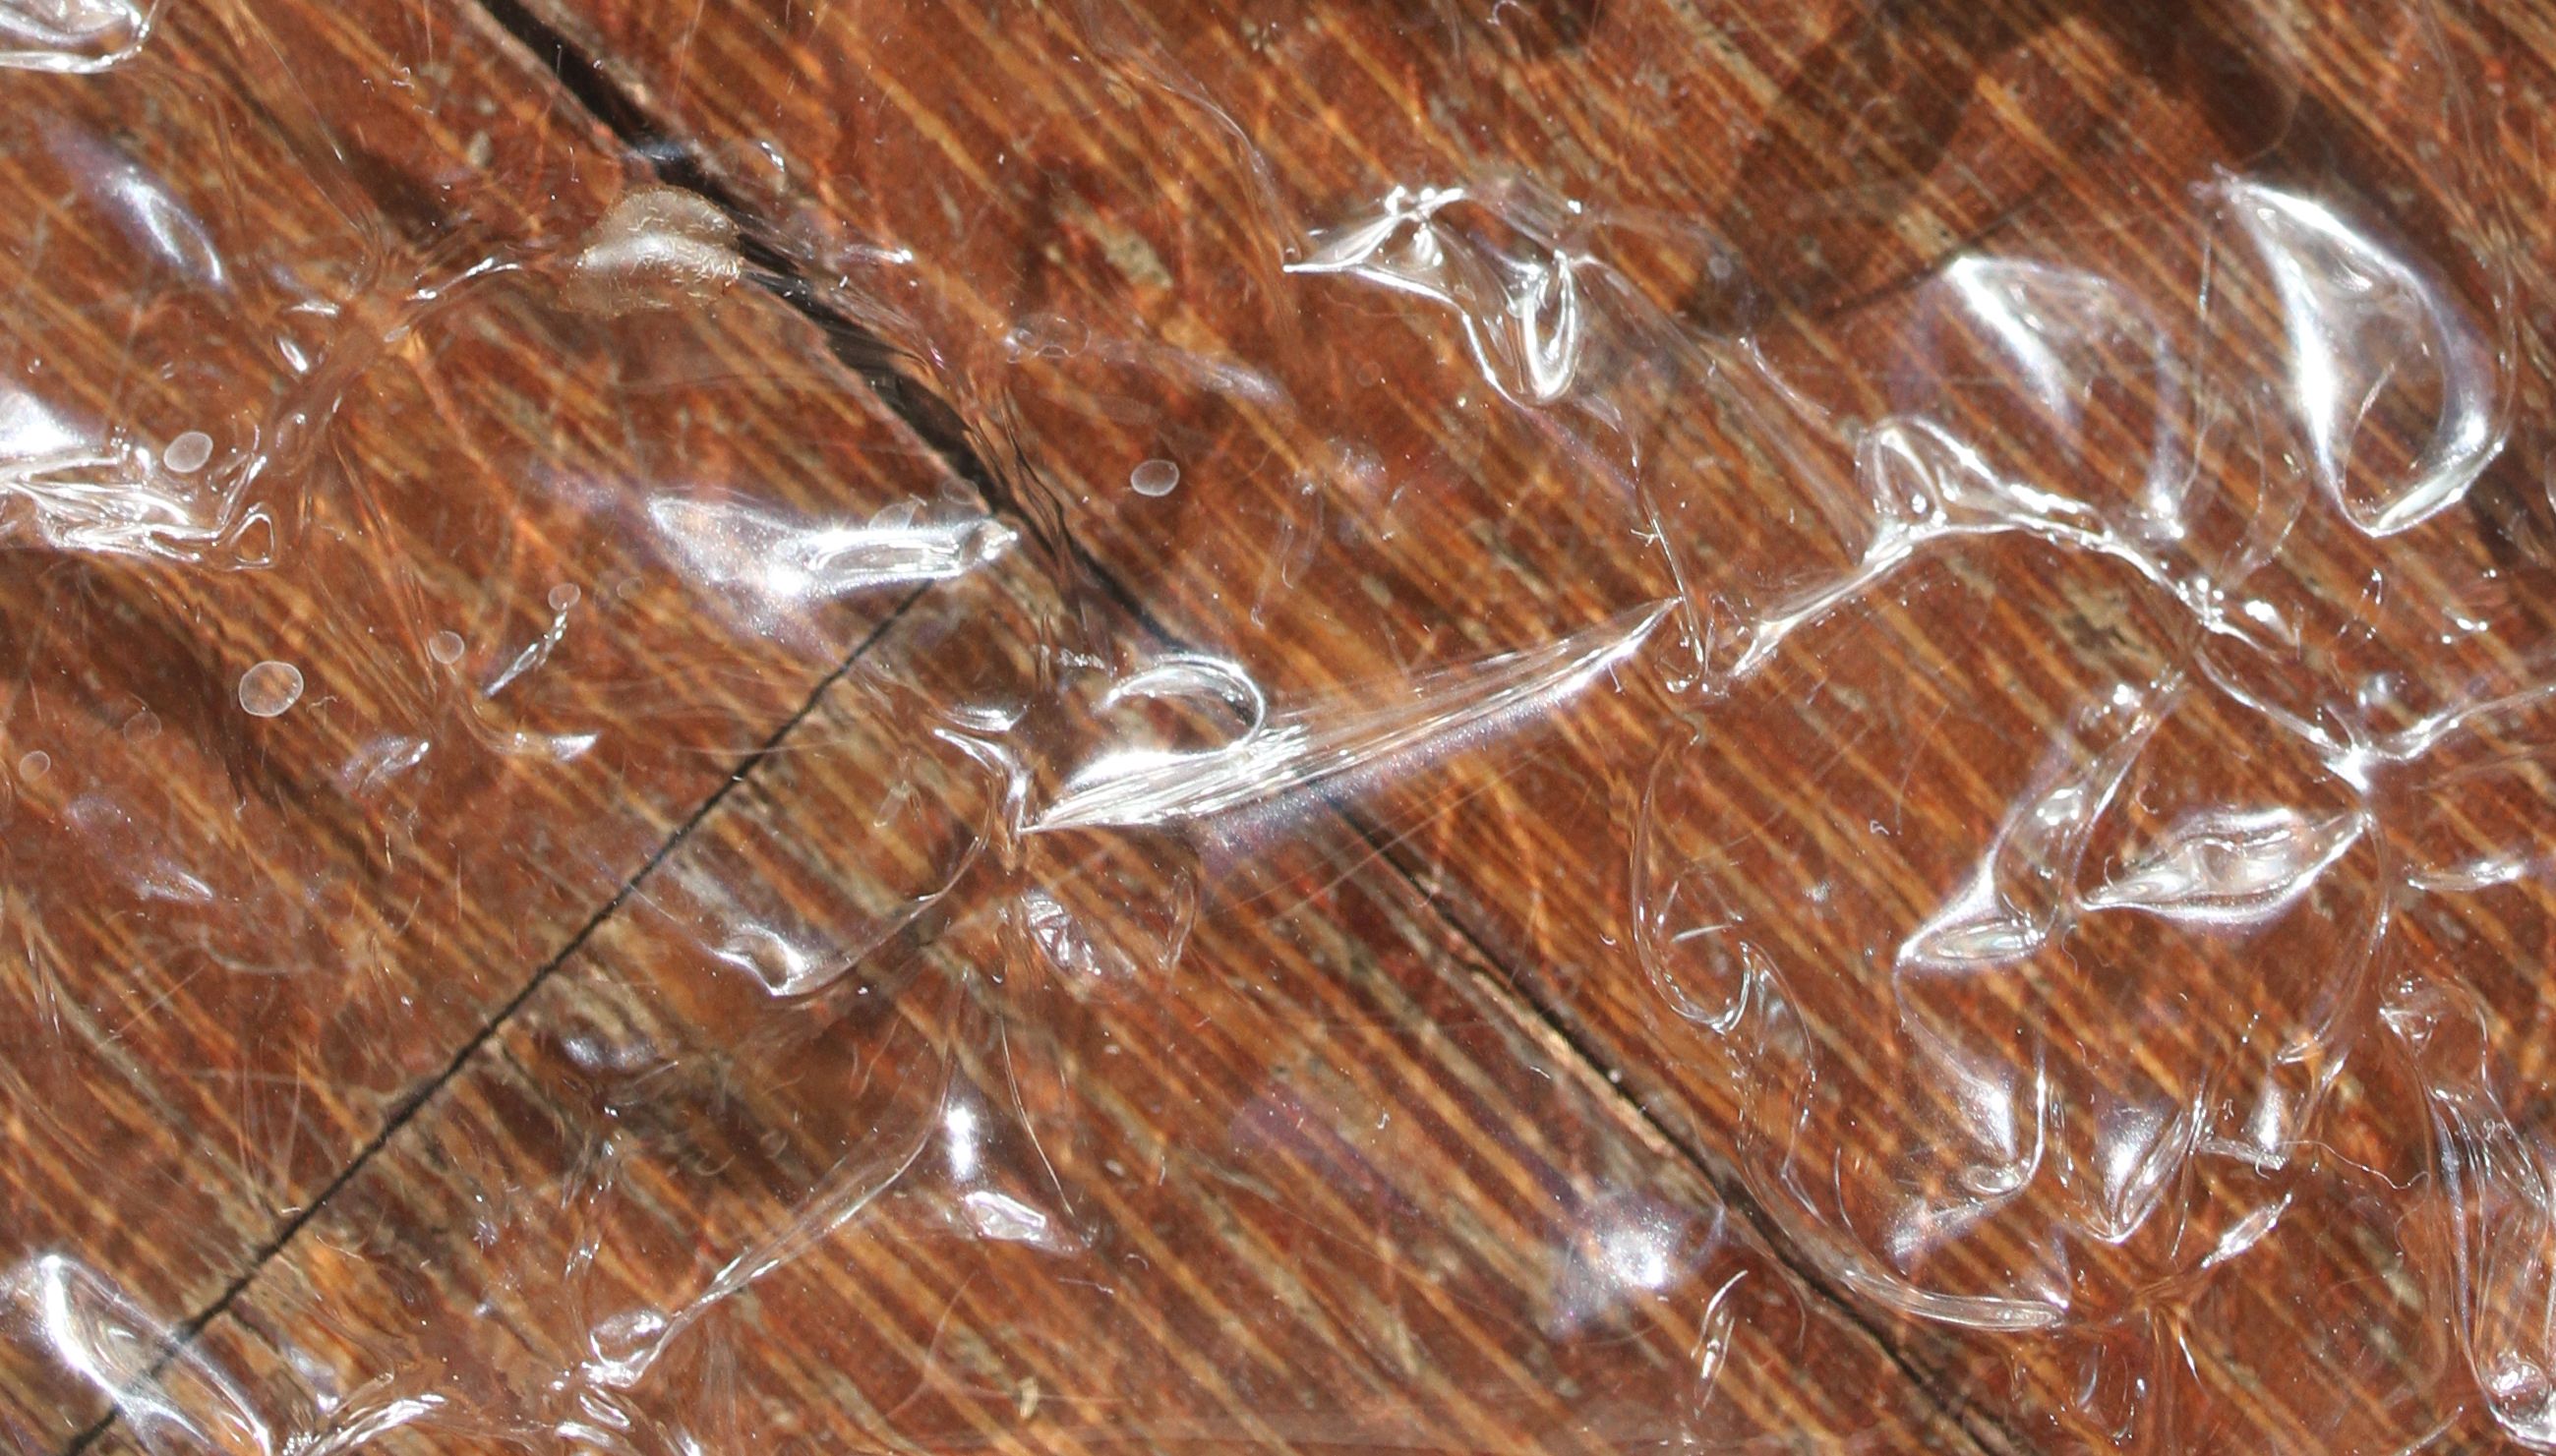
I wanted to try old-fashioned cellophane (blue like the colour of the goggles). When it is wet, it crinkles. I wanted to wet it with circular cross sections. The cellophane today is made of plastic and is waterproof. I did not know of a solvent that would have the same effect.
That general idea, though, found application once again to heating. Clear cellophane didn’t make the marks much different to the cellophane melts above, although the melting was in a visibly circular pattern:
But plastic tissue worked well:
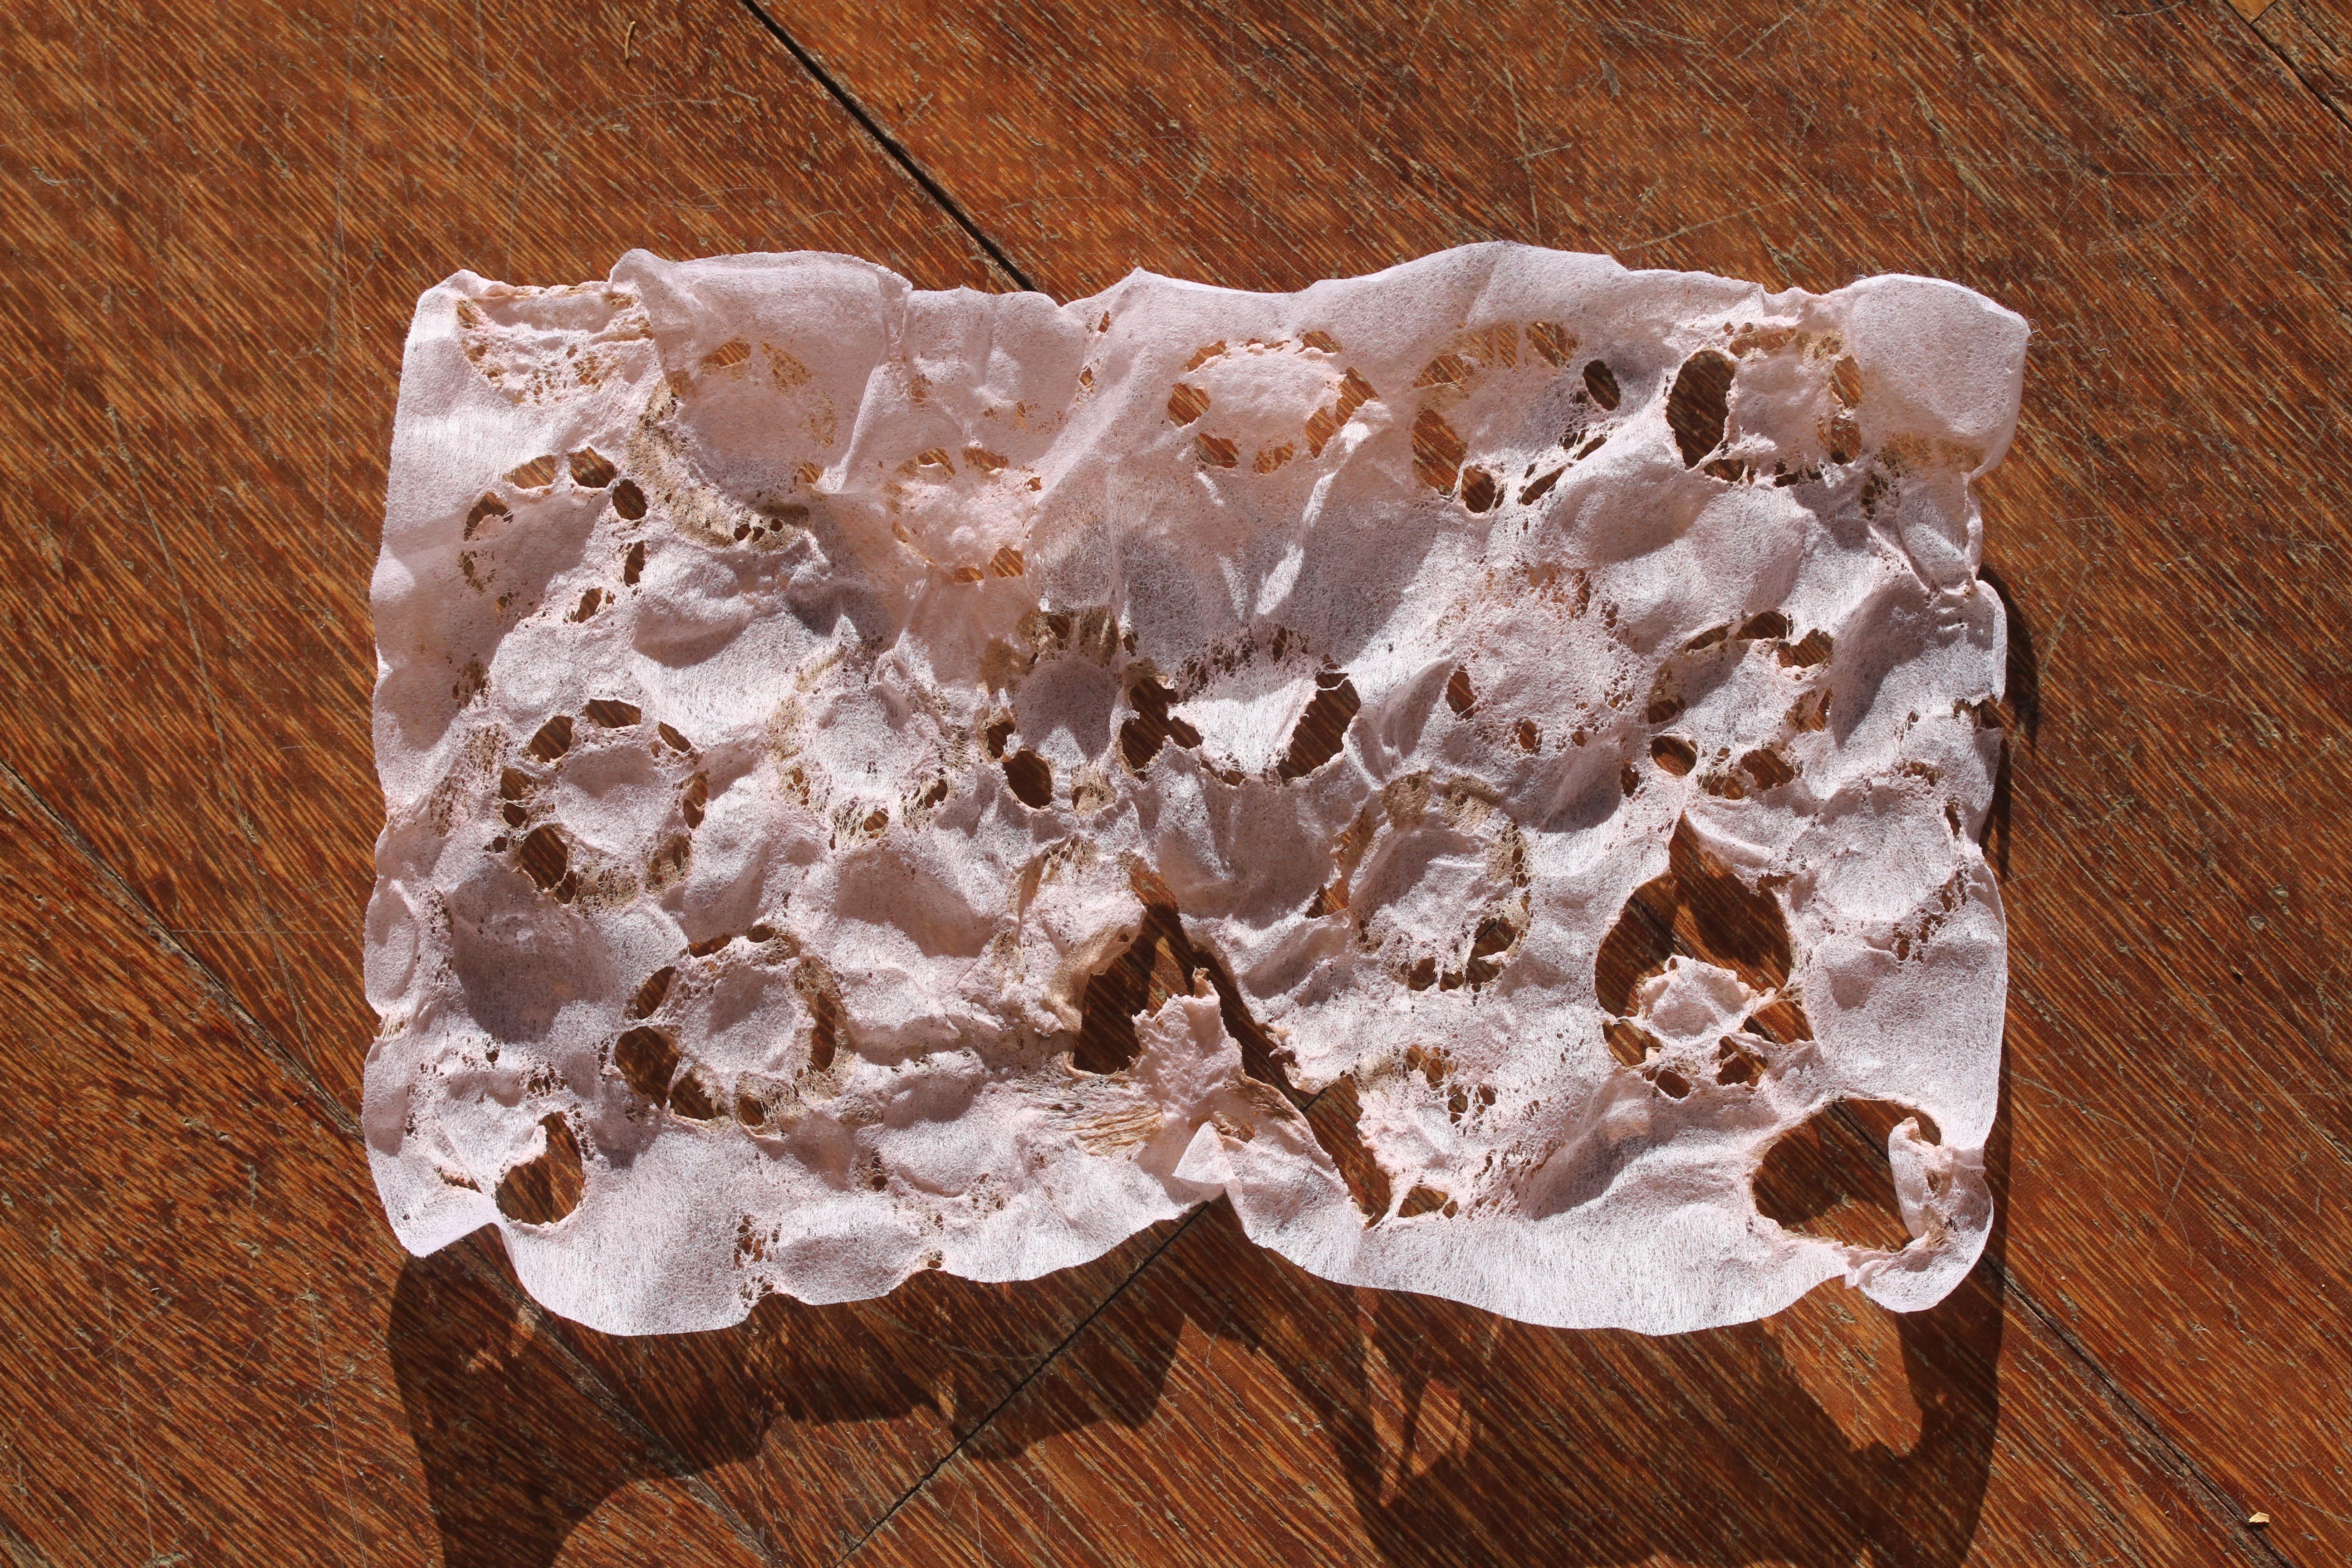
Non-woven tissue (floral wrapping) burnt in circular marks by heat gun.
I’m on to something here. These are very interesting marks.
NOTE TO SELF: What other materials will give me this effect? Tyveck? Non-woven interfacing? I’m pushing the definition of paper and fabric.
What other marks are possible? This one is the outline of the heat gun nozzle. Could I heat up shapes made of metal wire? Bits and pieces from the garage – nuts and washers, old screwdrivers. What else can get hot enough to make these kind of marks?
